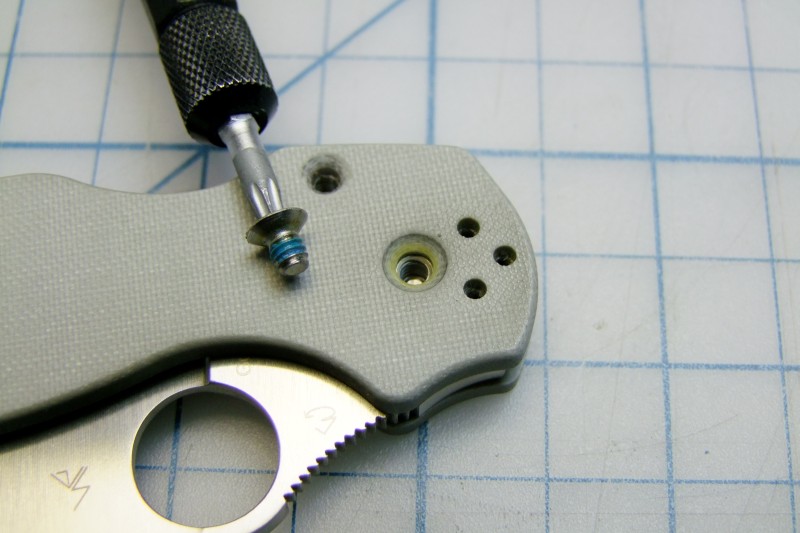
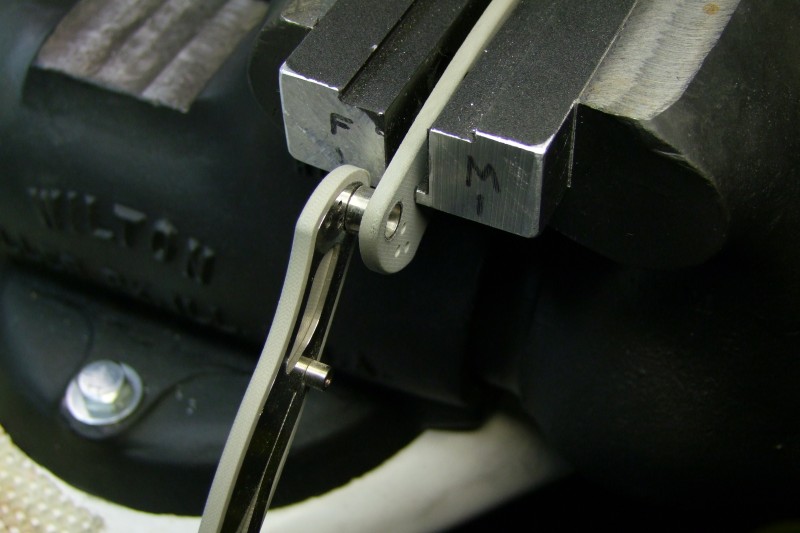
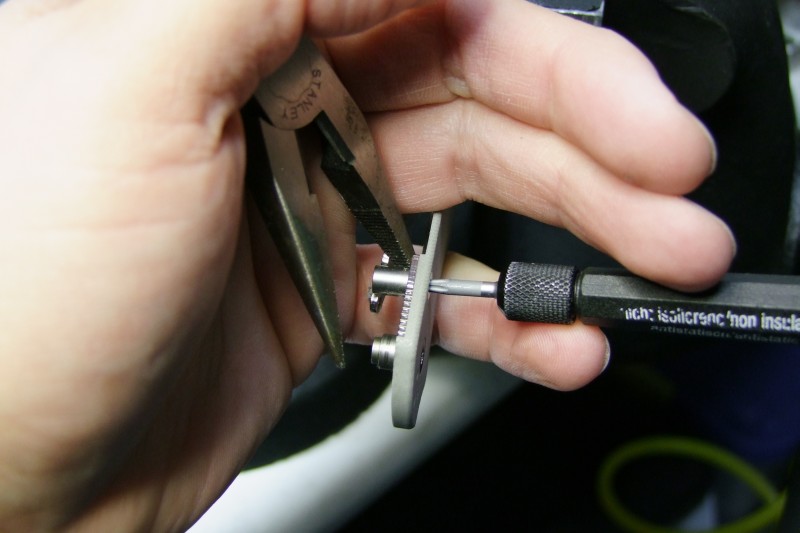
To remove the spacers, you might need to grab them on the side opposite of the screw:
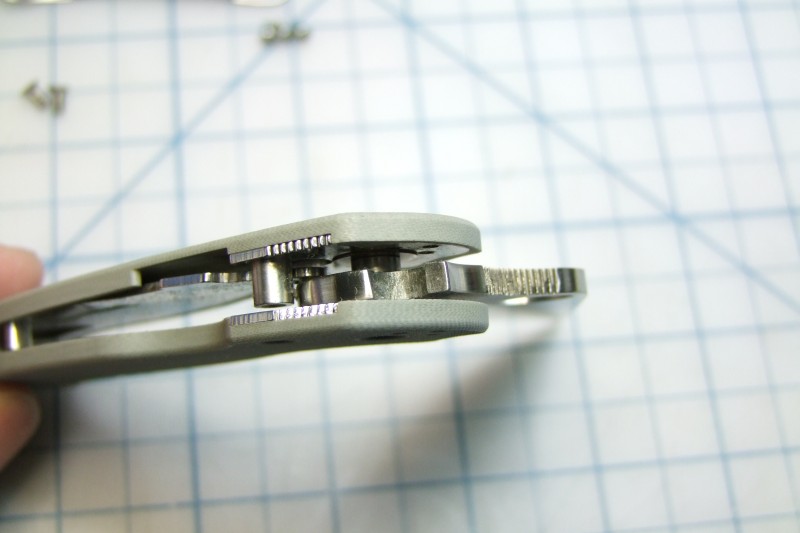
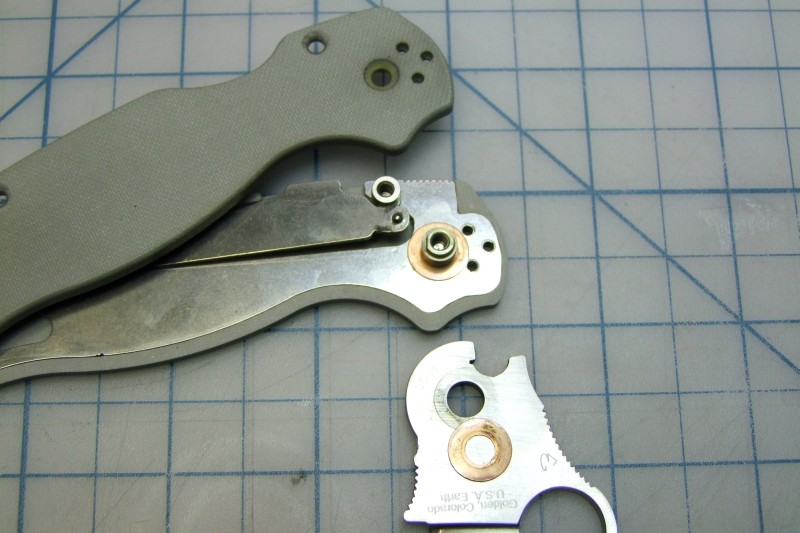
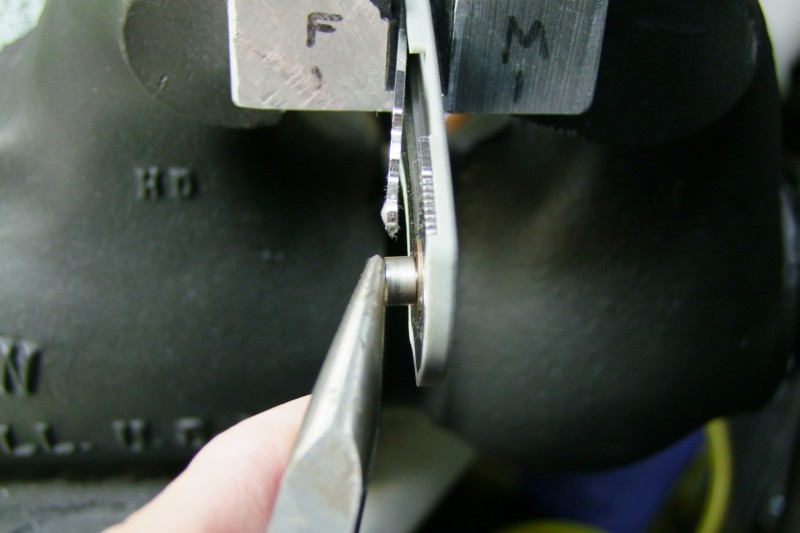
Note that there are two spacers, the longer goes towards the "front" or blade side of the knife:
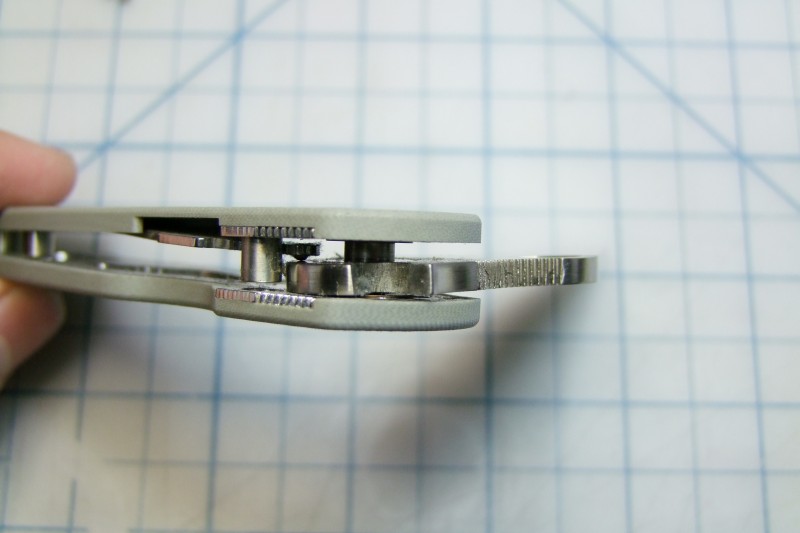
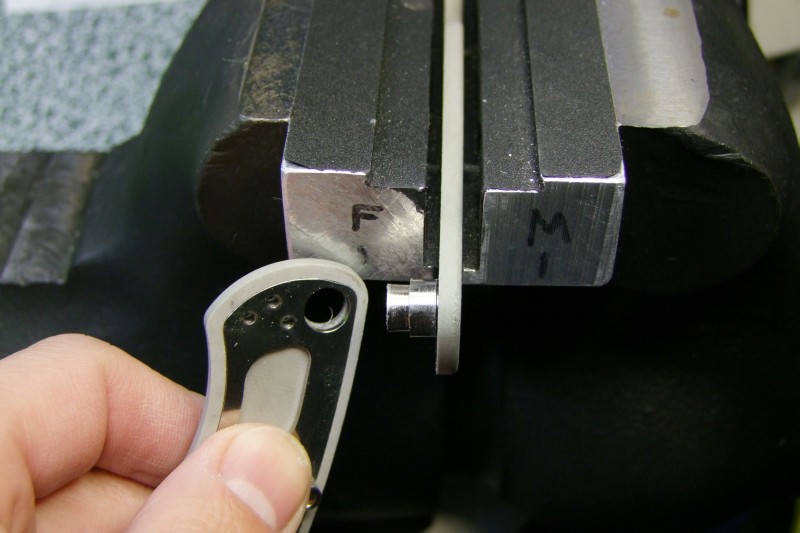
The blade's pivot is keyed, and lightly press fit - it comes out fairly easily:
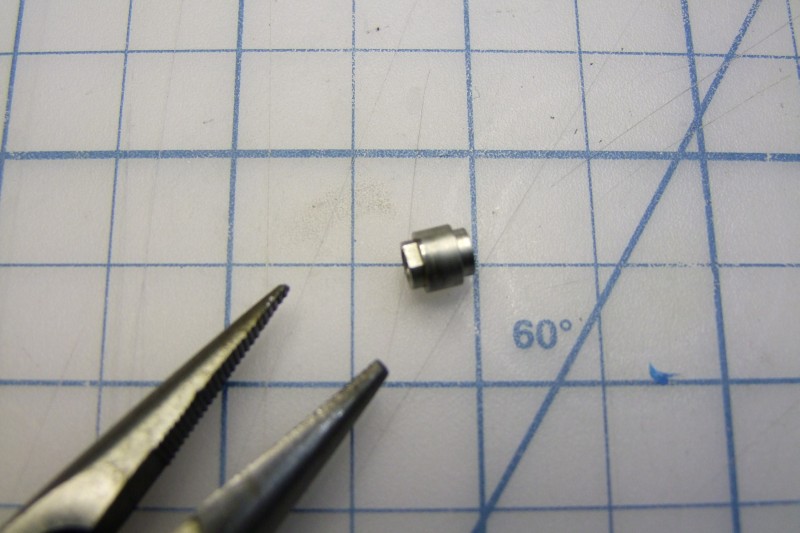
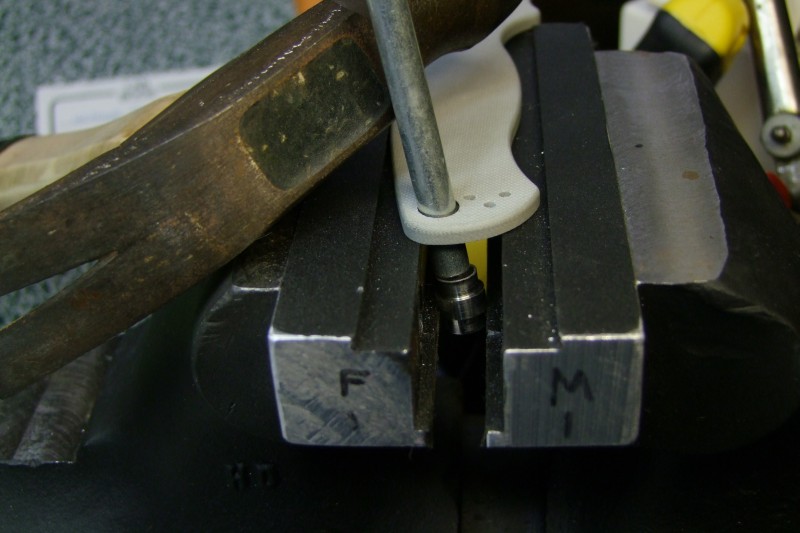
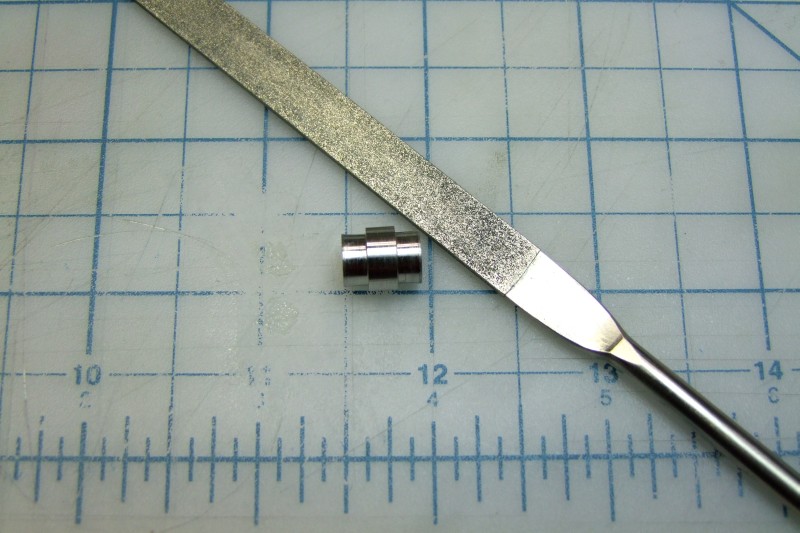
To remove the lanyard tube from the other side, I "gently" tap it out:
You can clearly see here that the tube has both ends slightly flared outwards:
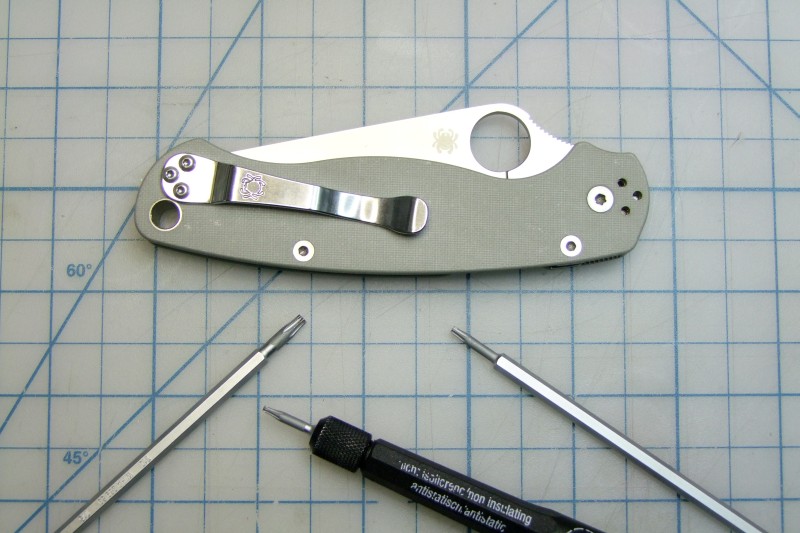
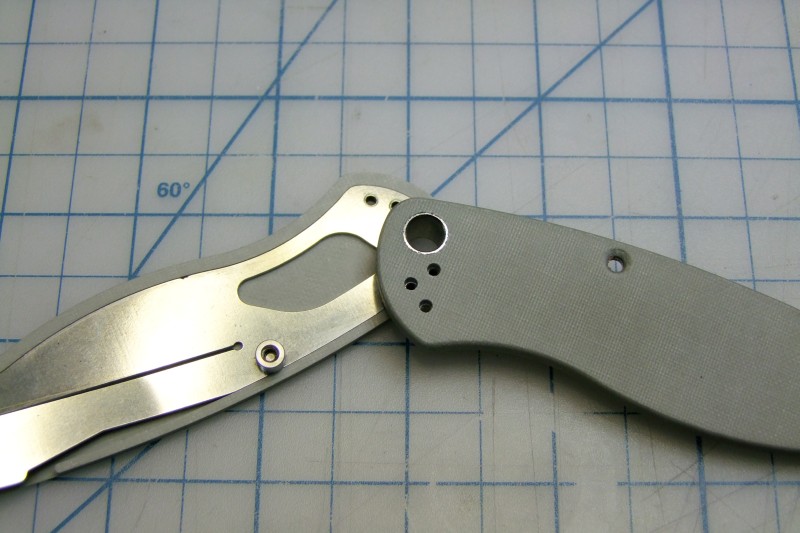
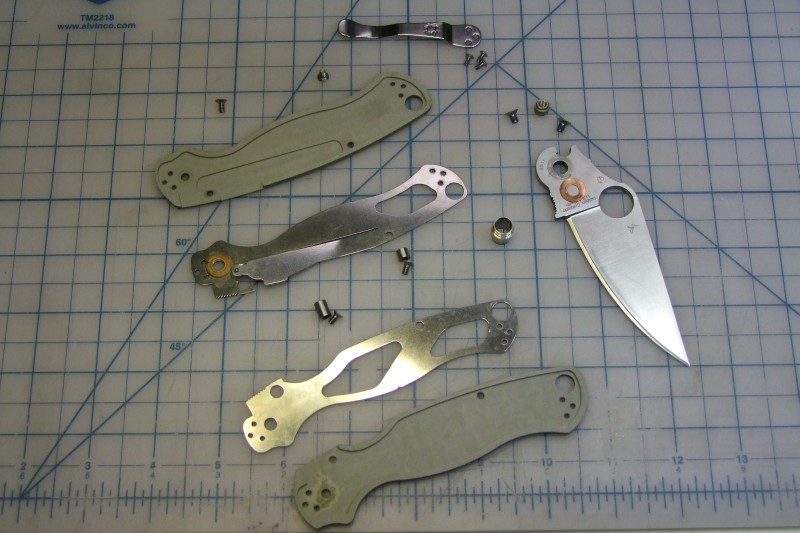
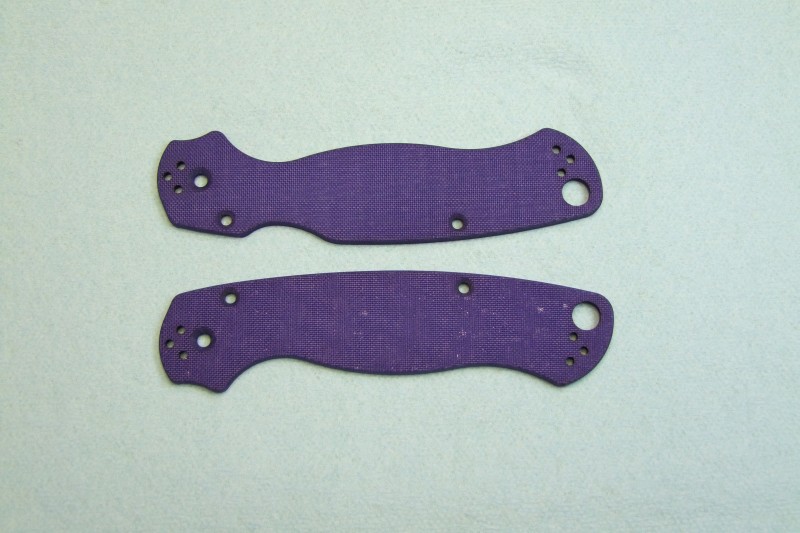
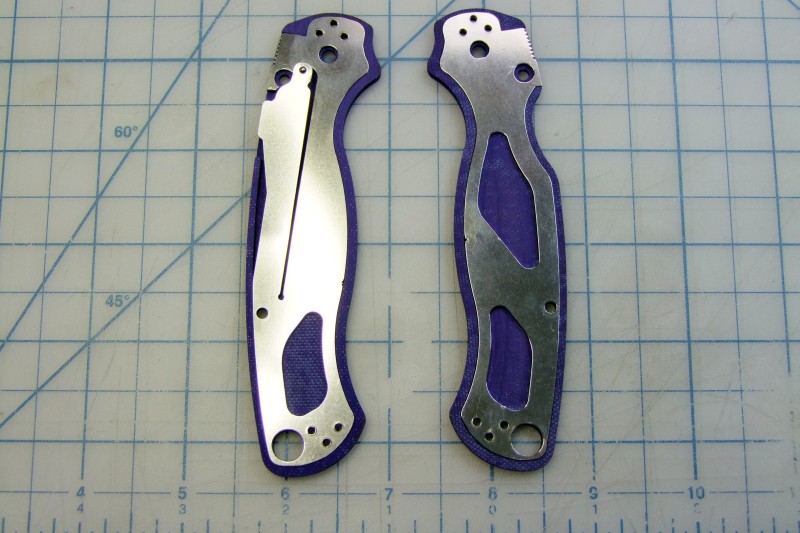
Here is the completely disassembled knife. I have to say that I was pleasantly surprised at the level of fit between the parts - there was ZERO play between the hollow liners and the metal liners!:
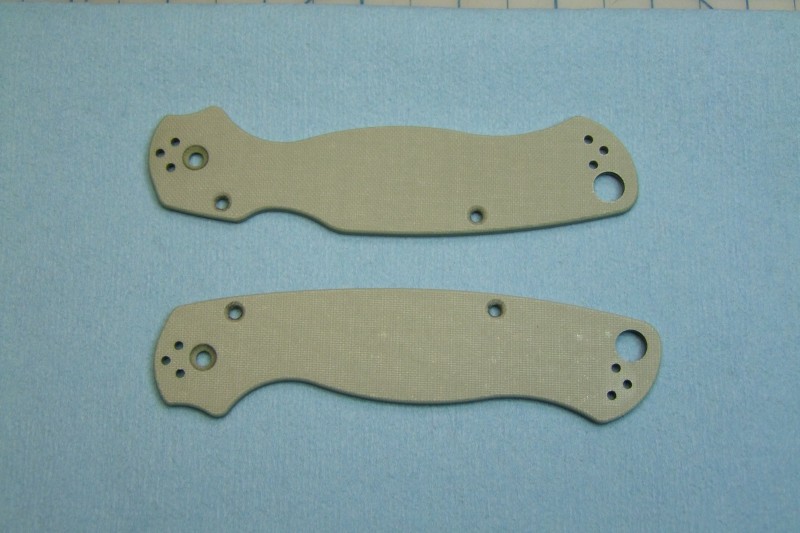
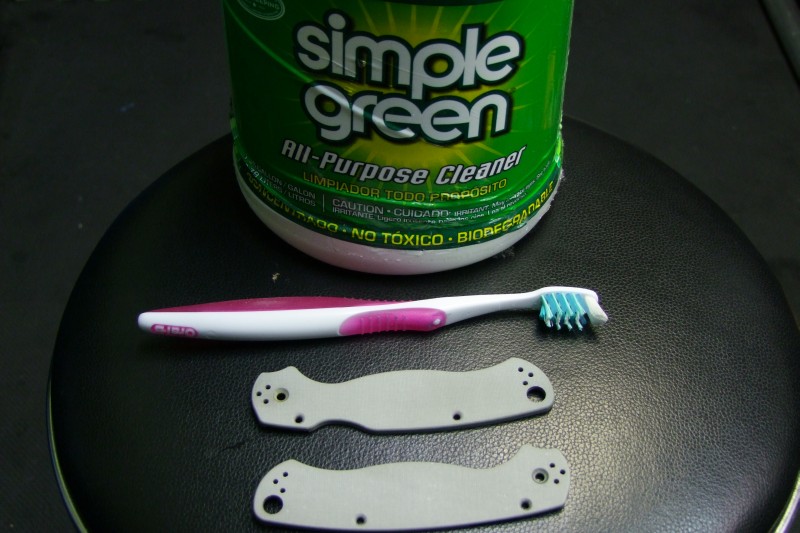
One thing I learn when doing coatings for my custom flashlights (yes, another hobby!) is that you MUST prepare the parts well. Here I started by carefully cleaning the original scales (yet another reason I feel the correct way to dye scales is to completely remove them, assuming it is possible of course):
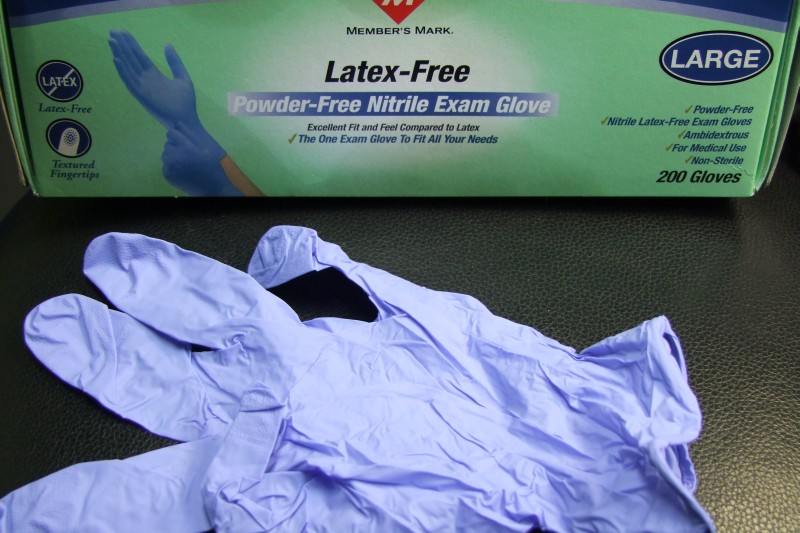
Once you clean them well, you do NOT touch them with your bare hands - the oils/debris in your hands/skin will prevent any/all finishes from working as intended:
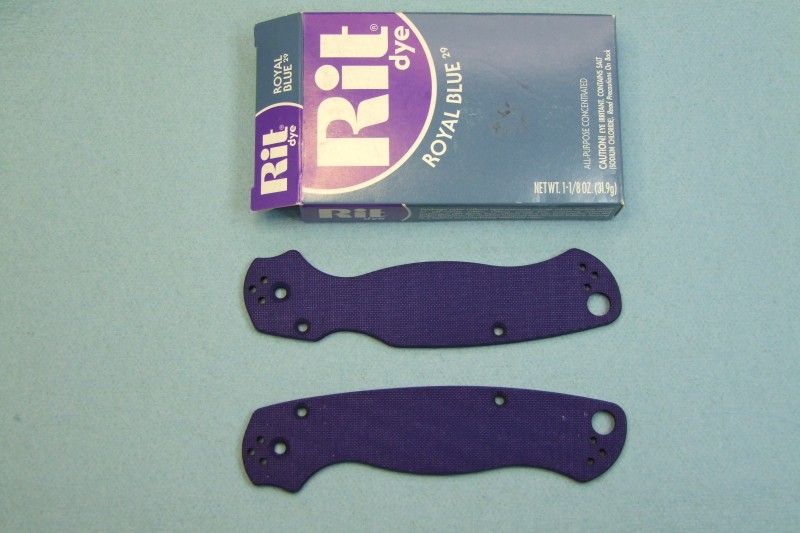
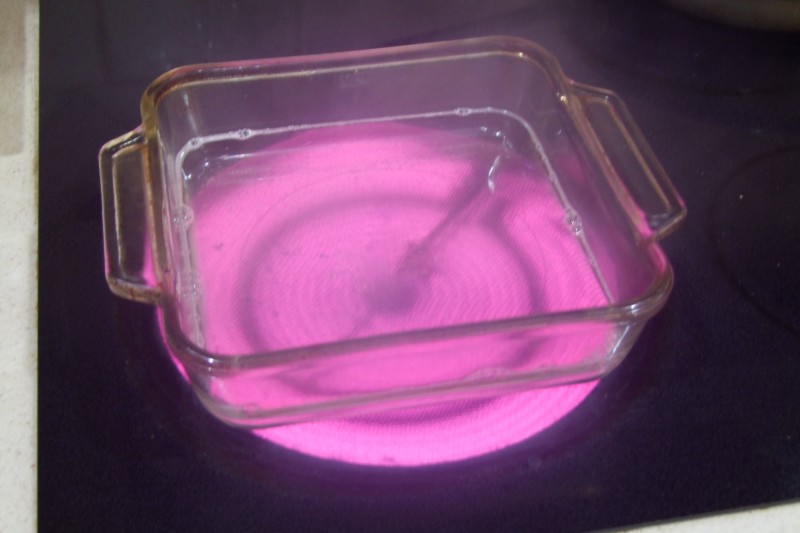
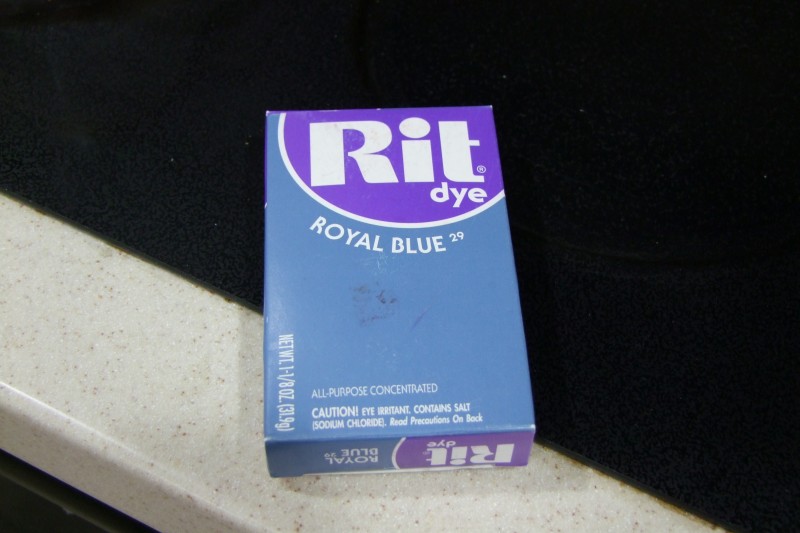
You then follow the instructions on the Rit Dye package, and get the water, salt, and detergent mixed and to a boiling:
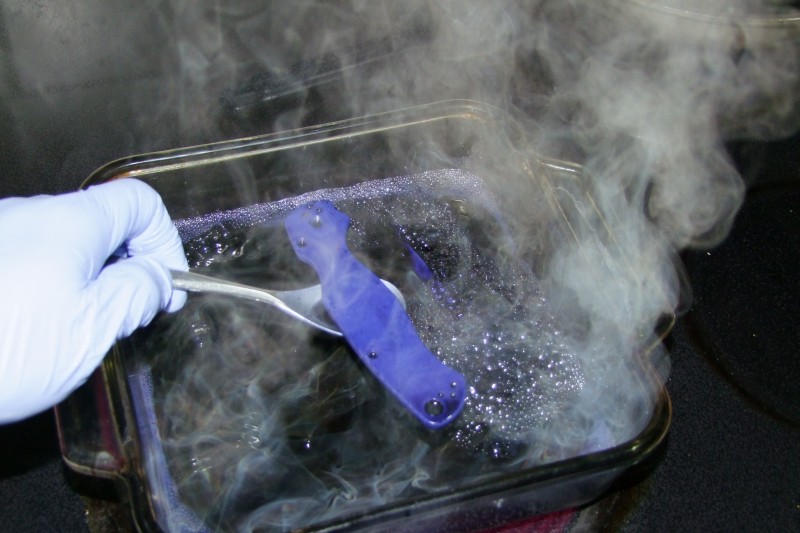
Add the dye slowly!!!:
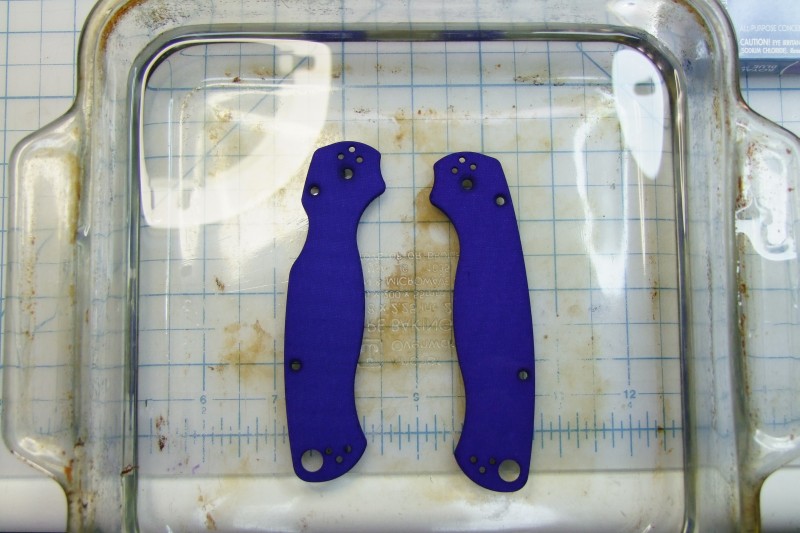
Keep moving the water/dye and the scales, and every 20-30 seconds take a look to see if they are "dark enough" - the longer you leave the parts, the darker the color:
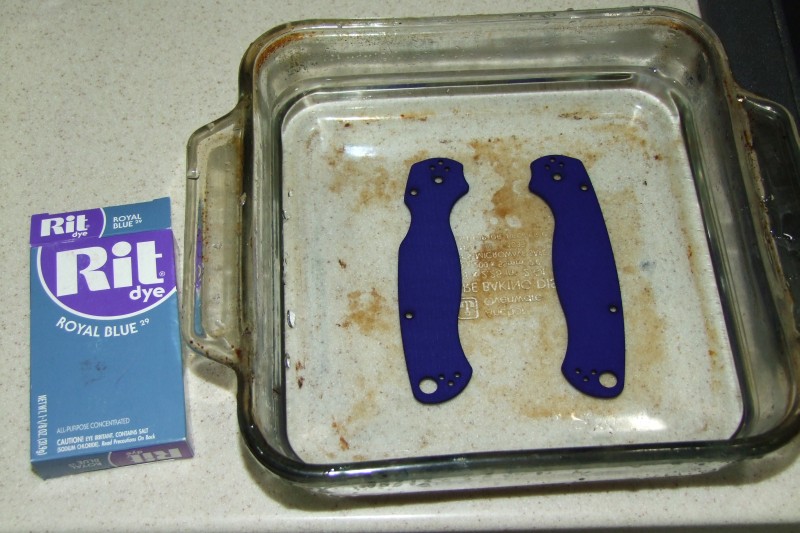
Once you rinse them with cold water, leave them in water for a while to completely cool off:
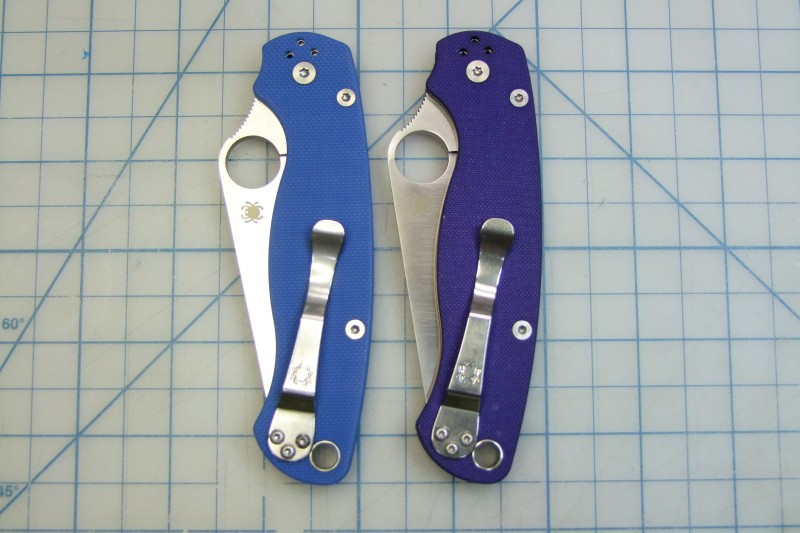
Lots of pictures, but it was relatively an easy project, and I got a lot more respect for how well Spyderco holds their tolerances - I am impressed at the bang for the buck we are getting with these PM2 knives
Great tutorial.
Does the RIT dye last or will it fade? Since water is used in the application of the dye I would think that it could affect it later on. Not sure.
Thanks
We would not let our people have ideas why would we let them have guns? Josef Stalin