Page 49 of 169
Posted: Mon Jul 02, 2012 7:17 pm
by JAfromMN
Your contact's are good Donut
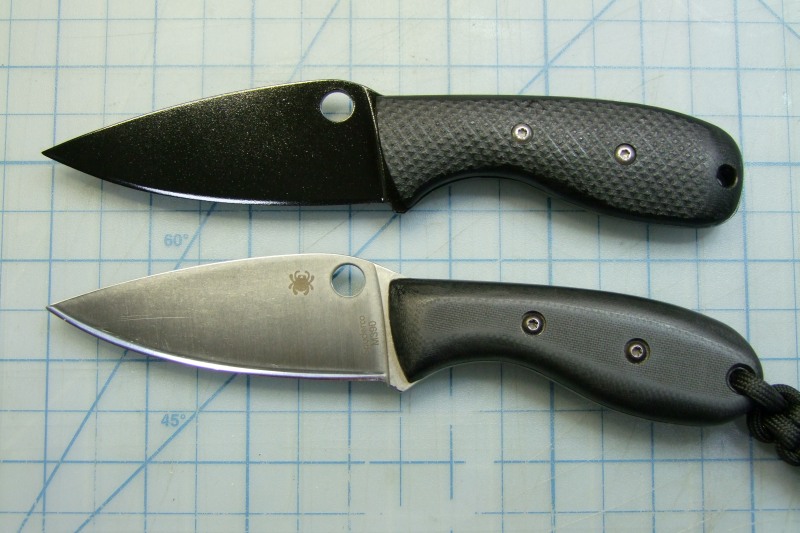
I let it tumble for a hour but I used smaller rock and more oil and metal polish mix than normal
I like the effect but I can't take a pick of it'
It's got a light stone gloss finish it's different.
It came out very even.
I like it :)
Posted: Thu Jul 05, 2012 7:50 am
by 3-1-1
Shared these in the Wood Scale Mods thread too, but thought I solicit thoughts from here also.
Decided to "striderize" my Persistence with more of a gunstock shaped butt end a straighter top line using some yellowheart wood.
Not quite as shiny and poliched as it will be once I am finished, but its rounding into form.
Posted: Fri Jul 06, 2012 12:37 am
by haarspalter
i really like this mod. looks awesome, what didi you use?
is the wood stabilized or treated in any way?
nice job! love wooden handles!
greetings
Posted: Fri Jul 06, 2012 8:28 am
by 3-1-1
Thanks.
Its a wood called Texas yellowheart. I think it is also sometimes called "Bois D'Arc" Great stuff to work with. It was not stabilized, but I am planning to put a few coats of gunstock refinishing oil on it which will accomplish pretty much the same thing. Once thats done, I'll put it on the buffing wheel with some polishing compound to give it a real shine. Maybe I'll post another pic or two upon completion.
Posted: Fri Jul 06, 2012 8:41 pm
by JAfromMN
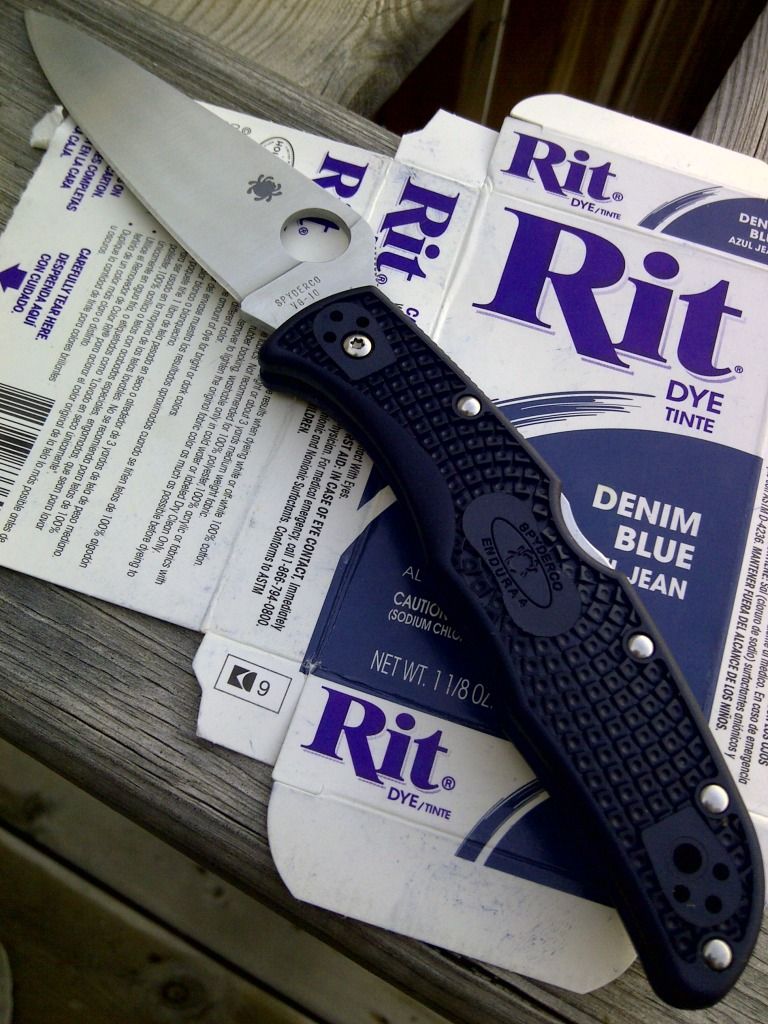
Dyed my blue Endura a much darker blue.
Posted: Fri Jul 06, 2012 9:16 pm
by wquiles
I have been wanting to try Moly Resin to protect the steel on my Cruware mule (prevent long term corrosion), but I was a little worried about the 300F curing time for Moly Resin (same for Cerakote) as 300F is awfully close to the temperature for tempering many steels. However, I found that Cruware's tempering temp is around 1000F, so 300F was not even close to affect its hardness, so I gave it a try.
After sandblasting the finish, I applied and cured the semi-gloss black Moly Resin (M390 mule shown for comparison):


Lets see how it holds up :D
Will
Posted: Sun Jul 15, 2012 5:58 pm
by Polar L
Deep carry Ti clip for GB

Posted: Sat Jul 21, 2012 2:19 pm
by Polar L
Another Ti clip. Stonewashed and anodized.

Posted: Sat Jul 21, 2012 11:05 pm
by Fred Sanford
Polar,
I really like those clips. Very nice work.
:cool:
Posted: Sun Jul 22, 2012 9:20 am
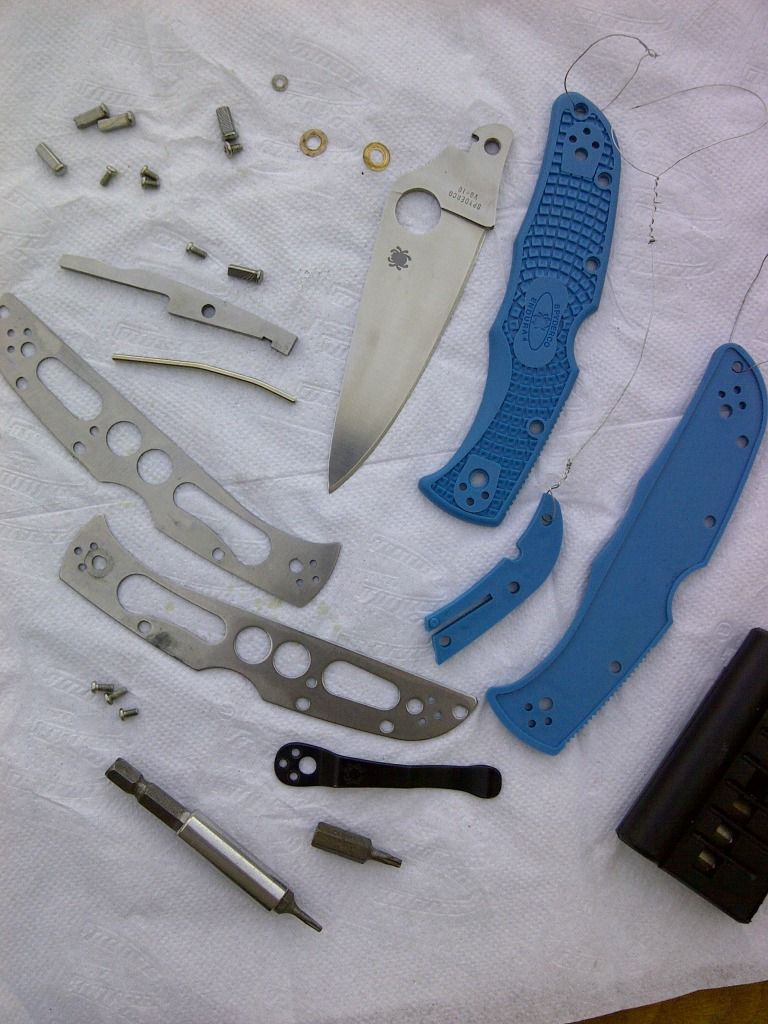
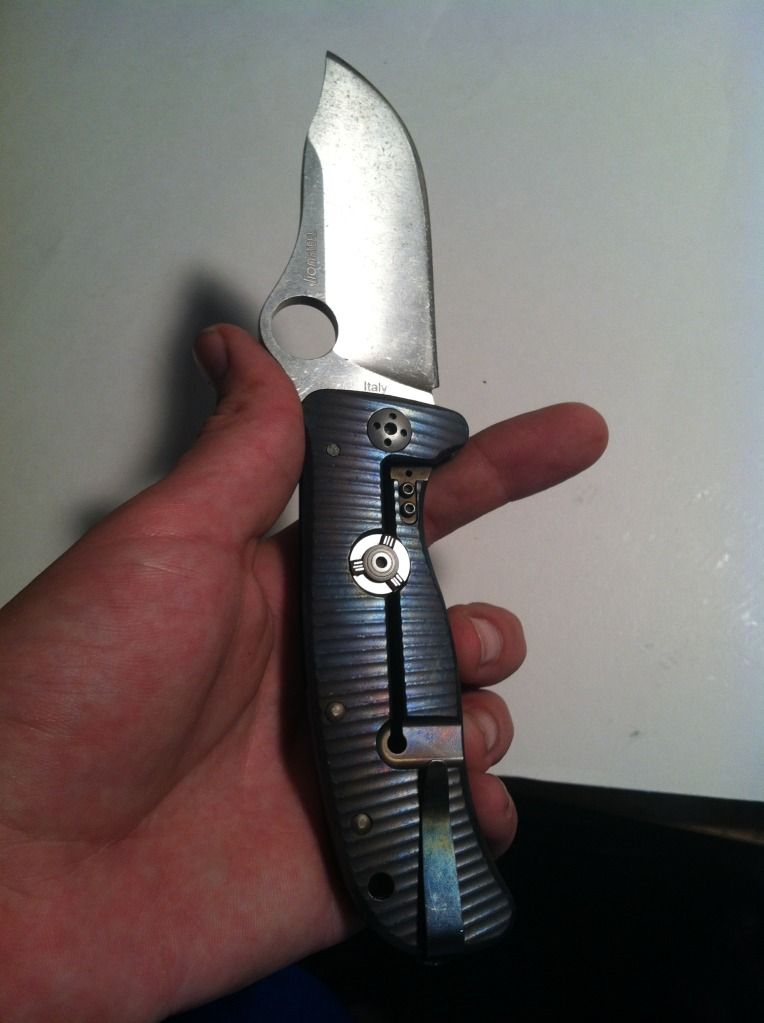
by Tyv&
Well I decided to try and stone wash my green tenacious sprint and this is the results. I did a practice run on a ukpk that came out more subdued that I might re-do.
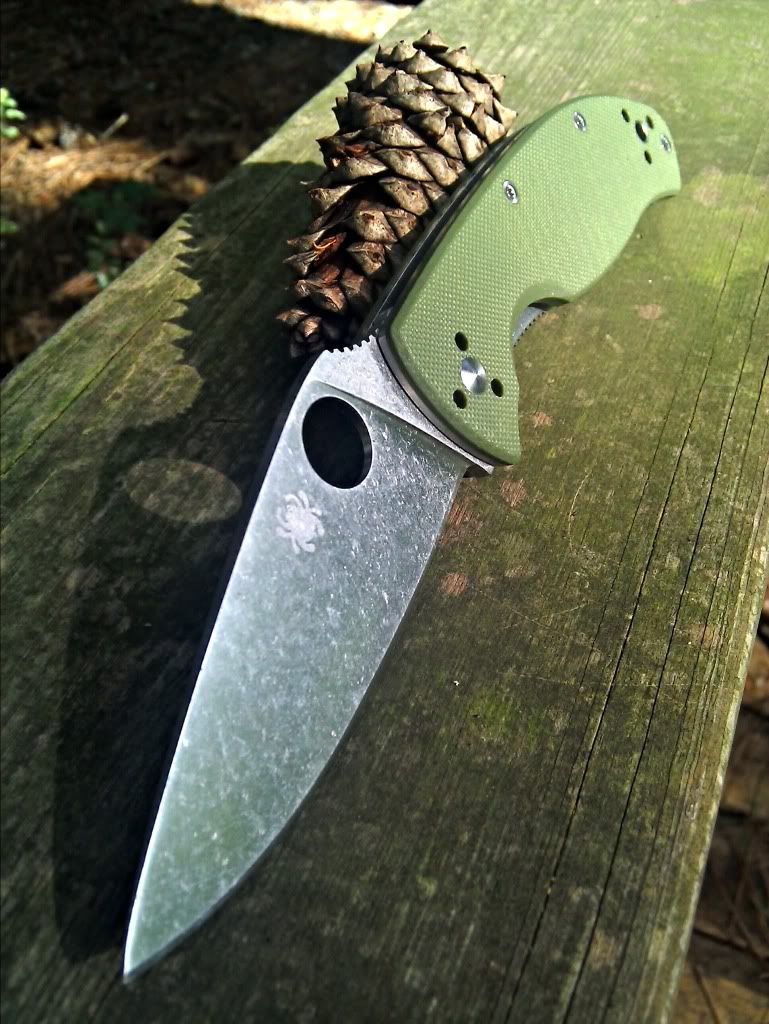
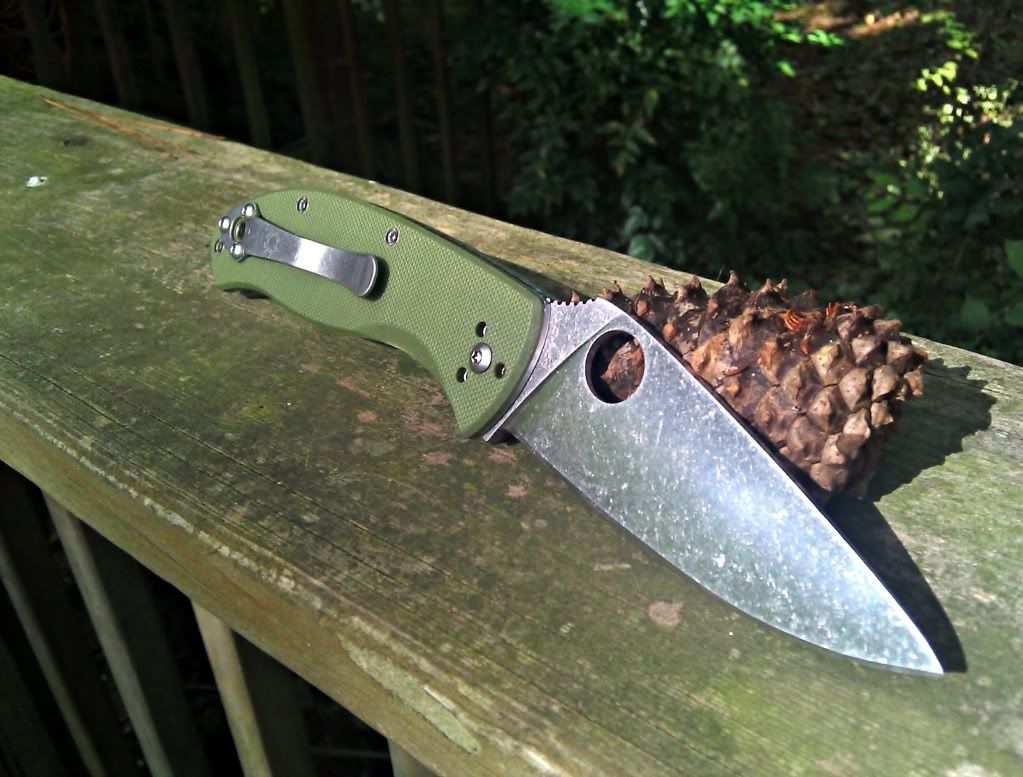
The set up was far from sophisticated just a plastic bottle some rocks from a stream down the road and wd40. I had a particularly large rock that I think should have been left out as it made deeper indentations and a few gouges. Overall through I am happy with the out come and I think it works well with the green sprint color of this knife.
Next up I would like to try and wharncliffe a knife (probably the ukpk) any tips or knowledge would be appreciated as I have no clue how to proceed. I have a dremel tool that I was thinking could work.
Posted: Mon Jul 23, 2012 8:13 am
by Jazz
Tyv& wrote:Well I decided to try and stone wash my green tenacious sprint and this is the results. I did a practice run on a ukpk that came out more subdued that I might re-do.
The set up was far from sophisticated just a plastic bottle some rocks from a stream down the road and wd40. I had a particularly large rock that I think should have been left out as it made deeper indentations and a few gouges. Overall through I am happy with the out come and I think it works well with the green sprint color of this knife.
Next up I would like to try and wharncliffe a knife (probably the ukpk) any tips or knowledge would be appreciated as I have no clue how to proceed. I have a dremel tool that I was thinking could work.
Looks great!
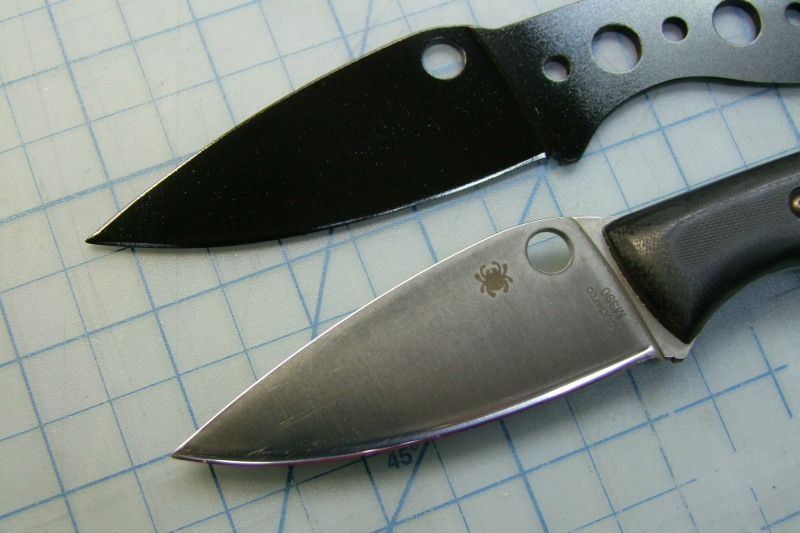
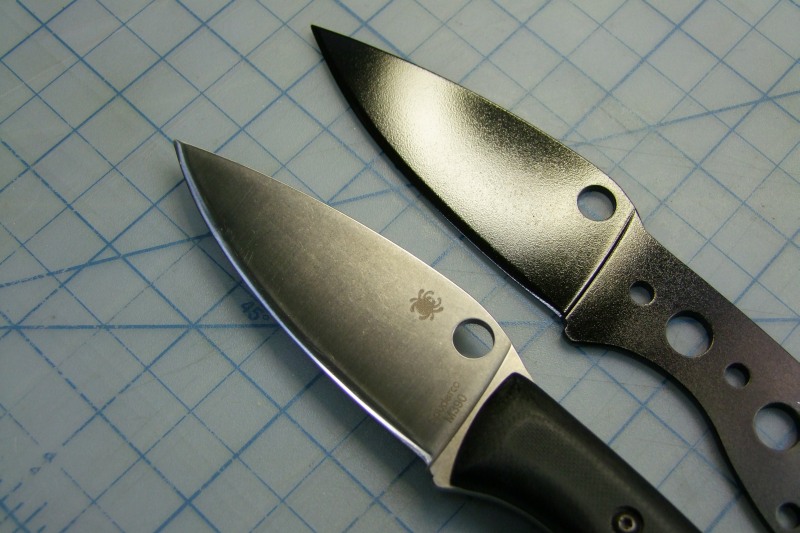
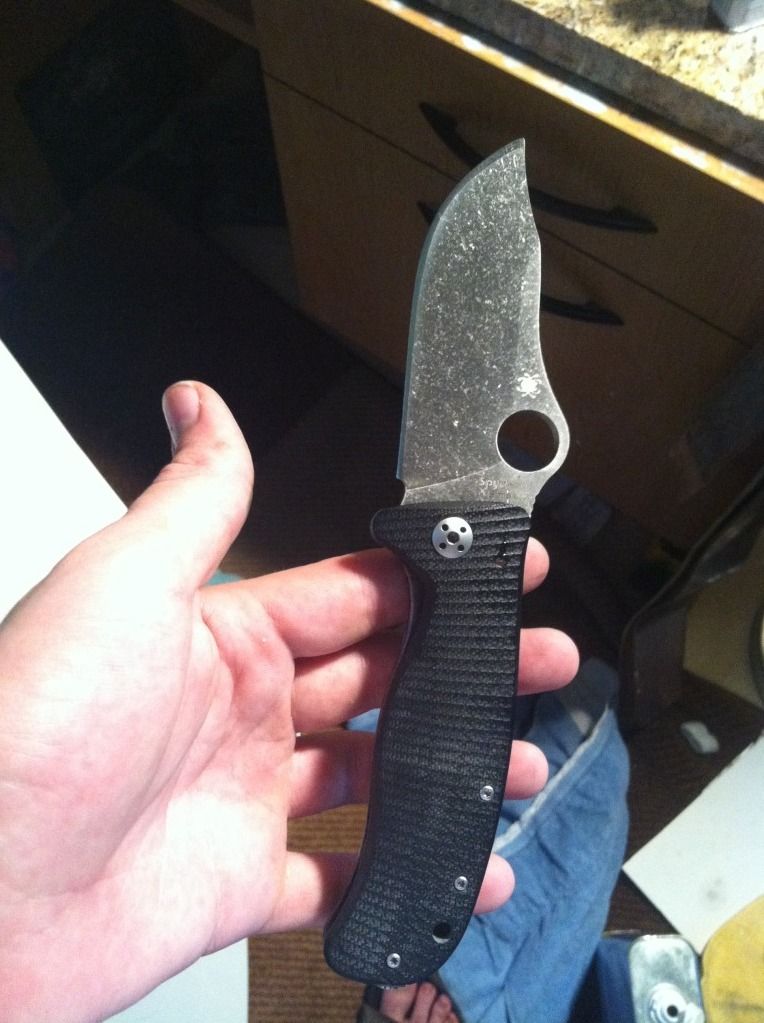
I "wharnied" a Caly a while back. Just took a ruler and drew with a marker a straight line from the tip to the back of the blade. Then I ground it down (dip in water so it stays cool) with my Dremel and diamond bits and a diamond disk to make sure it was straight. Next, just sharpen the new edge. I'm sure the pic is at the start of this thread. It's a really easy mod. Good luck, and show us when you're done. :)
- best wishes, Jazz.
Posted: Sat Aug 04, 2012 10:12 pm
by Must_Seagate
Just simple mod on my PPT handle . . . .
From the black handle . . .

Into the GITD handle . ., include the lanyard . .


Sorry for the poor quality picture

Posted: Sun Aug 05, 2012 1:33 am
by razorsharp
thats SICK!
Posted: Sun Aug 05, 2012 7:38 pm
by jabba359
Must_Seagate wrote:Just simple mod on my PPT handle . . . .
Looks great! What material did you use for the handle and where did you get it?
Posted: Thu Aug 09, 2012 5:21 pm
by Polar L
Yet another Ti clip. 6Al4V, 1.6mm thick.

Posted: Thu Aug 09, 2012 5:26 pm
by DCDesigns
Lionspy Bowie Regrind
Heat anodized side
Posted: Thu Aug 09, 2012 5:40 pm
by Jazz
That's awesome, DC! Exactly what that knife needed. I love a good clip point. Thanks for sharing. The stonewash and anodizing is nice, too - you're making me want that knife to do the same blade mod. Is it real heavy?
- best wishes, Jazz.
Posted: Thu Aug 09, 2012 8:02 pm
by Donut
It isn't as heavy as I thought it was going to be. It is very comfortable to carry with jeans. I also carried it with khaki shorts and it didn't feel to heavy, but I don't think the clip is in the perfect position for angled pockets
Posted: Fri Aug 10, 2012 7:35 am
by Jazz
Thanks, Donut. One thing I don't like about some collaborations is the clips. I like the usual Spyderco ones. I don't like wire clips on titanium, though - just don't go together. That's the only thing I don't like about my Sage 2. I know, why am I rambling in the pic gallery? :rolleyes:
- best wishes, Jazz.
Posted: Fri Aug 10, 2012 9:40 pm
by Must_Seagate
jabba359 wrote:Looks great! What material did you use for the handle and where did you get it?
It;s a DIY material handle from epoxy resin, so I can put more GITD powder on there... :)