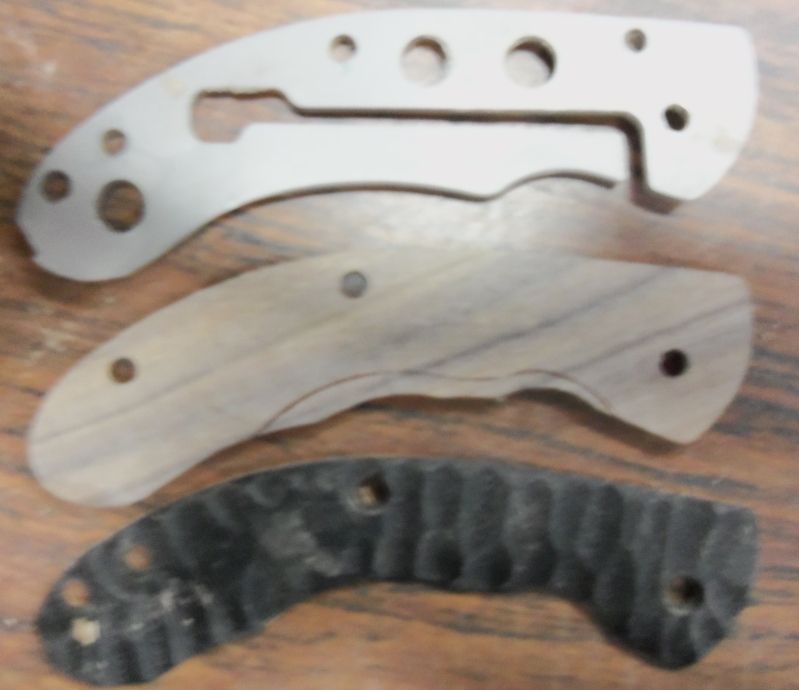
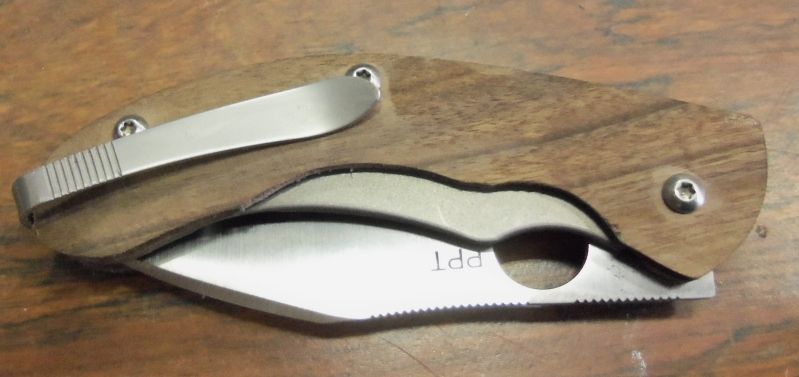
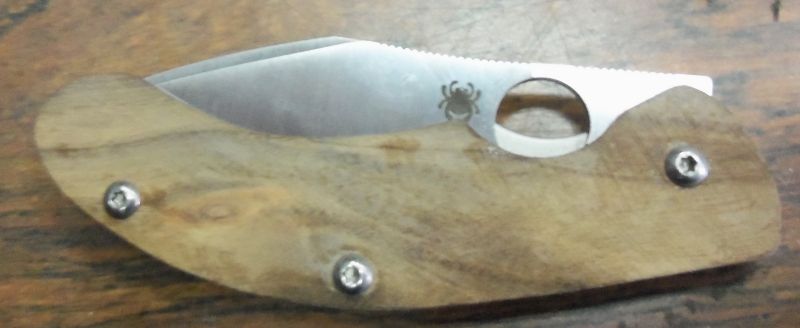
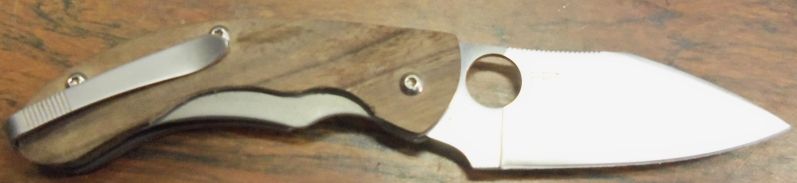
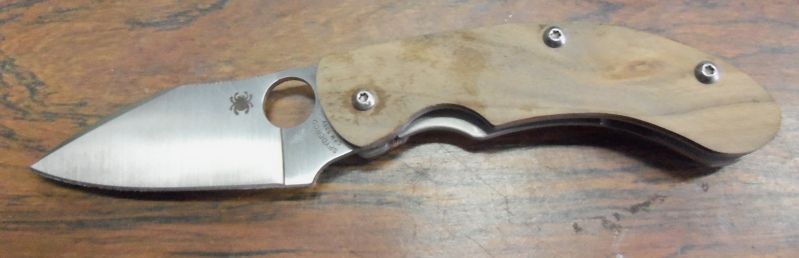
OK so i have been slowly getting back into a bit of modding. I think i took this apart after a few days of carrying the PPT. I just didn't like the scales, they were too grippy, I honestly don't know how Sal puts up with us, first the knifes are too slippery and then they they are too grippy :D and that isn't even touching the G10 color issue..lol. So this has been sitting in parts in a magnetic tray for too long. I was up at a friend's house in WI who makes pens. We have exchanged wood sometimes and since i had just lost out on some exotic wood on EBAY a few days earlier and he had a nice big block of CEBIL wood and he was nice enough to cut me off a few slabs. I am making this into a thread for 2 reasons, one to kind of make me have to finish the project and two, some of you guys seem to like these how-to threads. I had no clue when i started out modding so i figure if i can give a few pointers to someone thinking about modding a knife I have then successfully started a new even more expensive addiction to go with their knife collecting :D . There are a ton of really talented people on here when it comes to knife building/embellishment/tinkering etc. i dont profess to be one of them or even close but i can share what i have learned. To all those knife gurus, if you have any hints please feel free to jump in and tell me the easy way to do something. I am a big fan of the thought process of giving the laziest guy the hardest job so he can figure out how to do it quickly and easily and if these is an easier way I wanna know it.
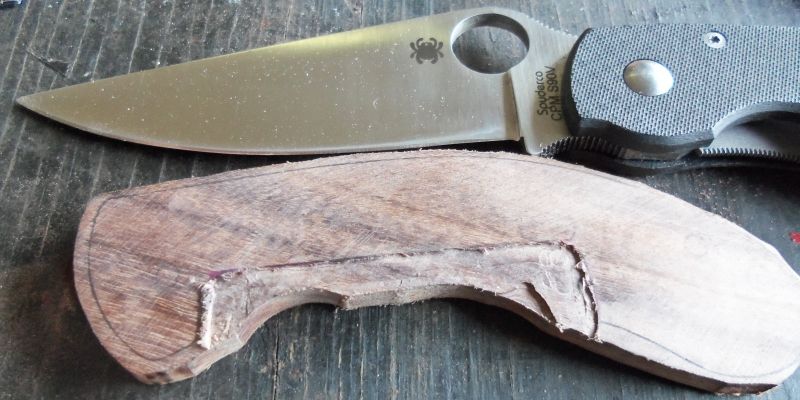
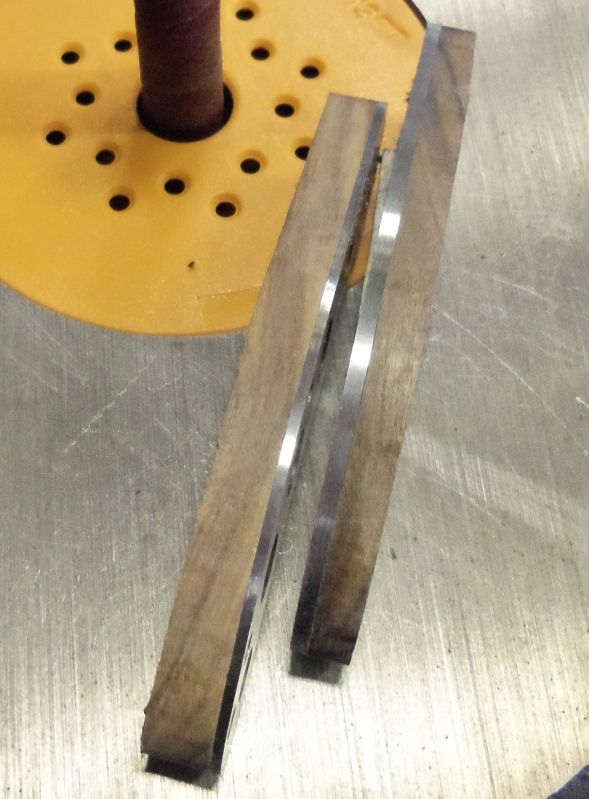
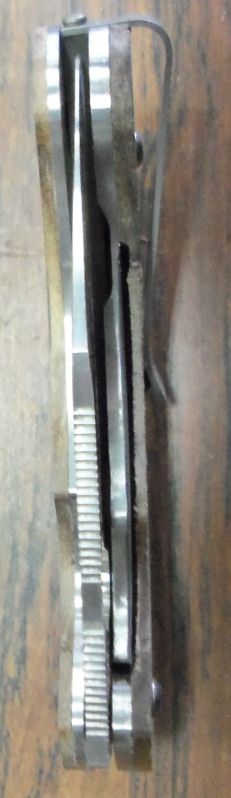
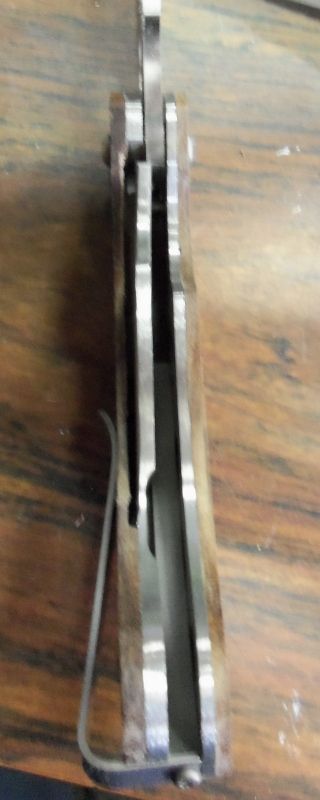
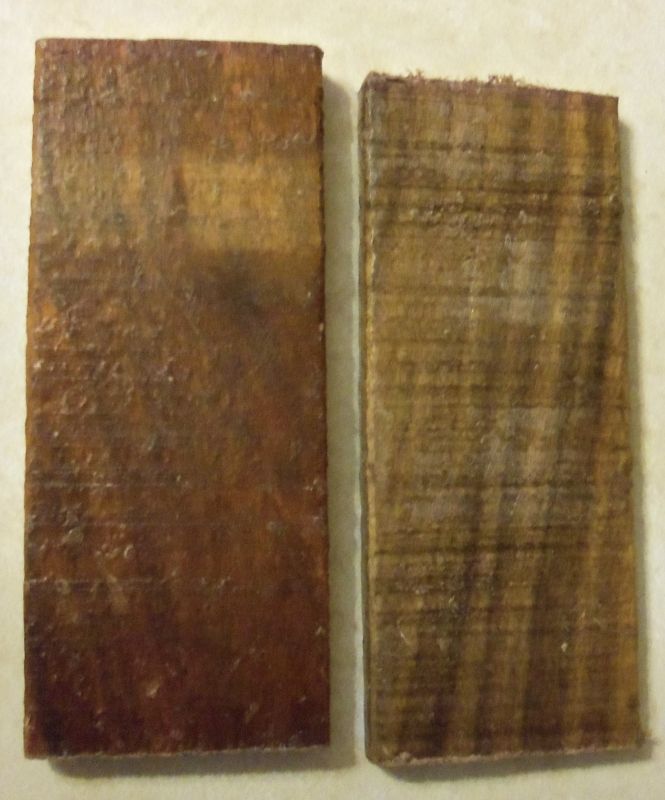
as mentioned i took apart the PPT a few months ago so i dont have any pictures of the tear down. It is pretty simple so i will just go with what pictures i have. First off the wood Cebil, it is very freaking hard, it reminds me of desert iron wood.
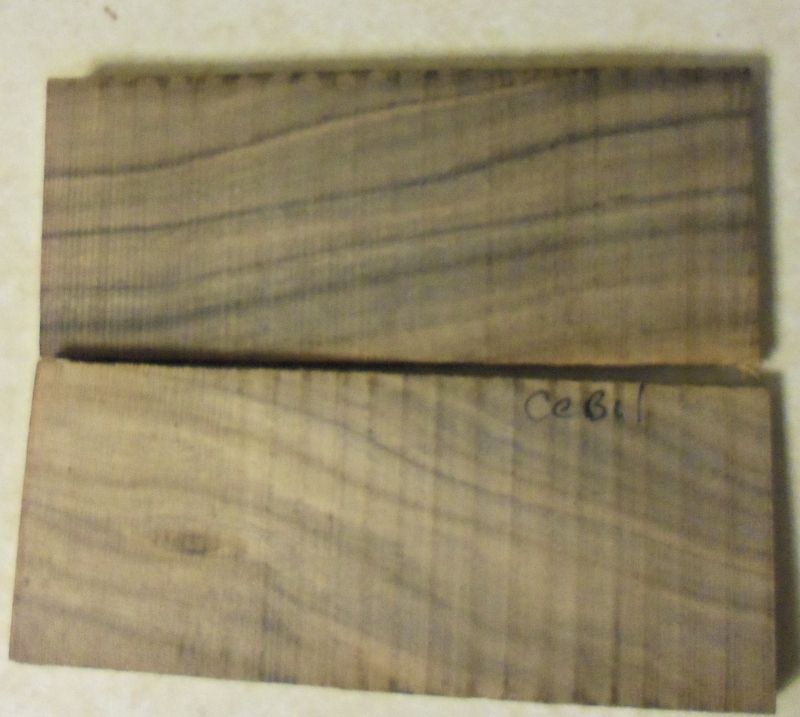
and with the wax taken off
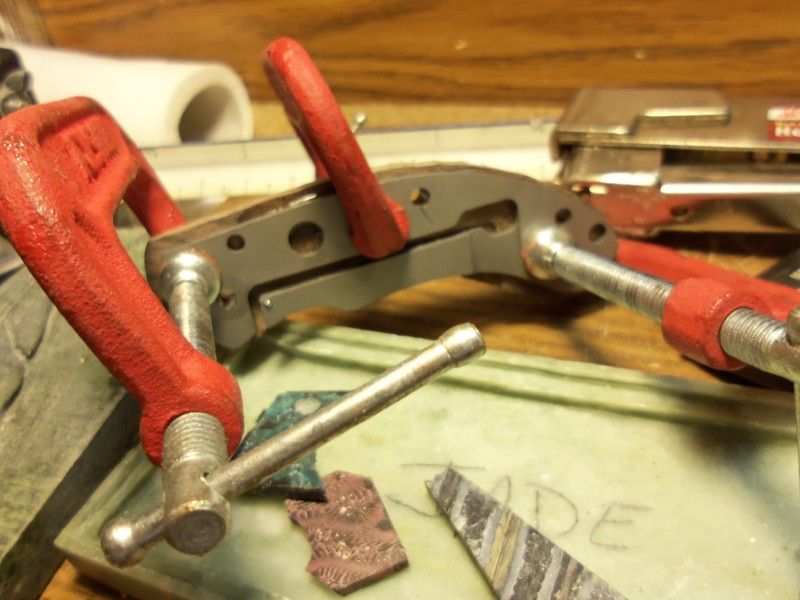
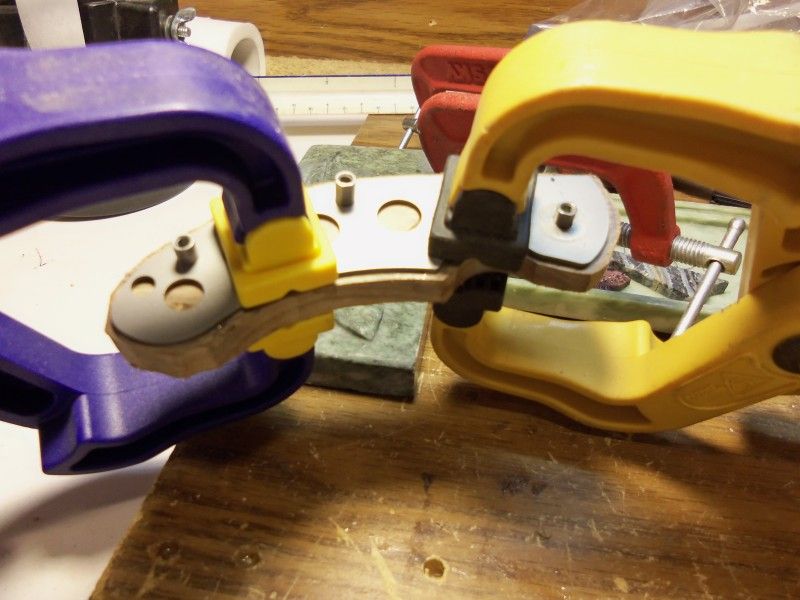
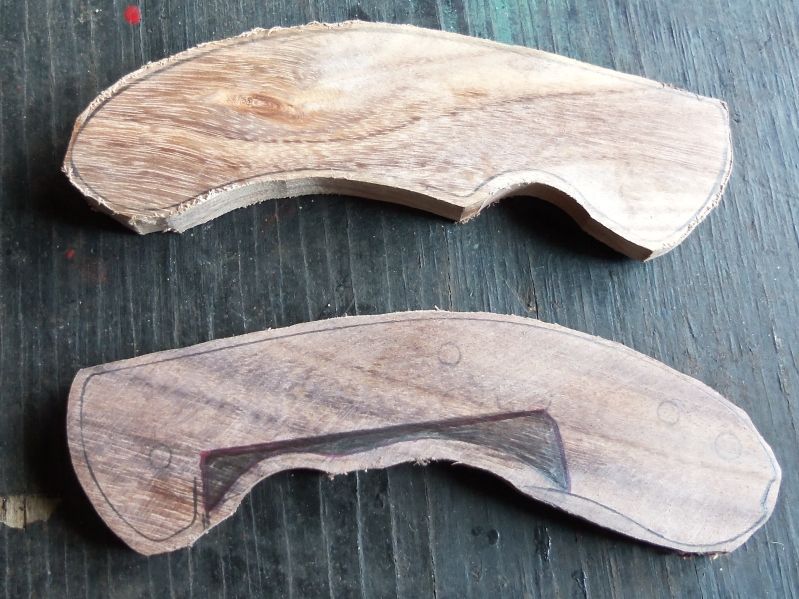
i sanded one side straight and flat and then cut out with about a 1/16" of extra wood left over on all sides. at this point the slabs are way to thick but i left them this way so if i screwed up when making the recess (it is marked out) for the liner lock i would still have enough wood to try it again.
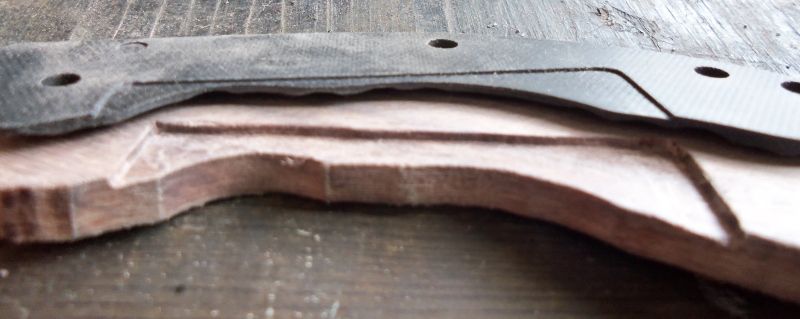
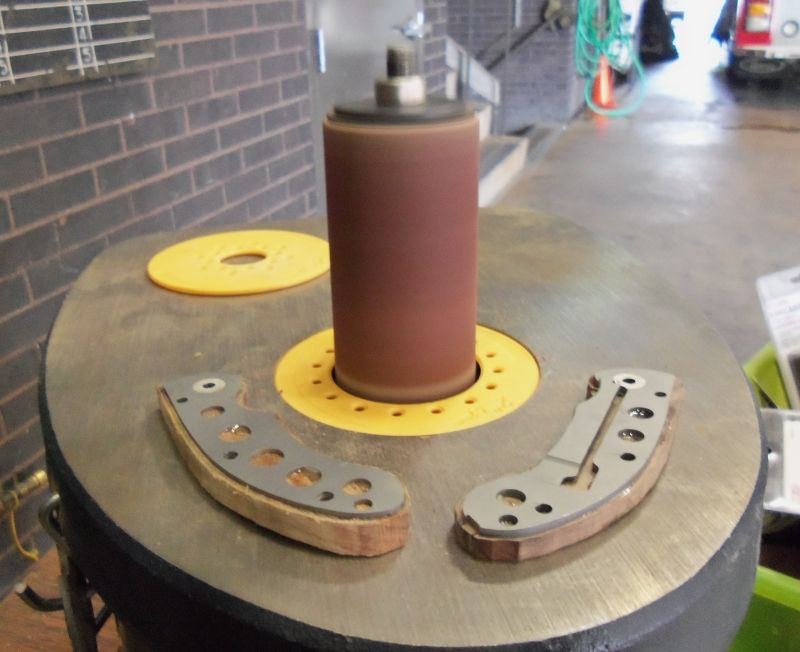
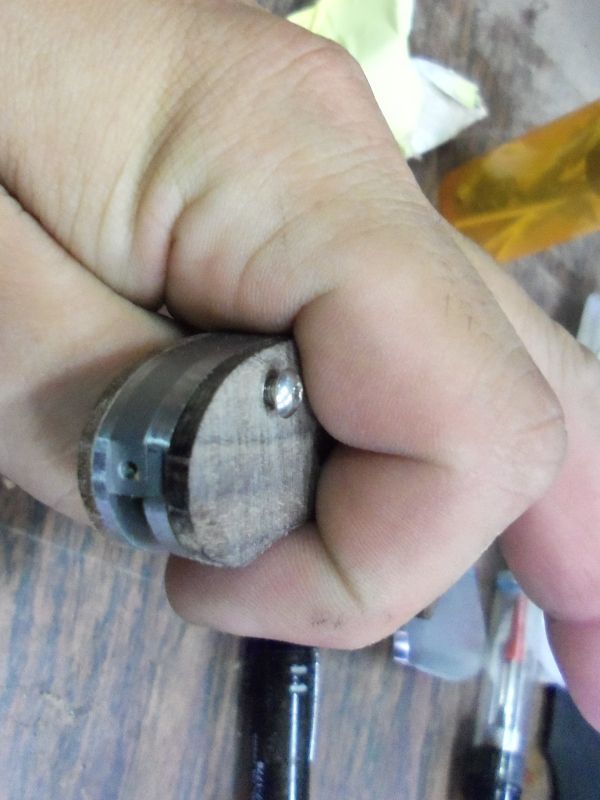
i remembered that i had a router attachment for my dremel that i bought years ago and never used, well i finally get to :)

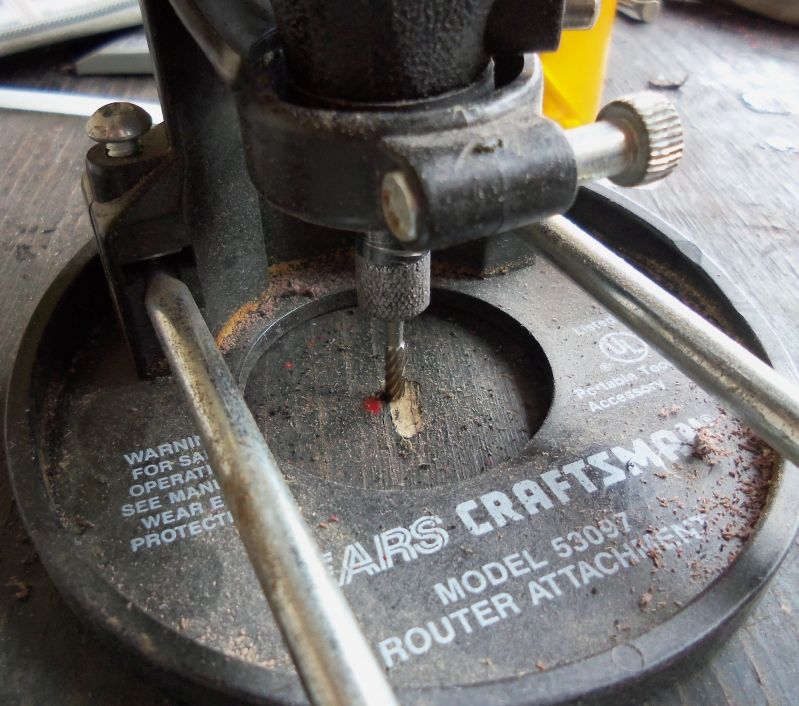
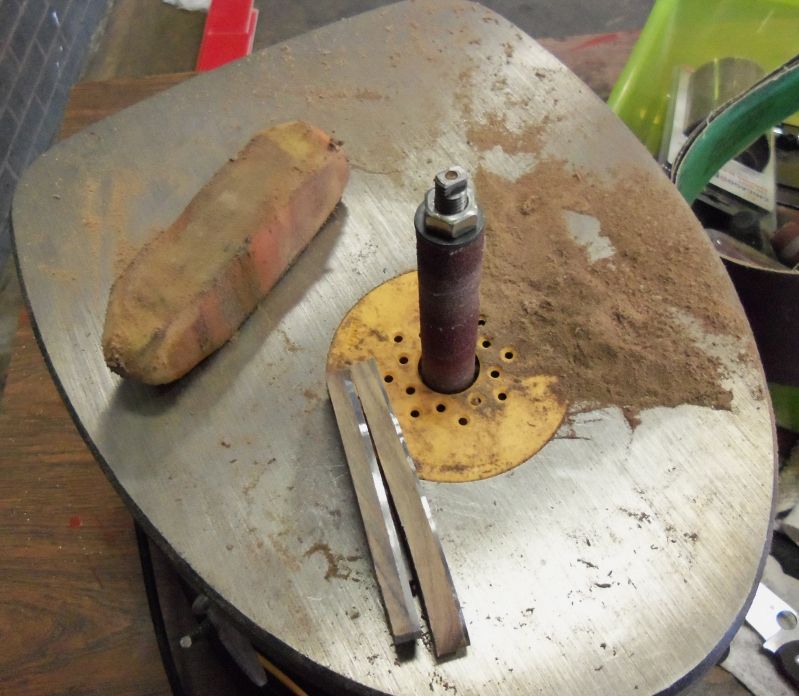
i tried a diamond bit as well but this one worked the best but i went way to deep in the first pass. this worked really well shaving off about a 1/32" at a time. i did realize one mistake that i made. i should have used a ruler and the millie to cut/trench the edge out so it would have looked cleaner. the end result isnt bad and i doubt you will be able to see the not so straight line when the knife is put back together. live & learn