Hello, I just bought two Bug knives with SS handles. I was looking for suggestions on how to spruce up the handles. I have a Dremel with the workstation (Dremel drill press) and lots of engraving accessories and not a lot of skill. I want to give one to my wife. She'll sure be surprised I spent almost $5 on her. :eek: Actually, she doesn't want a knife that would cost more than that but I'd like to do something with the handle. Plus, I don't want to learn on a more expensive knife. It also says in the catalog something about scales for SS handles. That sounds interesting also. Any help or suggestion is appreciated.
Thanks,
Jack
Decorating SS handles
-
jackknifeh

- Member
- Posts: 8412
- Joined: Fri Jul 09, 2010 6:01 am
- Location: Florida panhandle
I etched a design on a SS dragonfly by making an electro etcher using a car battery. First, cover scale with nail polish. After it dries, scratch design in nail polish. Then,...jackknifeh wrote:Hello, I just bought two Bug knives with SS handles. I was looking for suggestions on how to spruce up the handles. I have a Dremel with the workstation (Dremel drill press) and lots of engraving accessories and not a lot of skill. I want to give one to my wife. She'll sure be surprised I spent almost $5 on her. :eek: Actually, she doesn't want a knife that would cost more than that but I'd like to do something with the handle. Plus, I don't want to learn on a more expensive knife. It also says in the catalog something about scales for SS handles. That sounds interesting also. Any help or suggestion is appreciated.
Thanks,
Jack
1. Attach lead to each terminal of battery.
2. Attach + lead to knife
3. Attach - lead to an iron nail (do NOT use a copper nail, I did and created what I guess was a strong enough acid to destroy my etching)
4. Cover nail with cotton cloth
5. Soak cotton with salt water
6. Hold nail covered cloth onto design for a few second--check depth of etch.
7. Keep going until etch is deep enough for you.
This method doesn't blacken the etch, you need AC power for that.
Here's my crappy try on the dragonfly using a copper nail. When I did samples on scrap stainless using iron nail, I didn't get the "splatter" problems you can see here.
[ATTACH]16212[/ATTACH]
- Attachments
-
- L1000044.jpg (22.38 KiB) Viewed 1455 times

Take a look at this thread: http://www.spyderco.com/forums/showthread.php?t=45202
I think he's much more patient than I am.
You might want to search the forums for the posts from user Montejano. He does some really amazing stuff, but it would probably take me a year to do (poorly) what he does to a Bug. :p
http://www.spyderco.com/forums/showthread.php?t=36697
I think he's much more patient than I am.
You might want to search the forums for the posts from user Montejano. He does some really amazing stuff, but it would probably take me a year to do (poorly) what he does to a Bug. :p
http://www.spyderco.com/forums/showthread.php?t=36697
-Brian
A distinguished lurker.
Waiting on a Squeak and Pingo with a Split Spring!
A distinguished lurker.
Waiting on a Squeak and Pingo with a Split Spring!

2cha, that's cool, and I have to try it some time. Do you hold the nail with your bare hand? Does it have to be a car battery? How do you get rid of the nail polish afterward?
jackknifeh - I used diamond bits for the Delica - round tip for the side pattern and the tube-shaped bits for the grooves in the handle. Then, I sanded with 600, then 1500 grit paper, then polished...


For the Ladybug,
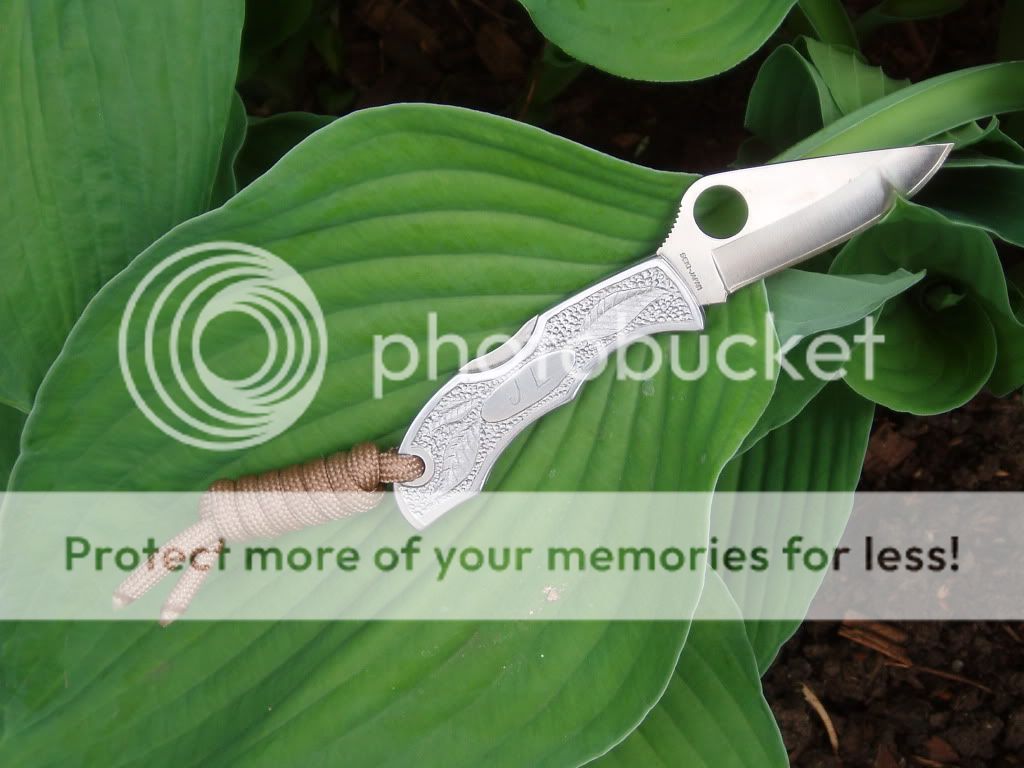

... I used the same, but used the small, square-sided carbide bits for the leaves and the outlines and borders. Also, I used a vibrating engraver for the leaf lines and initials. Here's the tools...
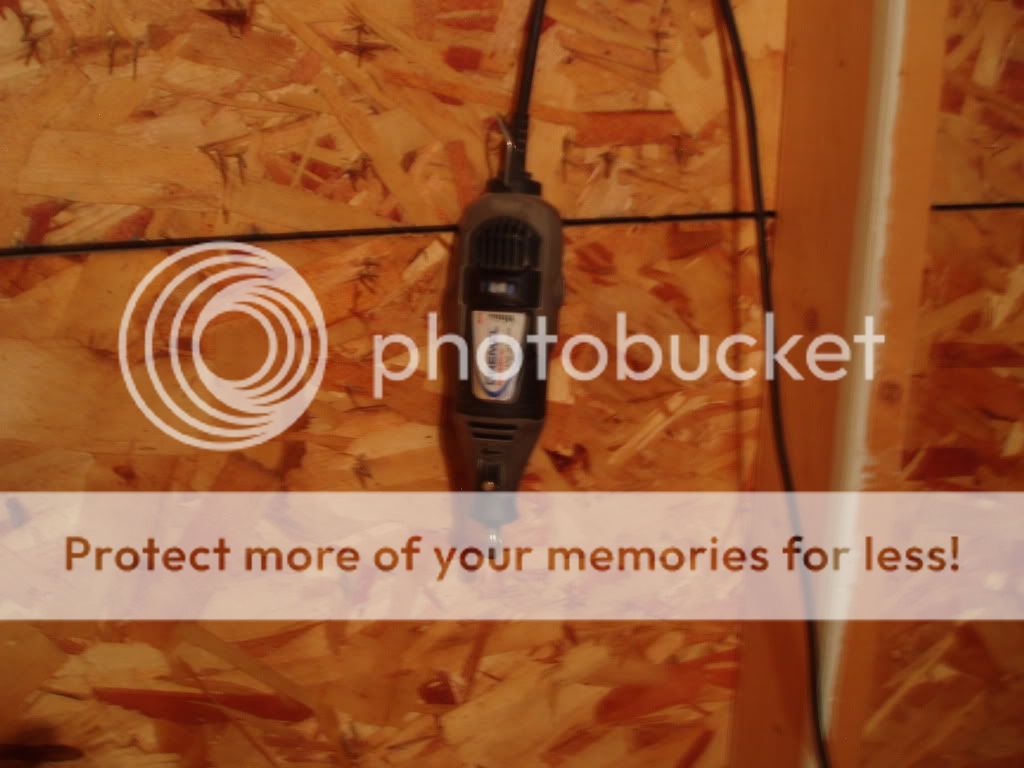
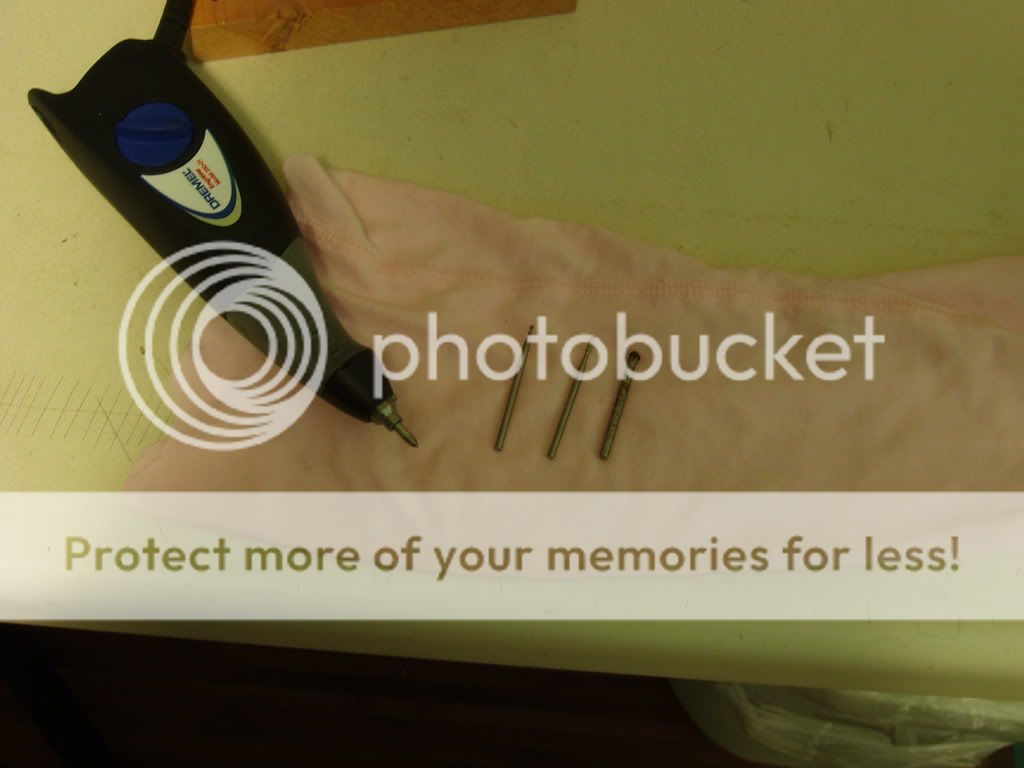
You can do a lot with just the vibrating engraver also...
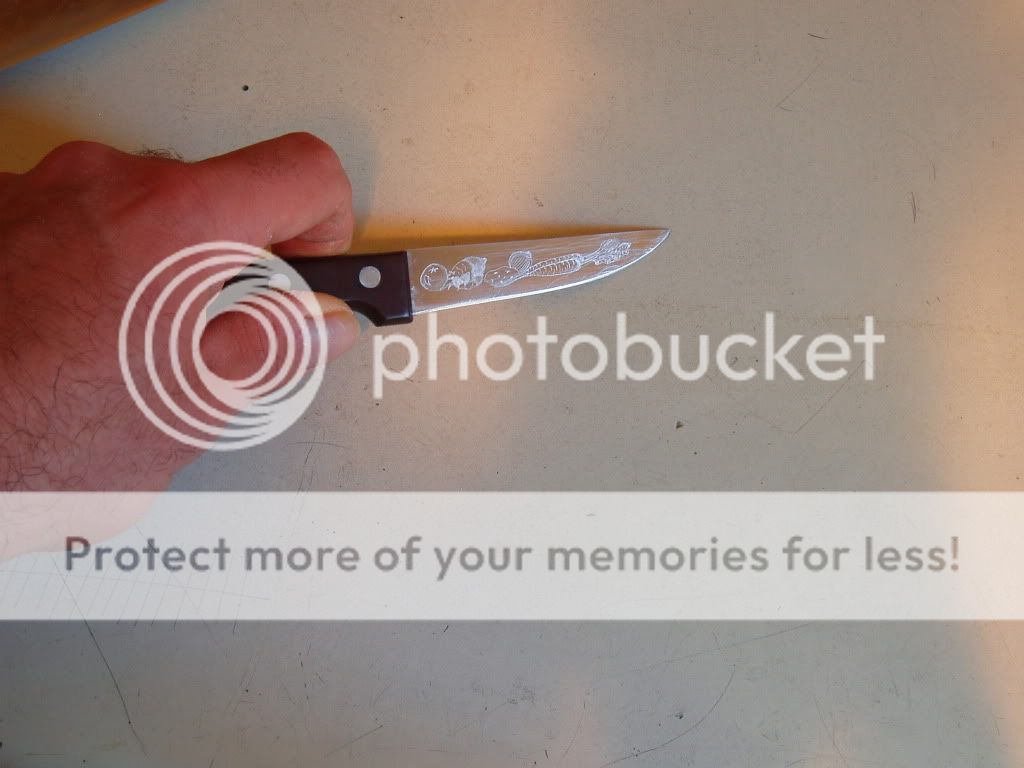

The big knife is my well worn first attempt at that kind of thing from years ago. I hope this helps you. Good luck, and please let us see when you're done. :)
- best wishes, Jazz.
jackknifeh - I used diamond bits for the Delica - round tip for the side pattern and the tube-shaped bits for the grooves in the handle. Then, I sanded with 600, then 1500 grit paper, then polished...
For the Ladybug,
... I used the same, but used the small, square-sided carbide bits for the leaves and the outlines and borders. Also, I used a vibrating engraver for the leaf lines and initials. Here's the tools...
You can do a lot with just the vibrating engraver also...
The big knife is my well worn first attempt at that kind of thing from years ago. I hope this helps you. Good luck, and please let us see when you're done. :)
- best wishes, Jazz.
-
Spydesense

- Member
- Posts: 333
- Joined: Thu Sep 09, 2010 8:13 pm
- Location: North Carolina
WOW Jazz... Great work!
My :spyder:'s>> Fluited Titanium Millie, M390 Millie, Brad Southard, Gayle Bradley, Junior, Bushcraft UK, Translucent Blue Manix 2, G10 UKPK, Sage 1, Sage 2, Ti Damascus Delica 4, Orange FFG Endura 4, Gray FFG Endura 4,Native, Blk Dragonfly, H1 Dragonfly 2, Blue Tenacious, Tenacious, H1 Ladybug, White Ladybug, Grasshopper, Honeybee and Bug

-
jackknifeh
- Member
- Posts: 8412
- Joined: Fri Jul 09, 2010 6:01 am
- Location: Florida panhandle
Great work! I've got two bug knives coming (today maybe) and hope to give one to my wife for her keychain. I may do the initials like you did (I hope she doesn't notice the initials aren't hers :) ). Would you recommend an engraver instead of small bits in the Dremel rotary tool for engraving? Sometimes I have a problem because the bit is spinning (especially larger bits). Moving one direction is easier than the other because one way you are moving against the rotation of the bit. That has caused me to make mistakes due to a lack of skill or practice I'm sure. Anyway what you've done is exactly the type of thing I was thinking. You really did good work.Jazz wrote:2cha, that's cool, and I have to try it some time. Do you hold the nail with your bare hand? Does it have to be a car battery? How do you get rid of the nail polish afterward?
jackknifeh - I used diamond bits for the Delica - round tip for the side pattern and the tube-shaped bits for the grooves in the handle. Then, I sanded with 600, then 1500 grit paper, then polished...
For the Ladybug,
... I used the same, but used the small, square-sided carbide bits for the leaves and the outlines and borders. Also, I used a vibrating engraver for the leaf lines and initials. Here's the tools...
You can do a lot with just the vibrating engraver also...
The big knife is my well worn first attempt at that kind of thing from years ago. I hope this helps you. Good luck, and please let us see when you're done. :)
- best wishes, Jazz.
Jack


Thank you guys. :o
Jack - The engraver is what I started with long ago, and it can do some nice, really detailed work. I can't show better examples because they were all other peoples' knives - castles, knights, someone's boxer dogs, guitar and amp, lots of veggies and fruits... anyway, if it's easier to control for you, that's a great way to go. I like it. I start off with the engraver on a higher setting for the drawing outlines, etc., then go softer for shading and stuff like that. Only problem is it's so loud. I do slip a bit with the Dremel and rotary bits too and I get upset :eek: :mad: , but just try to cover it up the best I can. I know I'll never make a perfect engraving or carving and I can live with that.
- best wishes, Jazz.
-
jackknifeh
- Member
- Posts: 8412
- Joined: Fri Jul 09, 2010 6:01 am
- Location: Florida panhandle
Thanks Jazz, I was looking at the Dremel engraver and saw that it has a diamond tip available for it also. I thought that may be needed or helpful if I ever wanted to do something on harder steel like the blade, especially the harder steels. Do you know anything about this?Jazz wrote:Thank you guys. :o
Jack - The engraver is what I started with long ago, and it can do some nice, really detailed work. I can't show better examples because they were all other peoples' knives - castles, knights, someone's boxer dogs, guitar and amp, lots of veggies and fruits... anyway, if it's easier to control for you, that's a great way to go. I like it. I start off with the engraver on a higher setting for the drawing outlines, etc., then go softer for shading and stuff like that. Only problem is it's so loud. I do slip a bit with the Dremel and rotary bits too and I get upset :eek: :mad: , but just try to cover it up the best I can. I know I'll never make a perfect engraving or carving and I can live with that.
- best wishes, Jazz.
Thanks,
Jack
If you're talking about the vibrating engraver, mine has a carbide tip (appears to be replaceable) and I use it on blades with no problem. If you mean the rotating Dremel, I'd definately use diamond bits on the blade. If you have some silverware or some scrap of stainless steel, it's a great idea to practice on it and see just what you can do with various tips - just fool around on it. Sometimes I even do before I start something just to get reaquainted with the tips and get a feel for the Dremel again - gives me a bit more confidence for the actual carving or engraving.jackknifeh wrote:Thanks Jazz, I was looking at the Dremel engraver and saw that it has a diamond tip available for it also. I thought that may be needed or helpful if I ever wanted to do something on harder steel like the blade, especially the harder steels. Do you know anything about this?
Thanks,
Jack
I have to add that the diamond tips work great on stone, if you were interested in trying that...
I hope this helps.
- best wishes, Jazz.