The kydex sheath making stuff came in the mail yesterday. What I bought was:
1. Kydex sheath kit. It came with a sq. ft. of kydex, 10 rivets, one belt loop and a ball chain.
2. Foam. Bought one piece and cut it in half.
3. Rivet hand setter. Using this you set the rivets using a hammer by hand.
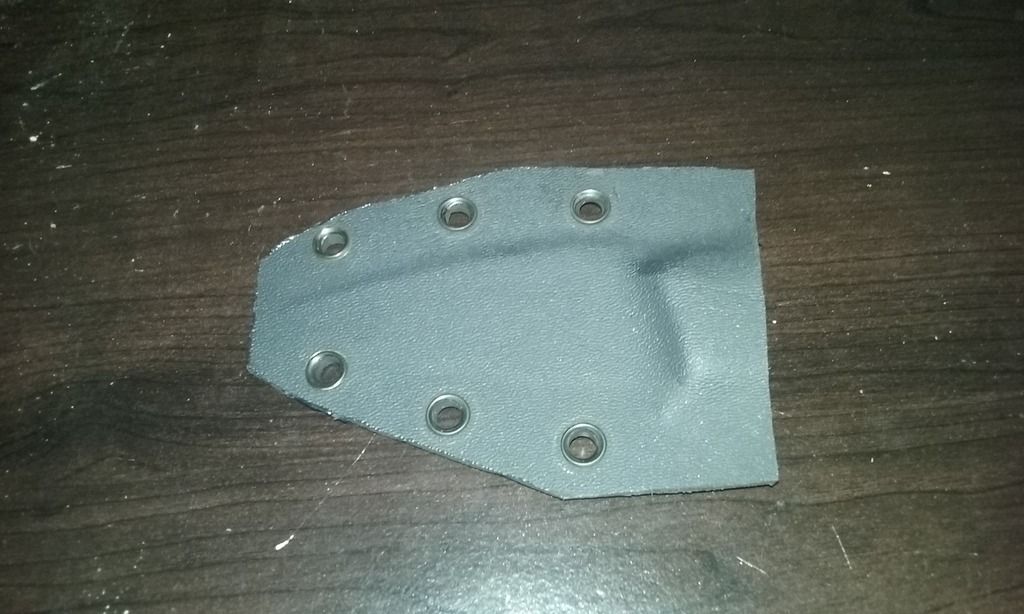
I watched a couple of videos then made my first sheath. In this picture I had heated and formed it twice. The first time the knife was not centered well between the rivets. Also, the knife wiggled a little when in the sheath. There was plenty of pressure to keep the knife in the sheath. I tried to shake it enough to make the knife fall out but it stayed in. It isn't finished yet as far as forming the edges or anything. Do that later. Here it is.
As usual though I got in a hurry and set myself back a couple of days. I'm using polyurethane to seal the handle and it takes that stuff a long time to dry completely. The directions say 24 hours but I think it's more like 48 or 72 for a full cure. I wasn't real happy with my first coats so I had sanded it and re-applied the polyurethane. Then I smashed the kydex around it before I let it dry completely. That ruined the poly. So, I sanded it again and now the first coat is drying for the second time. Tonight will be 24 hours so I'll sand it and apply a second coat. If I like that 24 hours later I'll wait 2 more days and probably form the kydex again. Also, I'm thinking I didn't heat the kydex quite enough. I used a toaster oven. I put the sheath in it and then turned it on. No pre-heating. I left it in there for 10 minutes. Next time I'll let it go 13-15 minites but I'll be watching it. I have a heat gun but I CAN'T FIND IT! :mad: Maybe the kydex wasn't soft enough to form a tighter fit. That may be why the knife wiggled inside the sheath.
I didn't expect this sheath to come out perfect being my first one. I'm planning on making another soon. I have enough kydex but I'll need more rivets. On this sheath I'll say the rivets look terrible but they work. I think you need practice using the hand rivet smashing tool. Smashing them evenly is the problem I had. A press would probably do a better job the first time but right now I'm not going to get one. On the next sheath I'll use the belt loop that came with the kit.
If there are any kydex guys out there I'd appreciate any advice you have. Thanks.
Jack


