
Before I get started, a couple of things I'd like to clarify. First, I appreciate the reason the pacific salt comes with a fatter tip. I'm not out to debate what is more useful or how the knife should be made. I just want to detail a mod that makes it function better for me. Second, I don't have any special metal working skills...at all! I only mention that because I want to encourage anyone who thinks they'd like to mod a blade like this to give it a shot. This is super easy and you don't need to have any prior experience or special tools.
Ok, all I did was put a piece of tape on one side of the blade from the hole to the tip in a straight line. The tape acts as a guide so I can just remove whatever metal is exposed above the tape line.
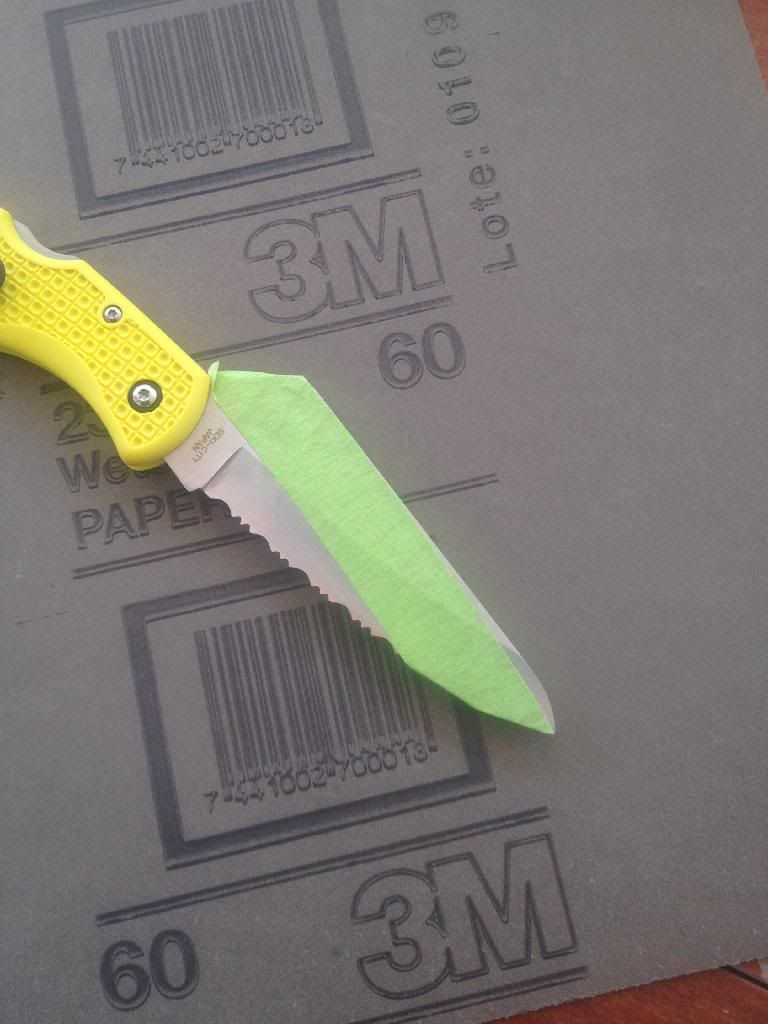
Then I went to work. Now here's the interesting part. I didn't have access to a bench grinder today so I just bought a sheet of 60 grit sandpaper. Laid the sandpaper on a table turned the knife spine down and went to sanding. (Btw, I DID put several layers of tape on the edge so I didn't cut my hand open!) The last time I did this on a PAC salt I ground the spine flat all the way to the tape and I ended up with a tip that was a bit TOO fine and delicate, so this time my plan was to work it evenly until I was a just above the tape line but to leave a bit more metal in the tip. (The tape was still very useful as a guide) So after exactly 10 minutes of sanding I was here...
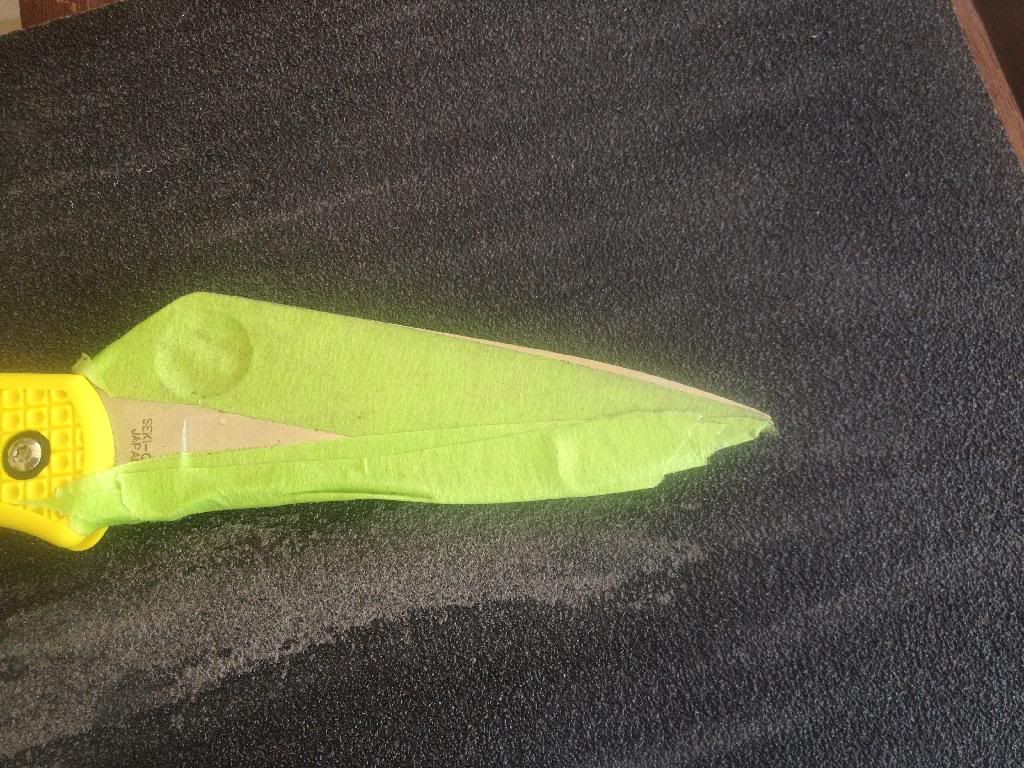
At that point I removed the tape so I could get a better look at the curve. There was still a bit of a "hump" and it looked a bit wonky so I gave it another few minutes with no tape guide just to remove a bit more metal and smooth the transitions of the curve. When I finished, I hit it for a minute or two on a sheet of 180 grit to polish it up a bit and that's it! The entire process, start to finish took about 15 minutes. The end result looks pretty good to me. It's not perfect. I can still see a slight hump in the curve, but I would have had to take more off the tip to fix that and I decided to maintain a bit of function and strength over aesthetics.
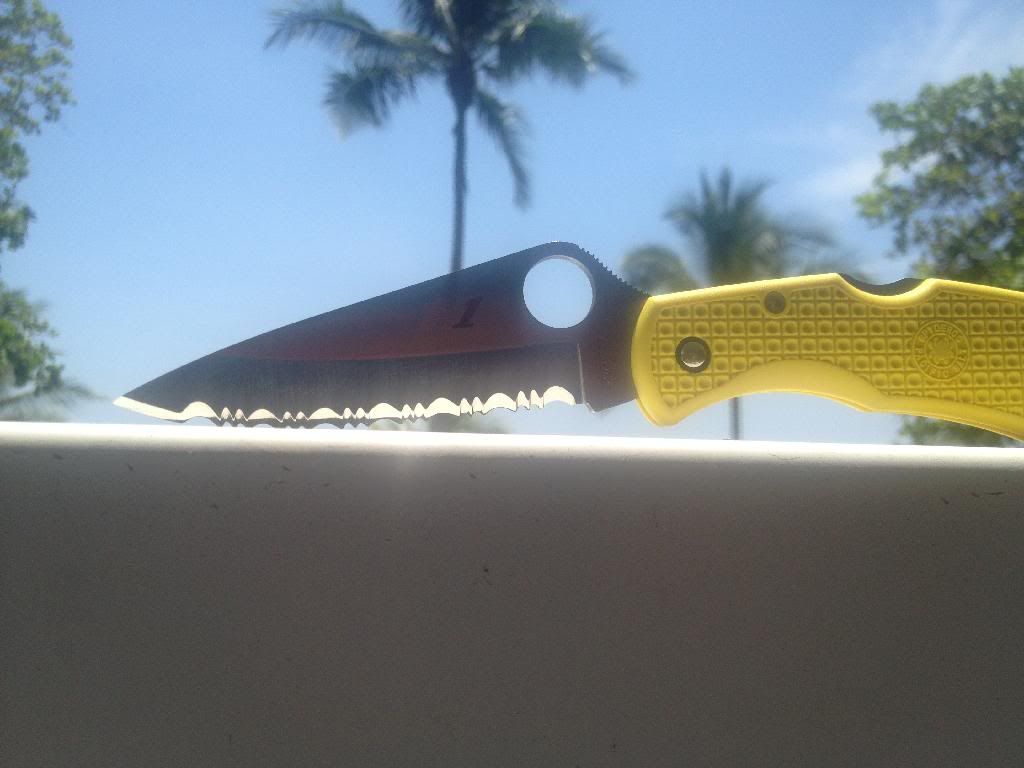
Ok, that's it. I apologize if that was too much info or too remedial for y'all, but I was trying to show how simple it was so even those who don't have any experience might be encouraged to give it a shot. And it really is that simple. With sandpaper you go so slowly that it's nearly impossible to screw anything up! It's good fun too and you end up with a knife that's really yours! So get to work and post your results! :D


