I'm constantly blown away by the level of craftsmanship some of you bring to scale construction, so I figured I'd ask the best.
How do you contour scales? What shape do you go for, and how to you arrive there? Is it all mental, an eyeballed guess?
I've got two flat slabs of wood on my Mule now and am struggling with where to go next.
Thanks all.
Help Contouring Mule Scales
Thanks. That was going to be my general approach. I guess fit all depends on ones hand.gaj999 wrote:After the glue sets, I rough cut close to the tang with a jigsaw and then go after the scales with a wood rasp and files. Periodically I'll wrap my mitt around it to see how it fits. When I like it, I finish it with decreasing grits of sandpaper and a trip to the buffing wheel.
Gordon
-
jabba359

- Member
- Posts: 4958
- Joined: Fri Feb 10, 2006 11:07 pm
- Location: North Hollywood, CA U.S.A. Earth
- Contact:
I used a $3 scrap wood 2x4, traced out the mule handle, and then mocked up a few solid wood handles, contouring them and making ergonomic adjustments on each one. After four prototypes (when making my first Mule), I ended up with a shape that fit my hand very well. Then I just shaped the real scales/mule handle to match my mockup. The solid wood mockups also allow me to try some crazy ideas for extremely cheap, as I don't use the final wood until I've developed something I like.
- Attachments
-
Very nice. Lol, maybe I should have thought about doing trial runs. Oh well, too late for that now! I'm going to try to get some more work done today, if the wife permits me. She's got a to do list as long as my... Military.jabba359 wrote:I used a $3 scrap wood 2x4, traced out the mule handle, and then mocked up a few solid wood handles, contouring them and making ergonomic adjustments on each one. After four prototypes (when making my first Mule), I ended up with a shape that fit my hand very well. Then I just shaped the real scales/mule handle to match my mockup. The solid wood mockups also allow me to try some crazy ideas for extremely cheap, as I don't use the final wood until I've developed something I like.
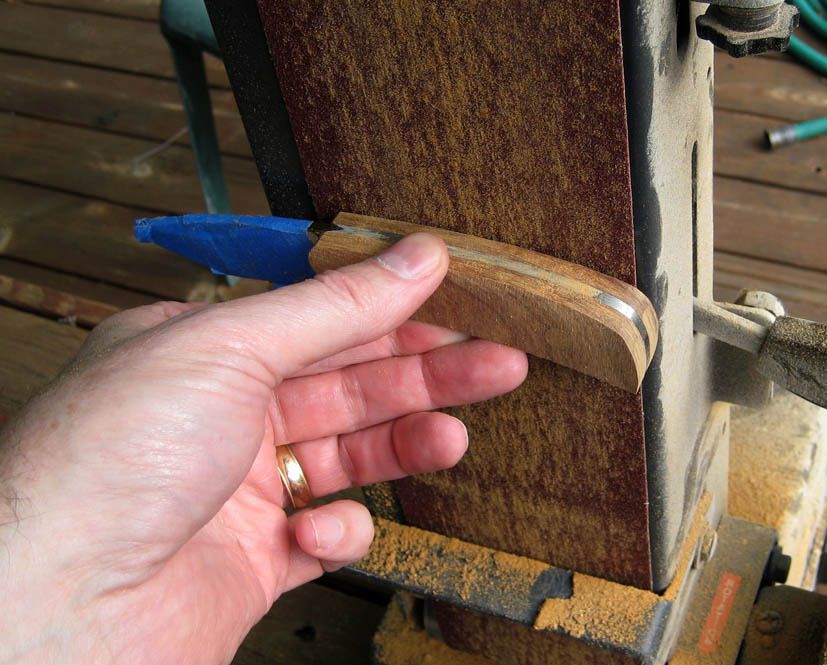
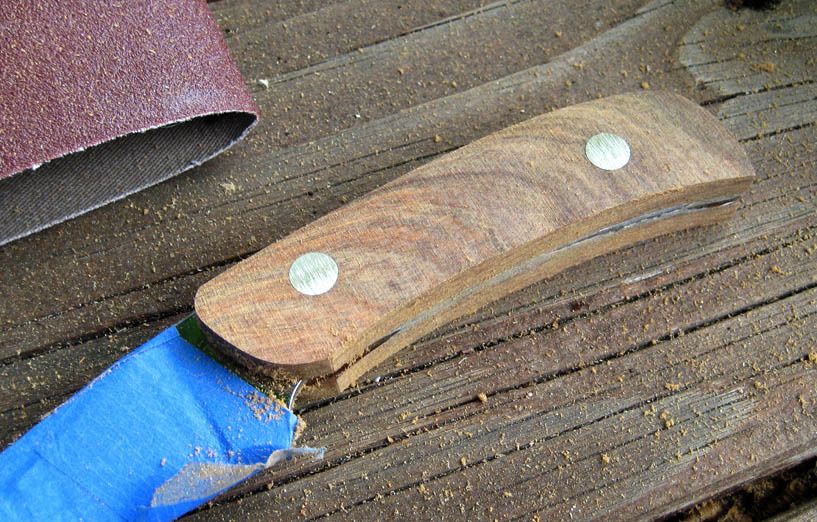
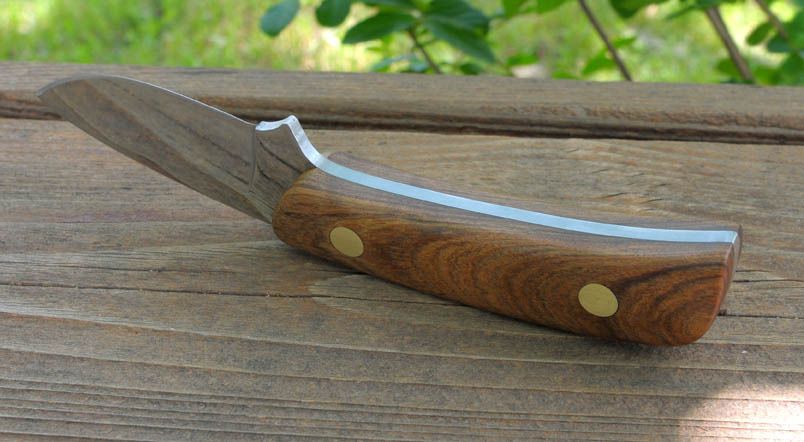
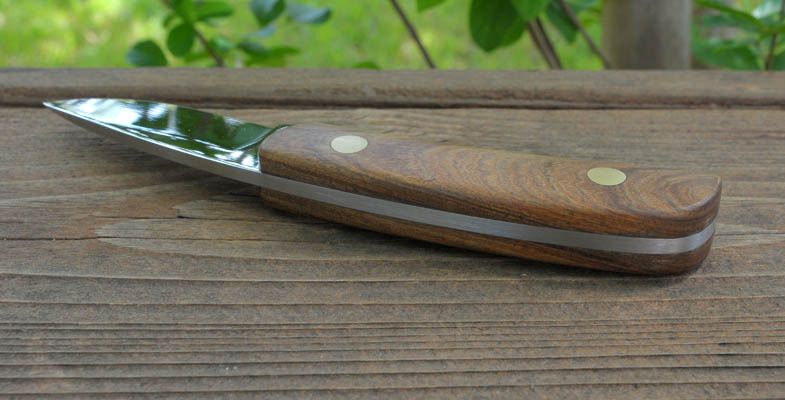
I have a small bench belt sander that I use for shaping knife scales. It works well enough but you have to be careful when doing complex 3-dimensional shapes or you will take off too much material from the wrong place. I have read that some people use various wood rasps and this makes sense because you can probably go slower and work more carefully. I have also been advised to use strips of sandpaper similar to how a person would use a long cloth to polish a leather shoe by putting one hand on each end of the cloth and pulling back and forth over the shoe.
Here are some in progress shots and finished shots of a different knife I did recently. For sanding wood against metal you need to use a hard material to back up your sandpaper such as a wood block or a wood dowel. Otherwise you will sand the wood faster than the metal and the edges of the metal will end up sticking up. Using the belt sander against the curved inside edges of the metal will leave a scalloped surface that is real hard to even up by hand so be careful with that.
Before beginning work on your scales you should tape up the knife edge very well. A sander can grab the blade out of your hand and throw it at your legs or feet, or at least fingertips.
-
Brock O Lee

- Member
- Posts: 3321
- Joined: Thu Jul 21, 2011 3:34 am
- Location: Victoria, Australia
My only one to date was all rasps, files and eyeballs. :)
I like the feel of hand-tools, because it gives me a bigger margin for error, as it doesn't remove too much material at a time.
I'll give the mock-ups a try for future projects...
I like the feel of hand-tools, because it gives me a bigger margin for error, as it doesn't remove too much material at a time.
I'll give the mock-ups a try for future projects...
Hans
Favourite Spydies: Military, PM2, Shaman, UKPK
Others: Victorinox Pioneer, CRK L Sebenza 31, CRK L Inkosi
Favourite Spydies: Military, PM2, Shaman, UKPK
Others: Victorinox Pioneer, CRK L Sebenza 31, CRK L Inkosi

I use files, and dowels of various sizes along with sandpaper to shape things the way I like. Then I use a handheld sander with various attachments to finish. Some of the attachments are good for getting into dips and rounding edges. Final finish is by hand.
Dan (dsmegst)
:spyder:
Latest 10: Techno, Centofante Memory, Bradley Air, Tuff, M390 Blue Para 2 (2), Yojimbo 2, Des Horn, DiAlex Junior, Native 5, Chaparral
:spyder:
:spyder:
Latest 10: Techno, Centofante Memory, Bradley Air, Tuff, M390 Blue Para 2 (2), Yojimbo 2, Des Horn, DiAlex Junior, Native 5, Chaparral
:spyder:

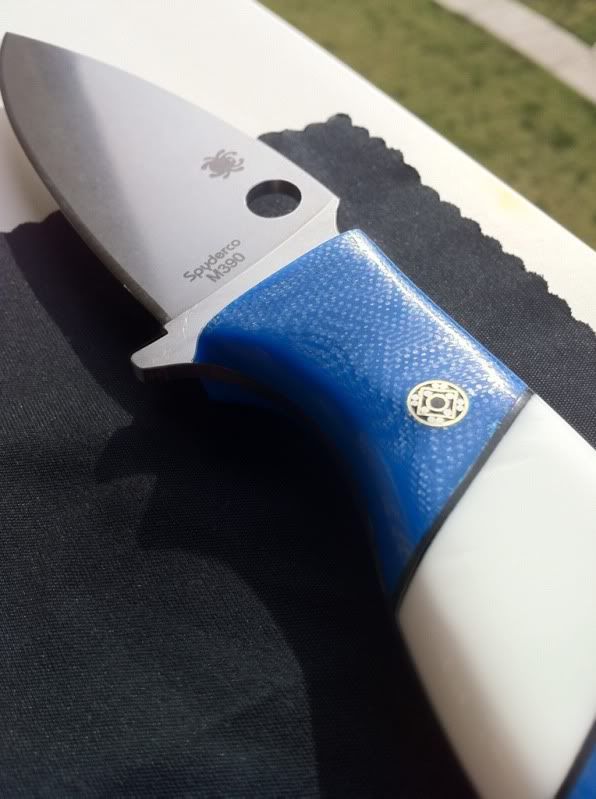
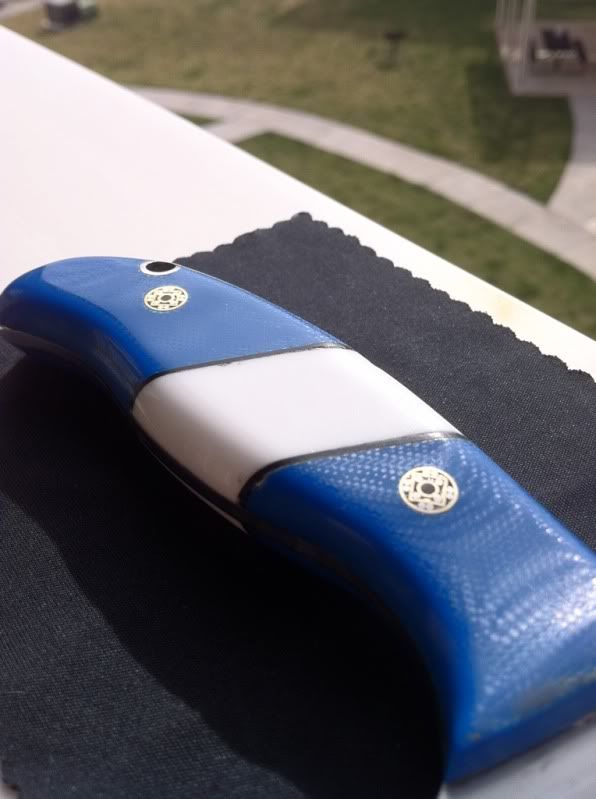
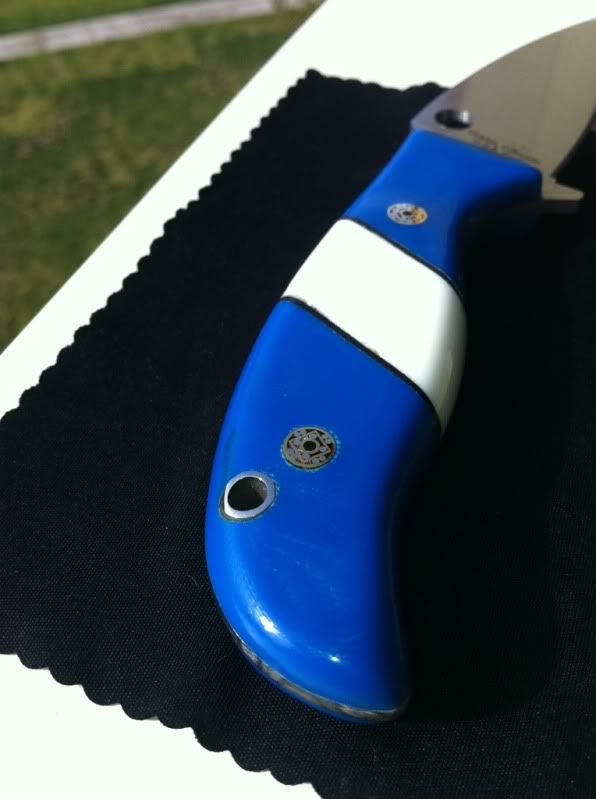
i got them right here buddyhiredgun wrote:kadinh,
Nice work. I like it. Are you mosaic pins .375 and are those all nickel or is there brass in there too? I'd really like to know where you got those. Thanks.
http://www.knifemaking.com/product-p/mp410.htm
You should never have to ask yourself "do i really need another knife?" The answer is obvious...
I want one of those sanders. They are relatively inexpensive and I think they would be great for handles and scales. Plus you can read elsewhere that they are a good inexpensive solution for quick sharpening of knives when used with the right grit of belts.kadinh wrote:this was my 1st one i did. i just did mine by eye and used a 1x30 belt sander