Making a Mule Handle (step-by-step)

A place to share your experience with our Mule Team knives.
User avatar
Xplorer
Member
Posts: 1344
Joined: Sat Apr 18, 2015 11:41 pm

Re: Making a Mule Handle (step-by-step)

#41

Post by Xplorer »

Holland wrote:
Tue May 25, 2021 10:26 am
Incredible thread, thanks for taking the time to put this together and add all the photos! Very informative
You're welcome. I'm glad you find it informative. I hope it helps inspire or motivate anyone who might be "on the fence" about making their own to go ahead and do it. :)

Best regards,
Chad
:spyder: Spyderco fan and collector since 1991. :spyder:
Father of 2, nature explorer, custom knife maker.
@ckc_knifemaker on Instagram.
User avatar
Artvitel
Member
Posts: 24
Joined: Thu Apr 08, 2021 3:45 pm

Re: Making a Mule Handle (step-by-step)

#42

Post by Artvitel »

Thank you for this full process tutorial!
It will be very helpful for creating my first Mule’s handle. Off course I’m not suppose to get so nice result, but will try to get at least comfortable working handle :D
I’m going to use canvas micarta with micarta’s liners. Is it any special suggestion or warnings to use canvas micarta for the handle?
TomAiello
Member
Posts: 6652
Joined: Tue Jun 11, 2013 10:34 pm
Location: Twin Falls, ID

Re: Making a Mule Handle (step-by-step)

#43

Post by TomAiello »

Artvitel wrote:
Tue May 25, 2021 8:59 pm
I’m going to use canvas micarta with micarta’s liners. Is it any special suggestion or warnings to use canvas micarta for the handle?
Wear a good mask and safety glasses. Sanding micarta is basically sanding epoxy into dust, and you don't want to breath it or end up with it in your eyes.
User avatar
Xplorer
Member
Posts: 1344
Joined: Sat Apr 18, 2015 11:41 pm

Re: Making a Mule Handle (step-by-step)

#44

Post by Xplorer »

Artvitel wrote:
Tue May 25, 2021 8:59 pm
Thank you for this full process tutorial!
It will be very helpful for creating my first Mule’s handle. Off course I’m not suppose to get so nice result, but will try to get at least comfortable working handle :D
I’m going to use canvas micarta with micarta’s liners. Is it any special suggestion or warnings to use canvas micarta for the handle?
Just like Tom said, wear a good respirator. Otherwise it's a great material to work with. One of my favorites for sure.

The advice I would offer is to get the shaping looking "clean" early in the process. Don't try to move on to finer sandpaper grits until the 80 or 120 grit is done really well and there are no "cloudy" looking blotches in the surface. It will just get harder to sand those out with finer grits. Once everything looks nice you can go through a succession of finer grits until you reach the finish you desire. Micarta looks nice when rough at 80 grit and just some hand oils rubbed in, and it looks great all the way up to full gloss polished.

Best,
CK
:spyder: Spyderco fan and collector since 1991. :spyder:
Father of 2, nature explorer, custom knife maker.
@ckc_knifemaker on Instagram.
User avatar
Artvitel
Member
Posts: 24
Joined: Thu Apr 08, 2021 3:45 pm

Re: Making a Mule Handle (step-by-step)

#45

Post by Artvitel »

Thank you for warning, Tom

Xplorer wrote:
Tue May 25, 2021 11:23 pm
...
Micarta looks nice when rough at 80 grit and just some hand oils rubbed in, and it looks great all the way up to full gloss polished.

Best,
CK
Thank you for explanation
I’ll try to reach a good hand grip and nice look of my handle by choose the sand paper grit :)
User avatar
Xplorer
Member
Posts: 1344
Joined: Sat Apr 18, 2015 11:41 pm

Re: Making a Mule Handle (step-by-step)

#46

Post by Xplorer »

Artvitel wrote:
Tue May 25, 2021 11:38 pm

Which grit is the best for finish of canvas micarta, to reach good hand grip and looks nice? :rolleyes:
Based on your experience.
It's a matter of personal preference with a little consideration for intended use.
For example I use this knife as my hard use "beater" and the micarta is sanded to 80 grit for good grip.
Image

This one was made to be used while wet with a fish in the other hand, also 80 grit.
Image

On the other hand I've made a lot of micarta handles that are sanded up to 5000 grit and then polished on the buffer and I don't have issues with them being slippery.
I use this one in the kitchen every day. It's polished rag and canvas micarta.
Image

This prototype I use as my "dinner EDC" every night. It's polished canvas micarta as well.
Image

It just depends on what you want and there's no wrong answer with micarta.

Best,
CK
:spyder: Spyderco fan and collector since 1991. :spyder:
Father of 2, nature explorer, custom knife maker.
@ckc_knifemaker on Instagram.
User avatar
Artvitel
Member
Posts: 24
Joined: Thu Apr 08, 2021 3:45 pm

Re: Making a Mule Handle (step-by-step)

#47

Post by Artvitel »

Thanks a lot 🙂👍
MBikingDiver
Member
Posts: 2
Joined: Tue Jun 08, 2021 5:38 pm

Re: Making a Mule Handle (step-by-step)

#48

Post by MBikingDiver »

[/quote]

You're welcome! I don't know if a name has been officially designated or not, but Mule Heads is just the one that stuck in my head after reading the nickname thread a few weeks ago :) .

One really nice thing about paracord handles is you can change them much more easily any time you decide you want to fresh new look. Plus it seems like paracord comes in about 1000 colors and patterns so choices are nearly infinite. For someone like me, ordering paracord for lanyards is really dangerous. I get on the paracord website and I want to order like 50 of them :o I always end up buying 3 times as many colors as I actually needed (just in case :) ).

Best regards,
Chad
[/quote]

Chad,

Thanks so much man! I know we spoke on Instagram, and you told me the thread was posted and ready. I've been collecting Spyderco's for a while but just got around to finally setting an account up on here solely to view your thread. (I didn't realize the plethora of information on this forum before now, it's awesome). You did an excellent job! I'm stoked to try my own scales here before long. Thanks again for the time and effort you put into this.

Brett
User avatar
Xplorer
Member
Posts: 1344
Joined: Sat Apr 18, 2015 11:41 pm

Re: Making a Mule Handle (step-by-step)

#49

Post by Xplorer »

MBikingDiver wrote:
Fri Jun 11, 2021 12:41 pm

Chad,

Thanks so much man! I know we spoke on Instagram, and you told me the thread was posted and ready. I've been collecting Spyderco's for a while but just got around to finally setting an account up on here solely to view your thread. (I didn't realize the plethora of information on this forum before now, it's awesome). You did an excellent job! I'm stoked to try my own scales here before long. Thanks again for the time and effort you put into this.

Brett
Hi Brett. Thank you for the kind words. :)

I'm glad you decided to join this forum. It's a great place to talk about and to learn about Spyderco knives. If you hang around here for a while I'm sure you'll see this forum is generally friendlier and more informative than the others.

Best regards!
CK
:spyder: Spyderco fan and collector since 1991. :spyder:
Father of 2, nature explorer, custom knife maker.
@ckc_knifemaker on Instagram.
User avatar
u.w.
Member
Posts: 570
Joined: Mon Apr 09, 2018 7:25 am
Location: VABch

Re: Making a Mule Handle (step-by-step)

#50

Post by u.w. »

WOW - what an amazing thread! Thank you for taking the time & sharing all of it.
Thank you also to TomAiello for your contributions.

Side note to Tom, I saw where you wrote - that you sewed and had a parachute rigging/riggers loft. Brought a smile to my face, as it was indeed PRs (Aircrew Survival Equipmentman) who taught me to sew many, many years ago now, in "the loft". A "skill" that has payed me back far more times than I can recall, since.
We used to make all sorts of cool stuff way back then (various packs & harnesses that we'd go climbing and repelling in/with afterwards, to try out, etc...), not to mention all the various "uniform stuff". Now I make hammocks 'on the side', which I've been doing for about the last fourteen or so years. Thanks again to the PRs.

Excellent thread, and thank you to all that have contributed to it.

u.w.
User avatar
Xplorer
Member
Posts: 1344
Joined: Sat Apr 18, 2015 11:41 pm

Re: Making a Mule Handle (step-by-step)

#51

Post by Xplorer »

u.w. wrote:
Tue Jun 15, 2021 7:47 am
WOW - what an amazing thread! Thank you for taking the time & sharing all of it.
Thank you also to TomAiello for your contributions.

Side note to Tom, I saw where you wrote - that you sewed and had a parachute rigging/riggers loft. Brought a smile to my face, as it was indeed PRs (Aircrew Survival Equipmentman) who taught me to sew many, many years ago now, in "the loft". A "skill" that has payed me back far more times than I can recall, since.
We used to make all sorts of cool stuff way back then (various packs & harnesses that we'd go climbing and repelling in/with afterwards, to try out, etc...), not to mention all the various "uniform stuff". Now I make hammocks 'on the side', which I've been doing for about the last fourteen or so years. Thanks again to the PRs.

Excellent thread, and thank you to all that have contributed to it.

u.w.
I'm happy to hear you found the thread helpful. I hope it helps encourage you make your own Mule handle and share it here on the forum. :)
:spyder: Spyderco fan and collector since 1991. :spyder:
Father of 2, nature explorer, custom knife maker.
@ckc_knifemaker on Instagram.
User avatar
Bolster
Member
Posts: 5557
Joined: Sat Mar 03, 2007 1:27 pm
Location: CalyFRNia

Re: Making a Mule Handle (step-by-step)

#52

Post by Bolster »

u.w. wrote:
Tue Jun 15, 2021 7:47 am
Now I make hammocks 'on the side', which I've been doing for about the last fourteen or so years.

OT, so I'll be brief: That's really cool UW. Lightweight hammocks? Are you familiar with Enlightened Equipment? Outlet for your hammocks, maybe?
User avatar
Bolster
Member
Posts: 5557
Joined: Sat Mar 03, 2007 1:27 pm
Location: CalyFRNia

Re: Making a Mule Handle (step-by-step)

#53

Post by Bolster »

Best tutorial IMO. Bumping to top for Tom.
Steel novice who self-identifies as a steel expert. Proud M.N.O.S.D. member 0003. Spydie Steels: 4V, 15V, 20CV, AEB-L, AUS6, Cru-Wear, HAP40, K294, K390, M4, Magnacut, S110V, S30V, S35VN, S45VN, SPY27, SRS13, T15, VG10, XHP, ZWear, ZDP189
User avatar
Ramonade
Member
Posts: 3037
Joined: Sun Aug 15, 2021 3:45 pm
Location: NE France

Re: Making a Mule Handle (step-by-step)

#54

Post by Ramonade »

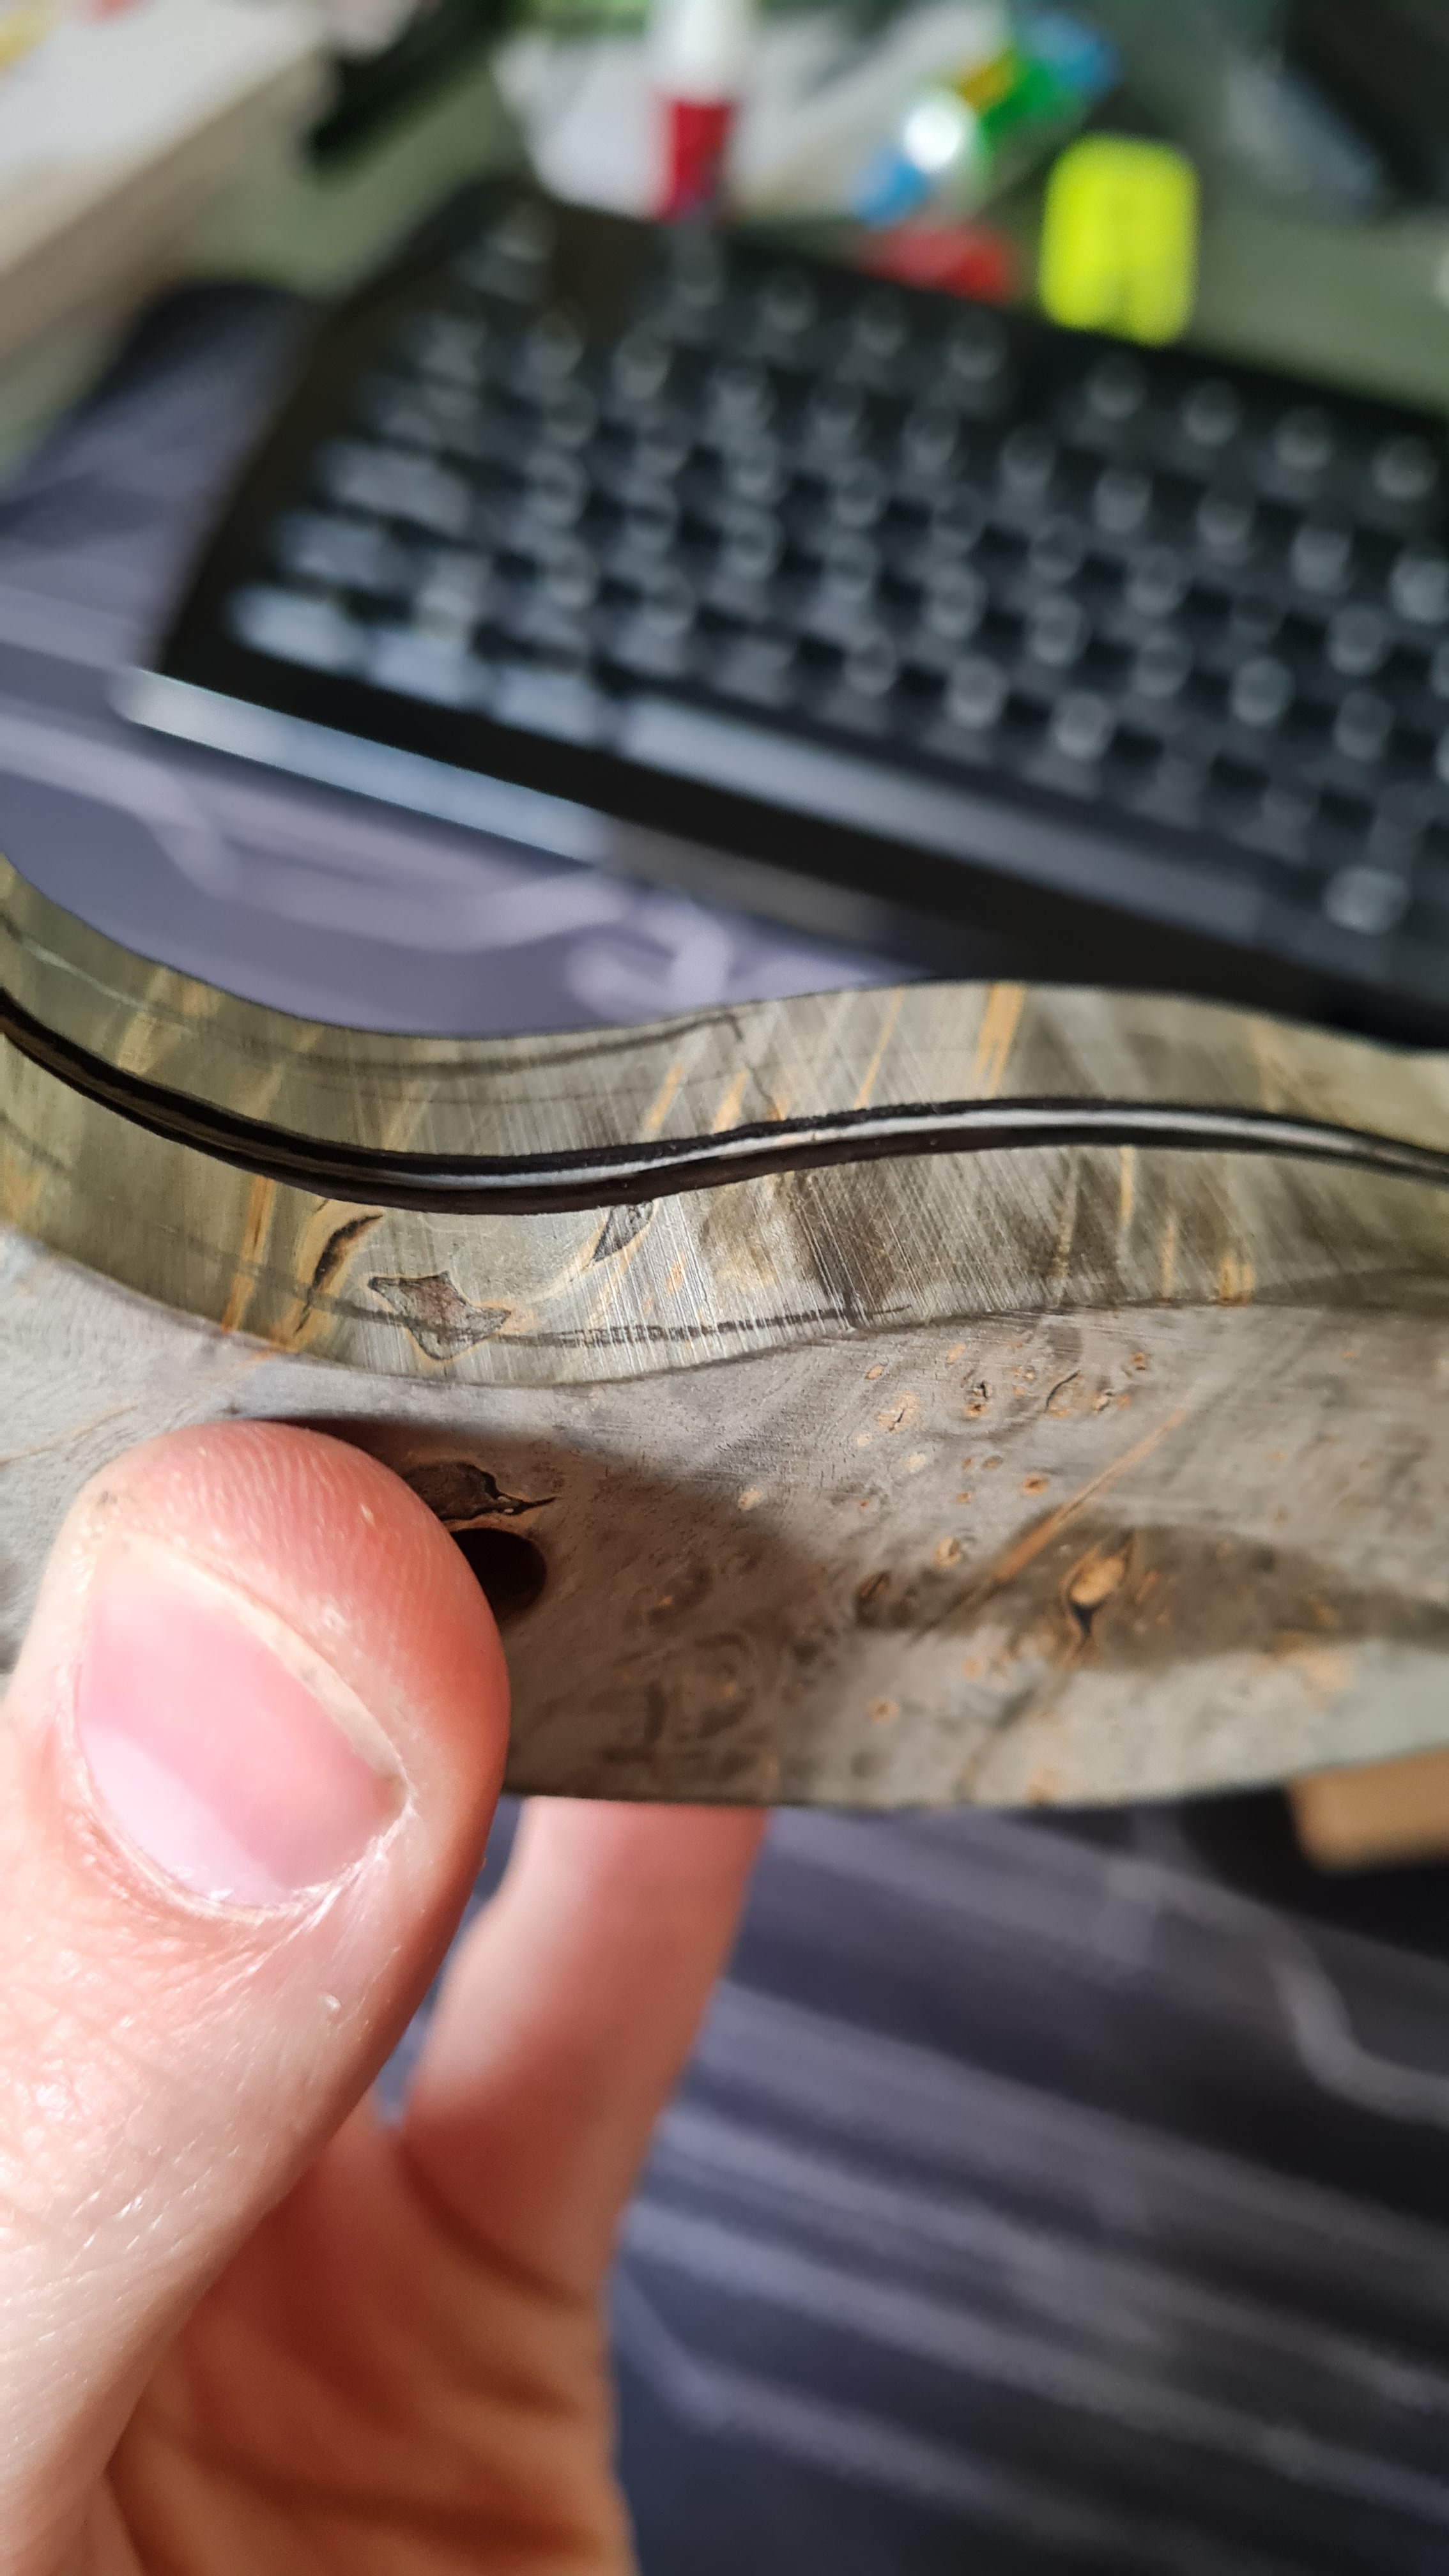
I did everything without the tutorial like an idiot ^^.
Since I've already made some handles, I kinda started reproducing what I used to do, but this time with powered tools.

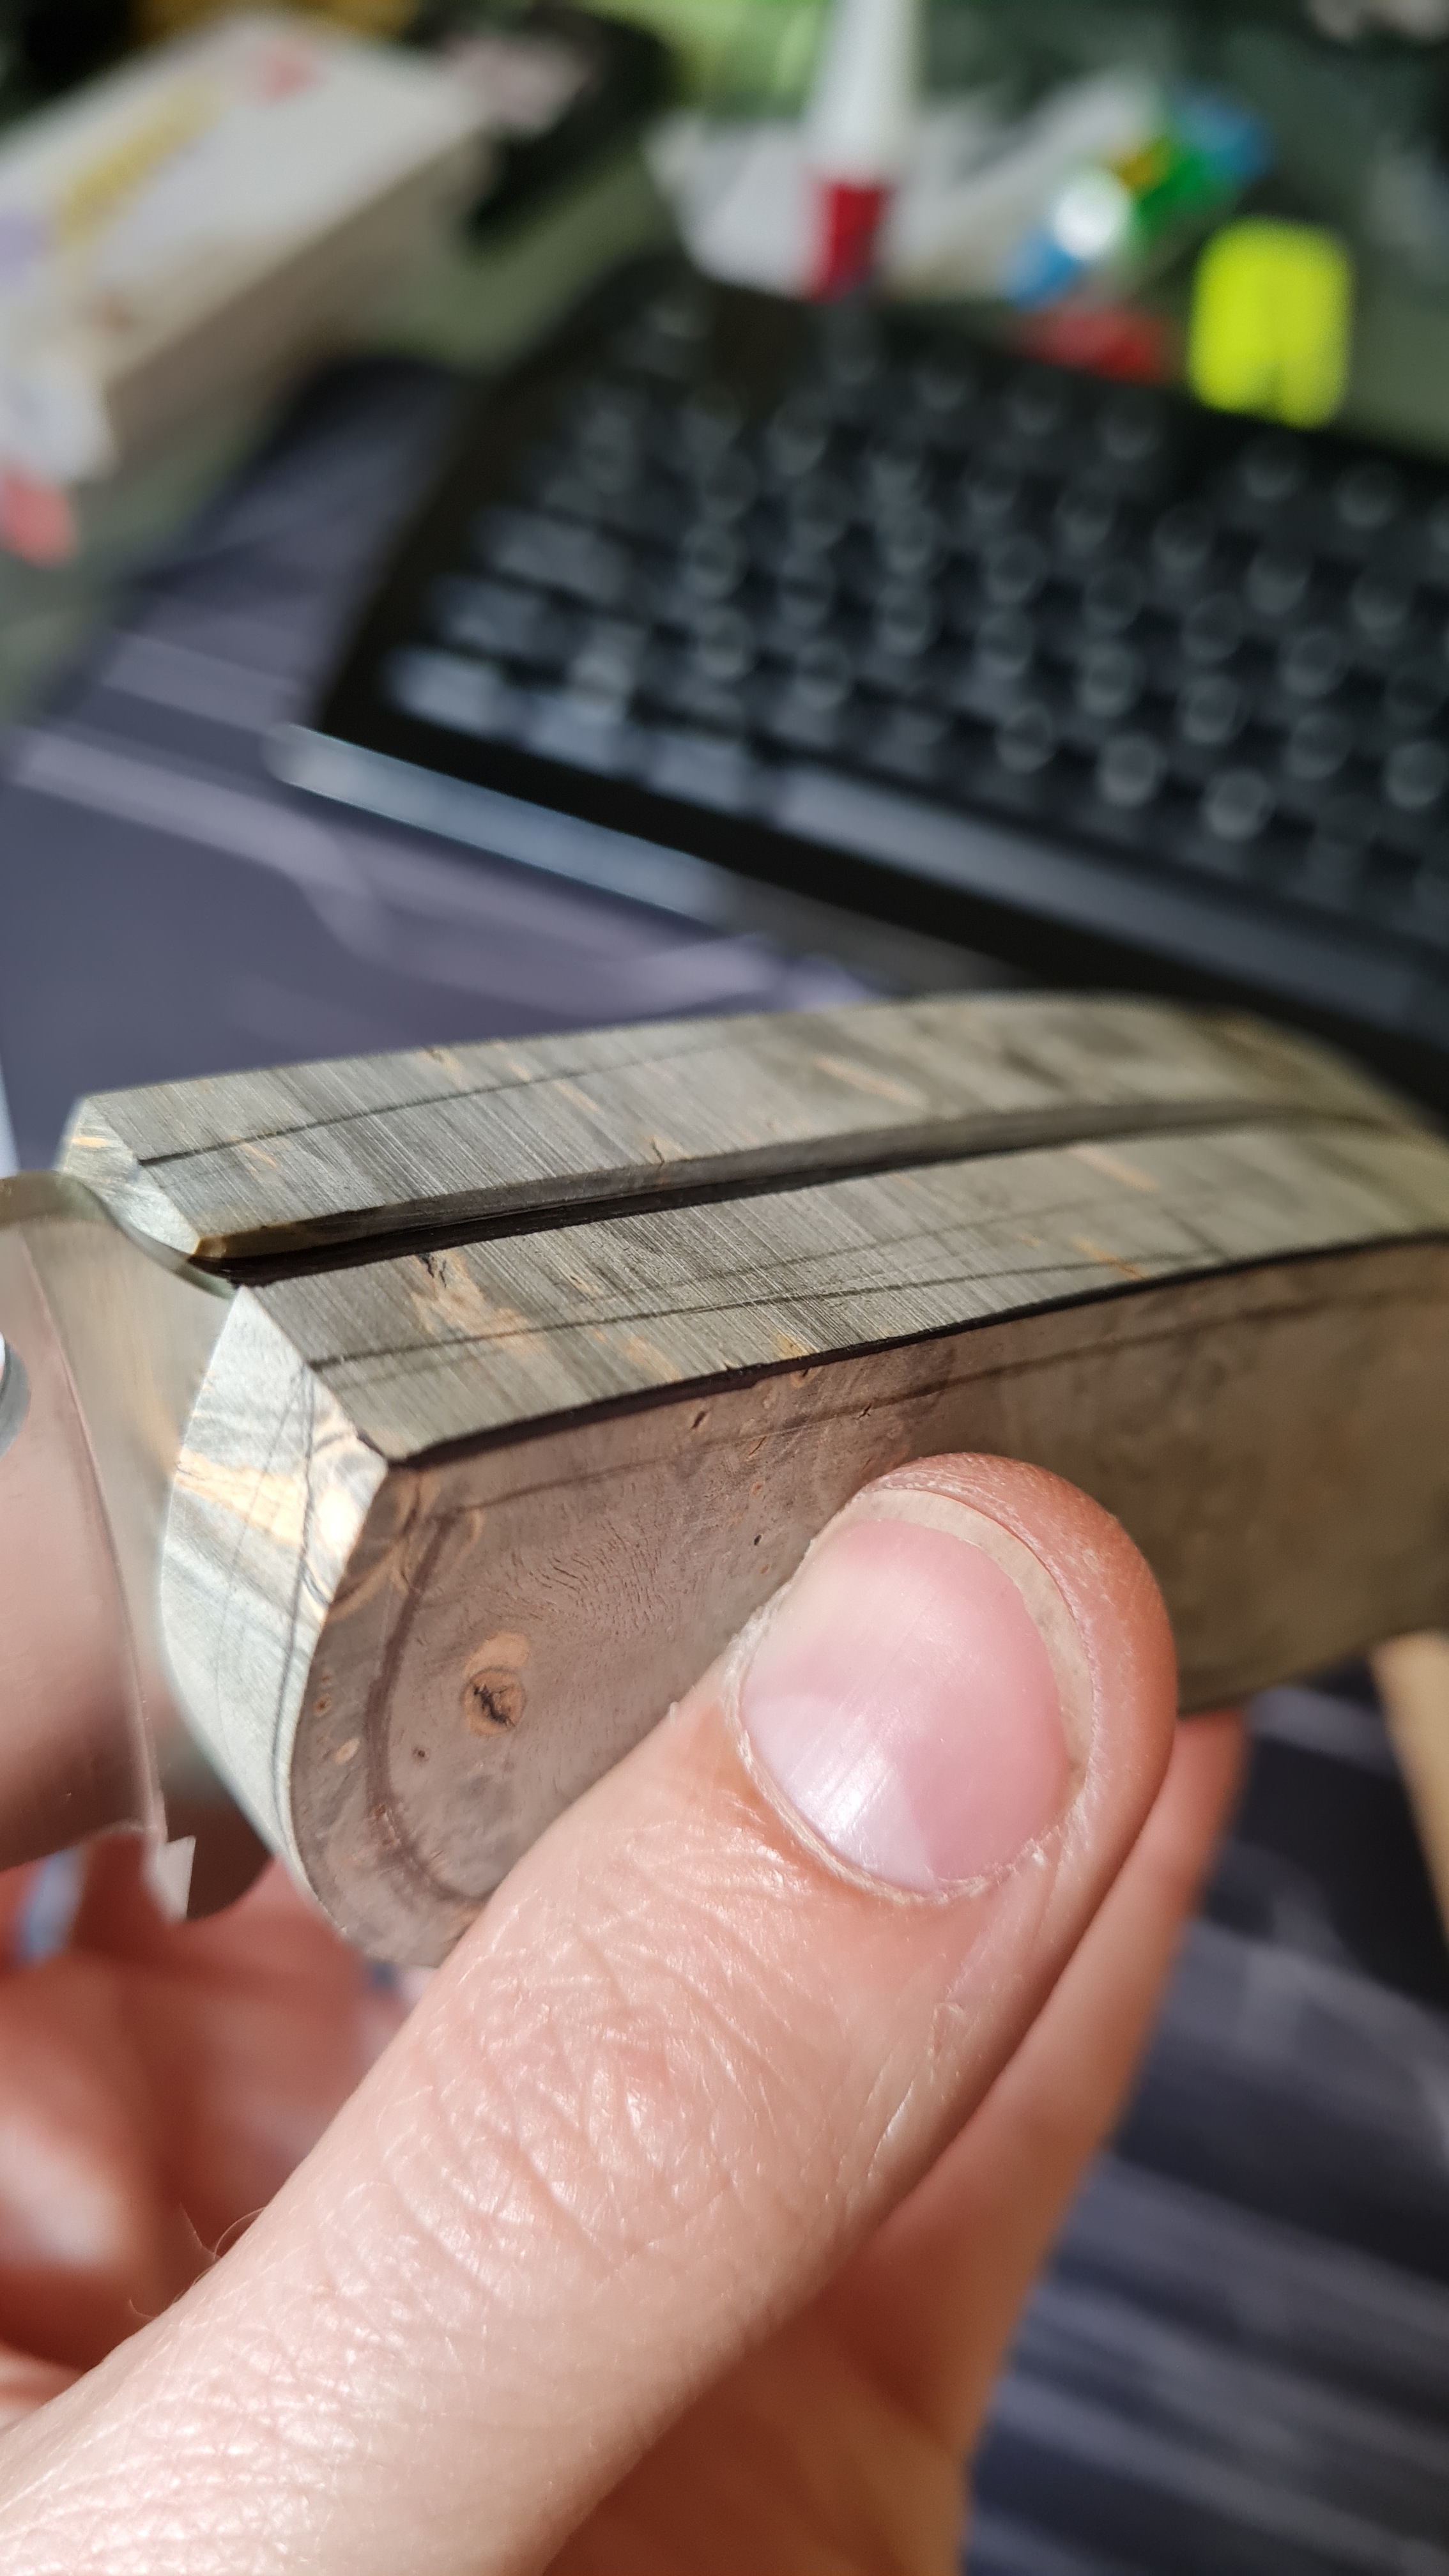
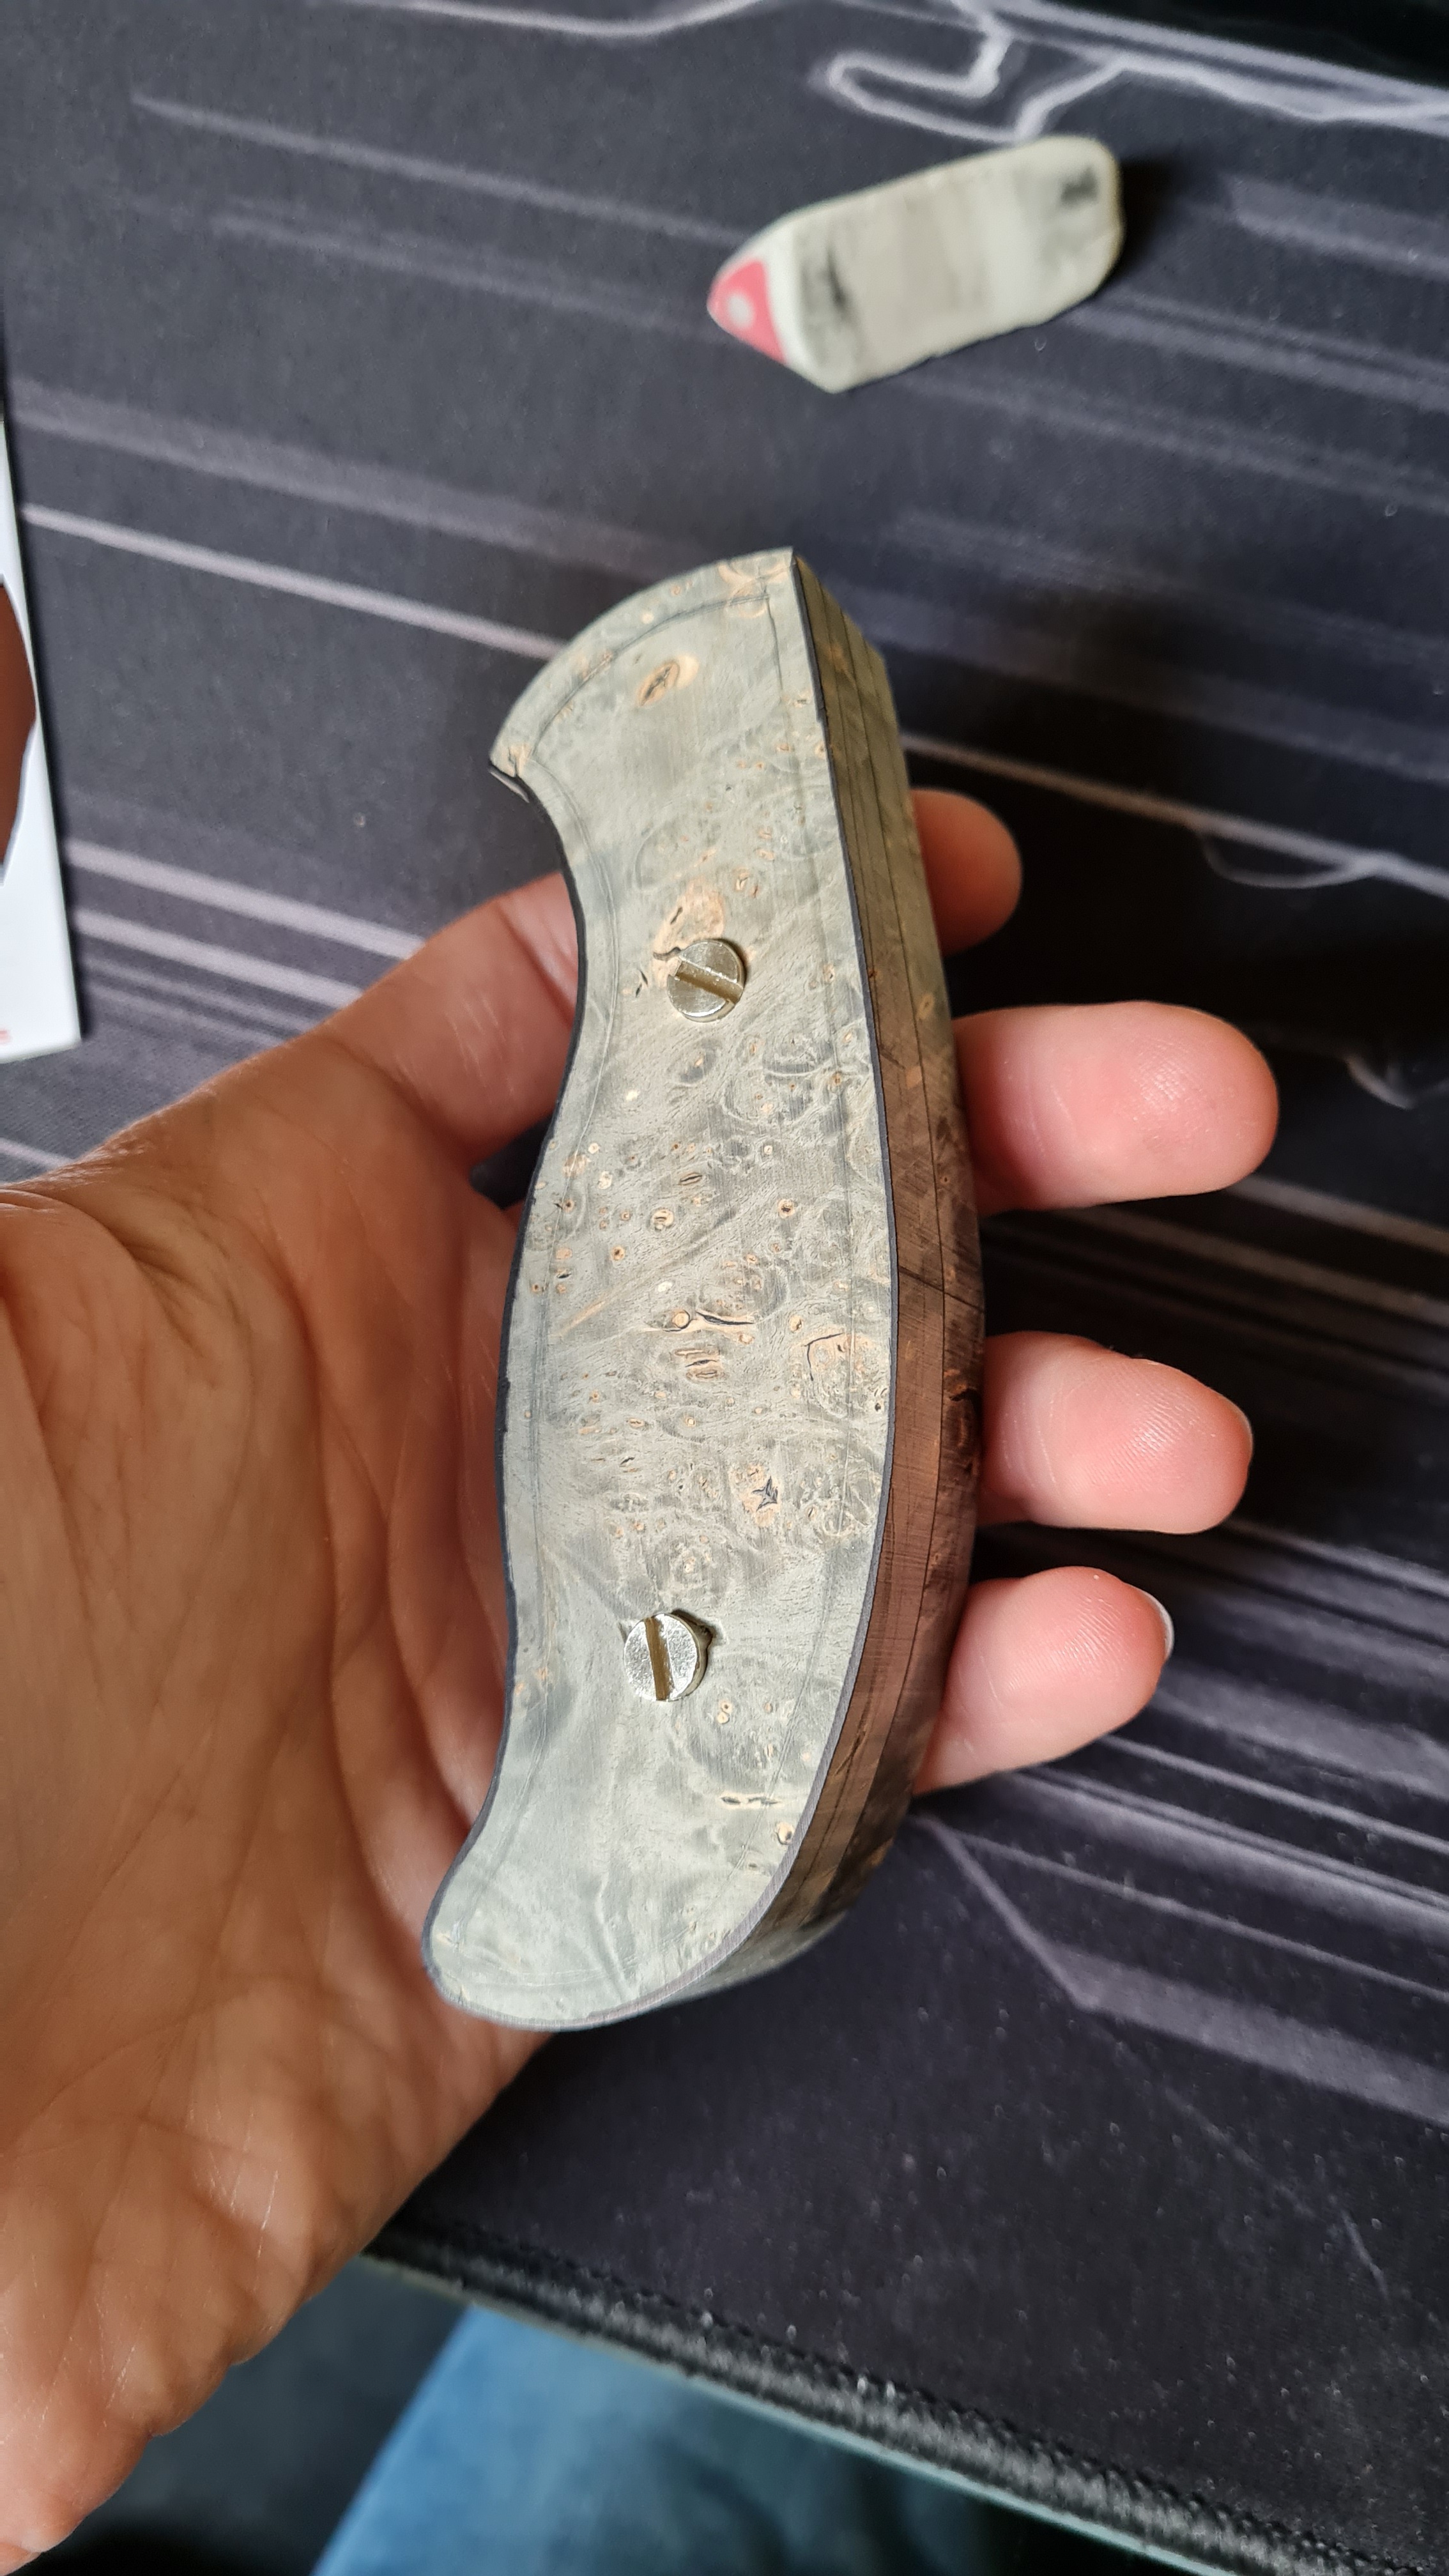
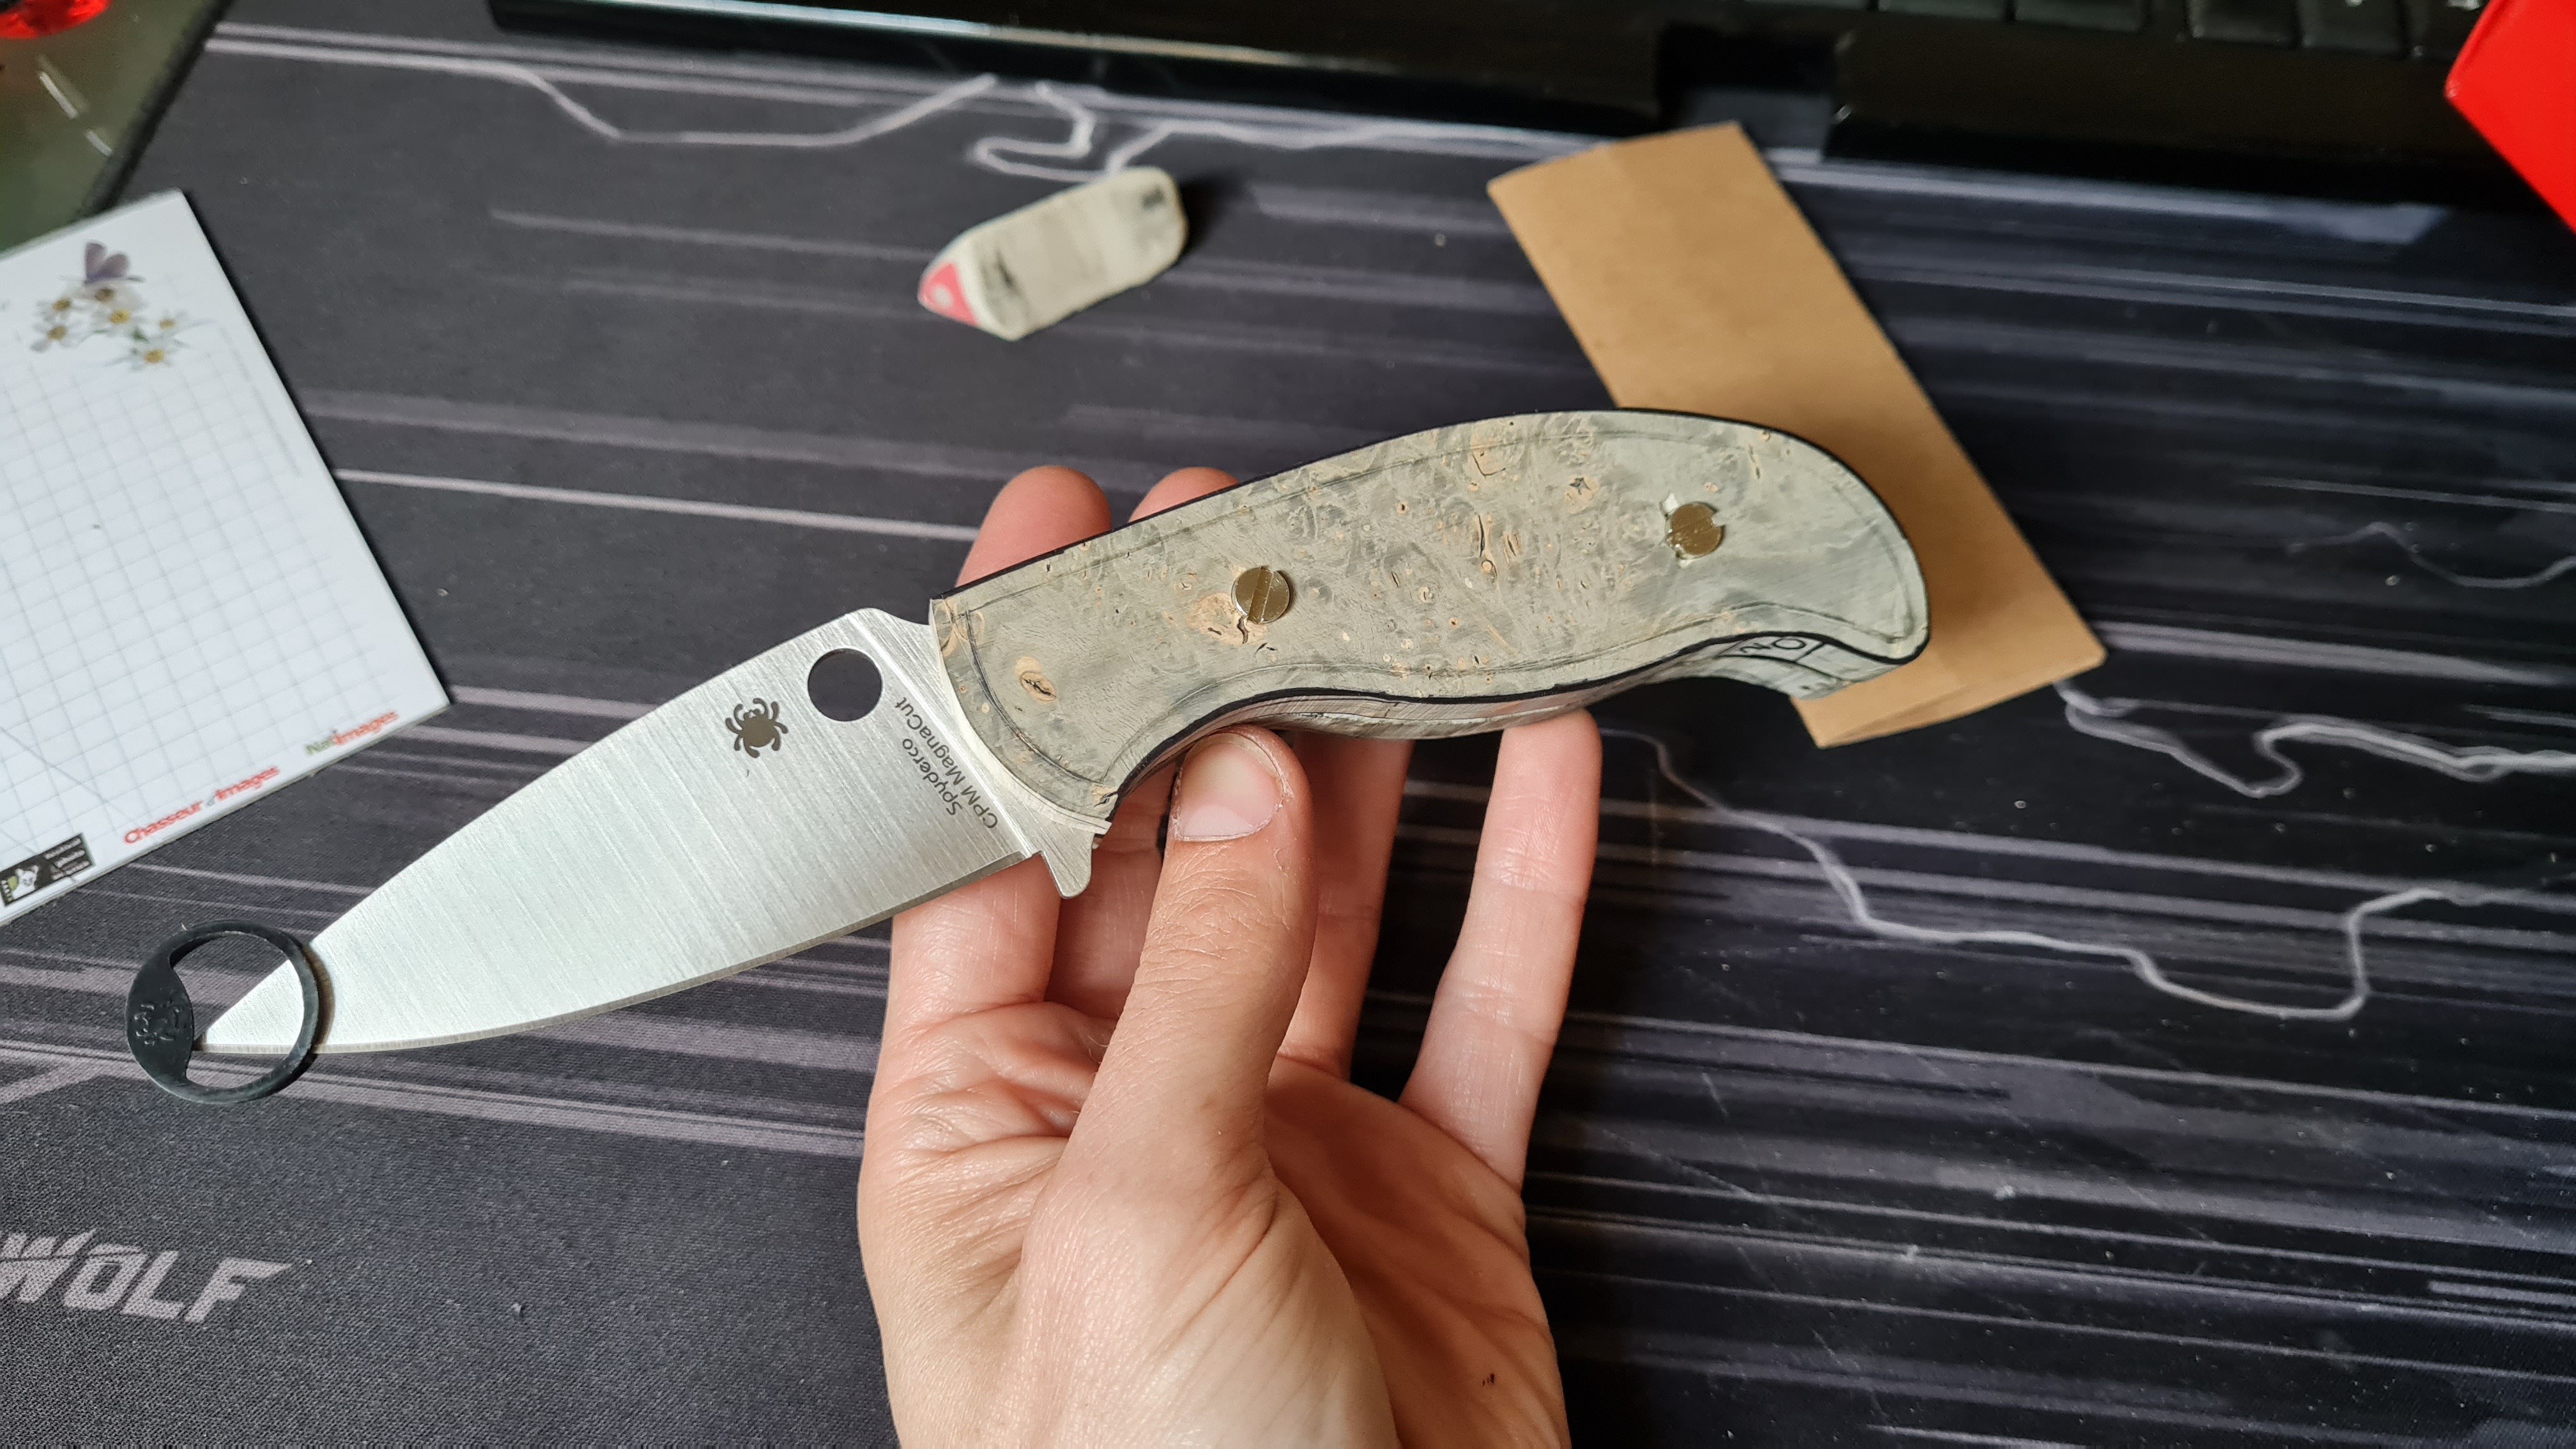
This is where I'm at right now :

Image

Image

Image

Image

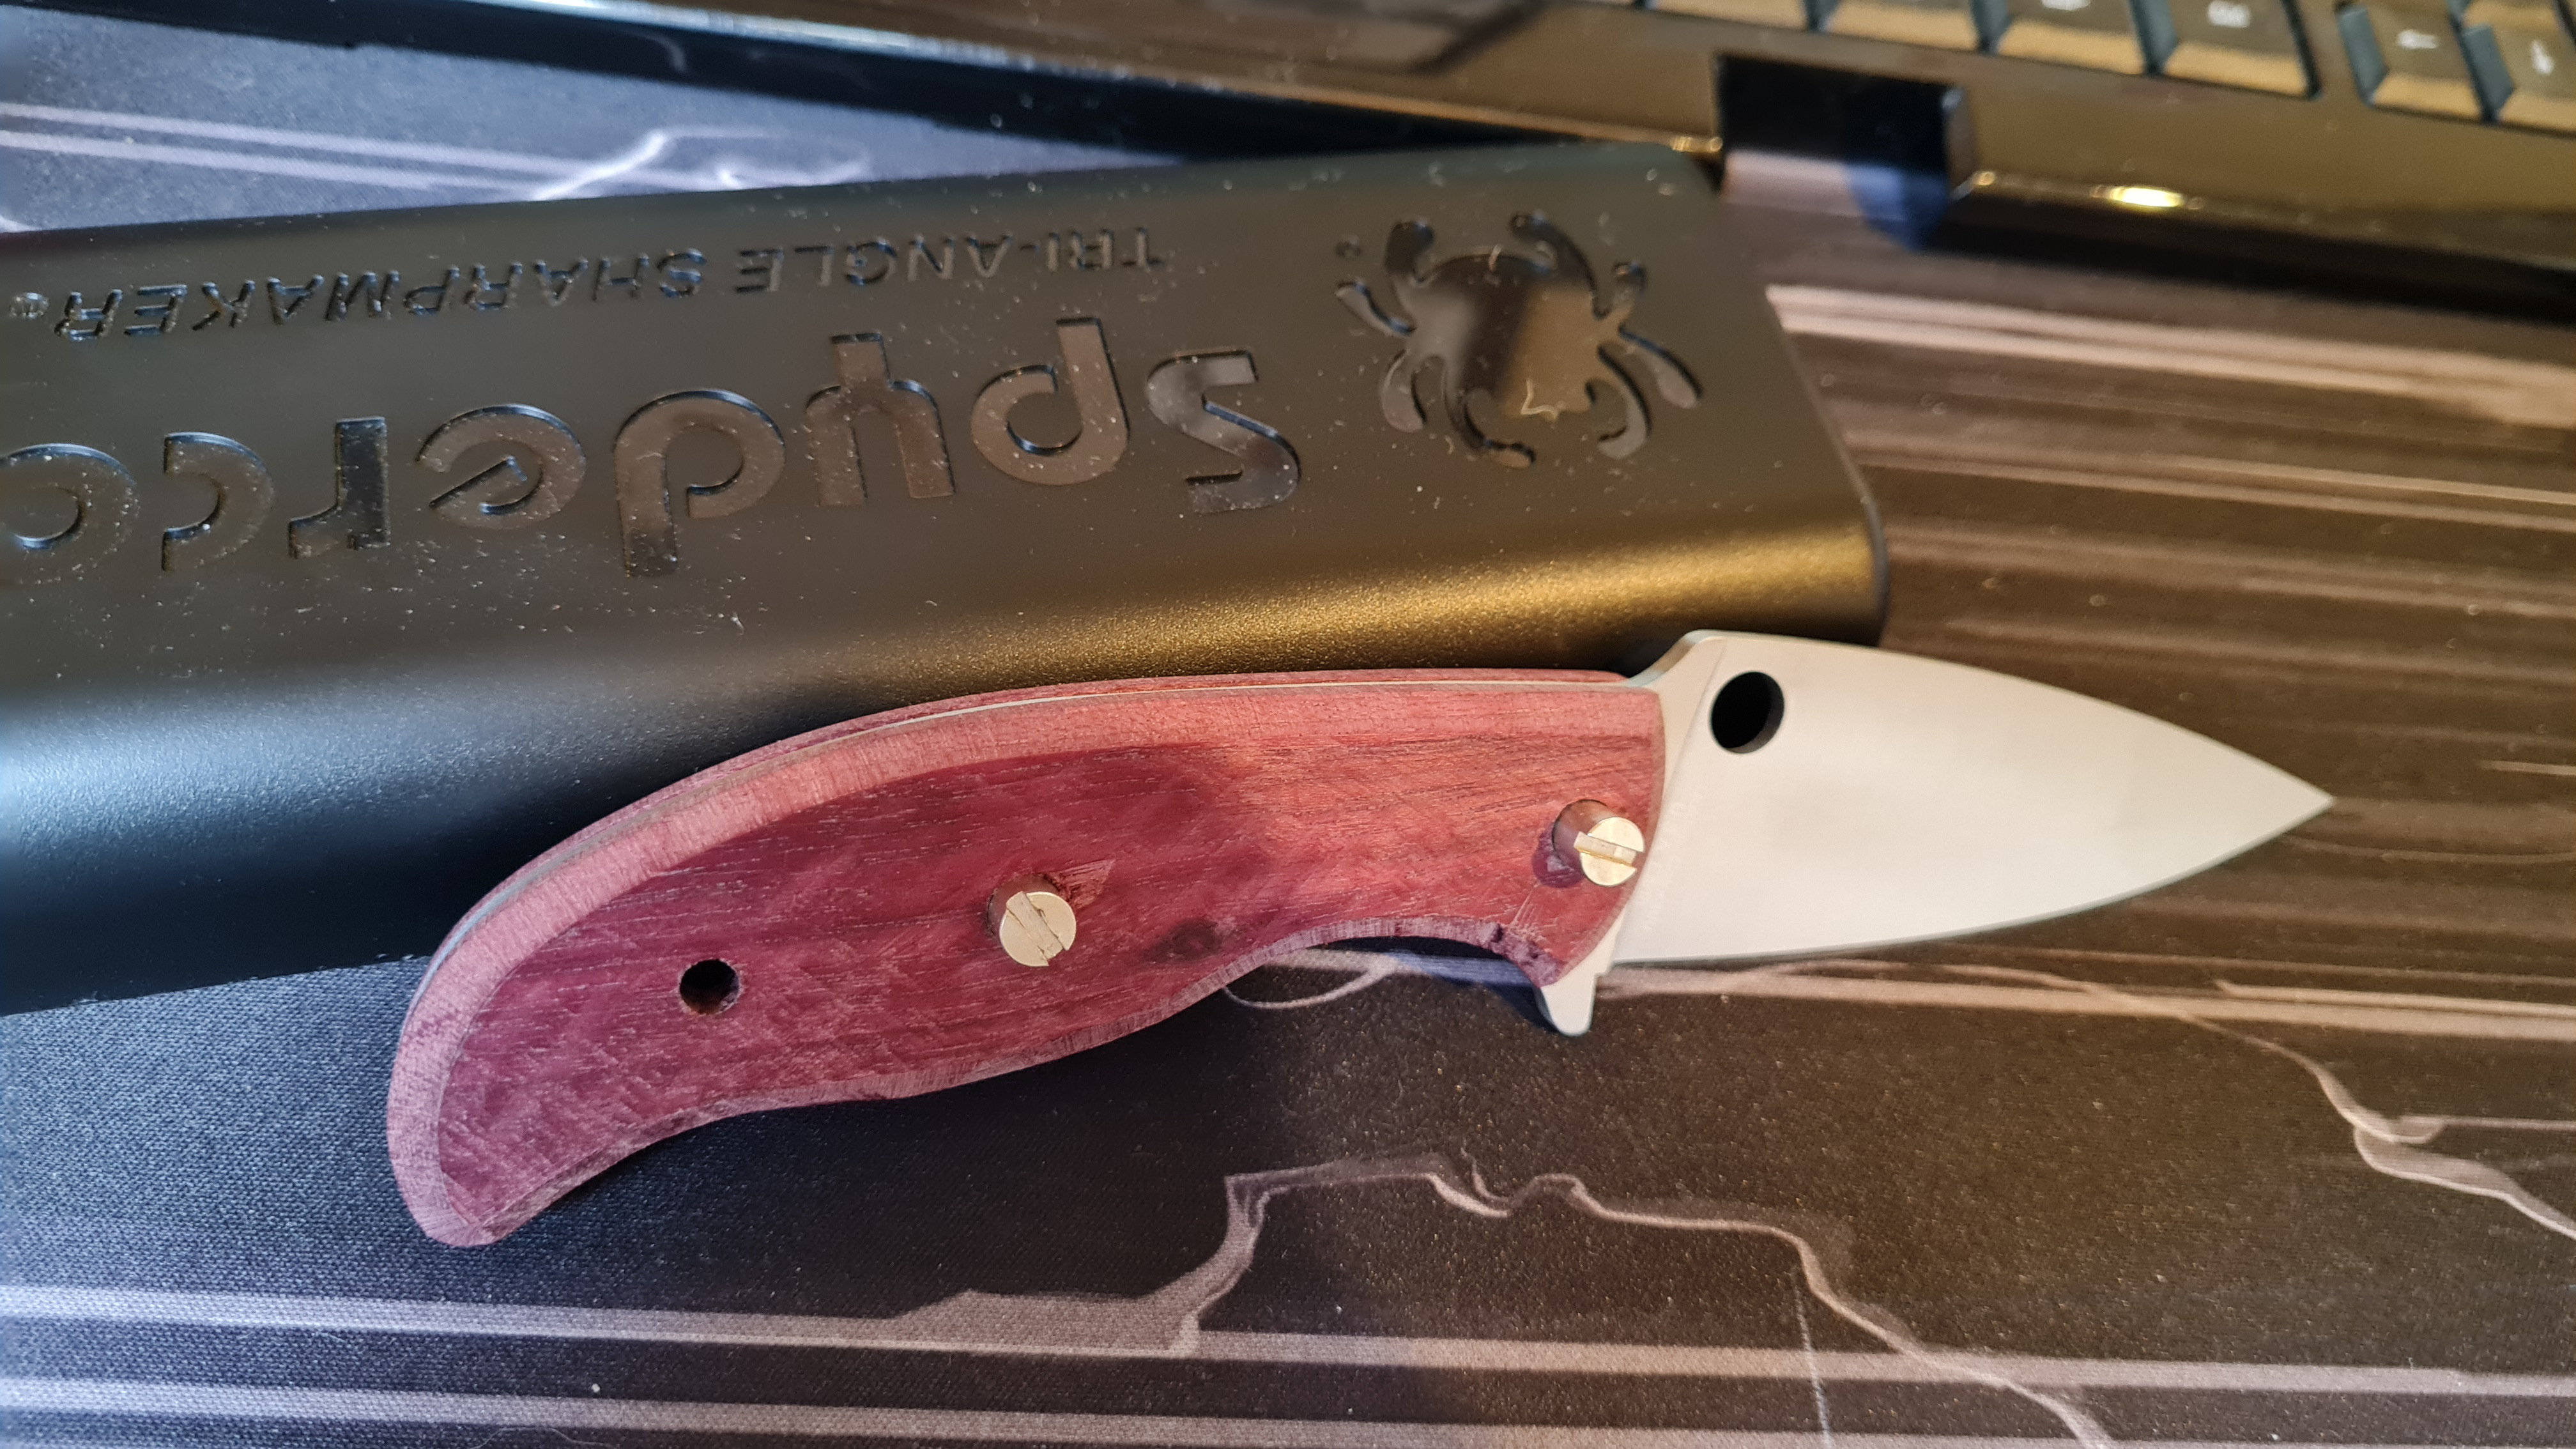
I planned to do a 45° chamfer like I did on the set of test scales (see below). And then use sandpaper in a "shoeshine" manner, to bring some curve and keep a big round palm, etc.

Image

However, as I see your method, it might be best for me to get everything as close to the blade tang as possible, and then trace stuff to remove on the belt grinder before all that. I'm a bit perplexed and do not know what to do next !
:respect In the collection :respect : Lots of different steels, in lots of different (and same) Spydercos.

Robin. Finally made an IG : ramo_knives

MNOSD member 004* aka Mr. N5s :face-clouds
TomAiello
Member
Posts: 6652
Joined: Tue Jun 11, 2013 10:34 pm
Location: Twin Falls, ID

Re: Making a Mule Handle (step-by-step)

#55

Post by TomAiello »

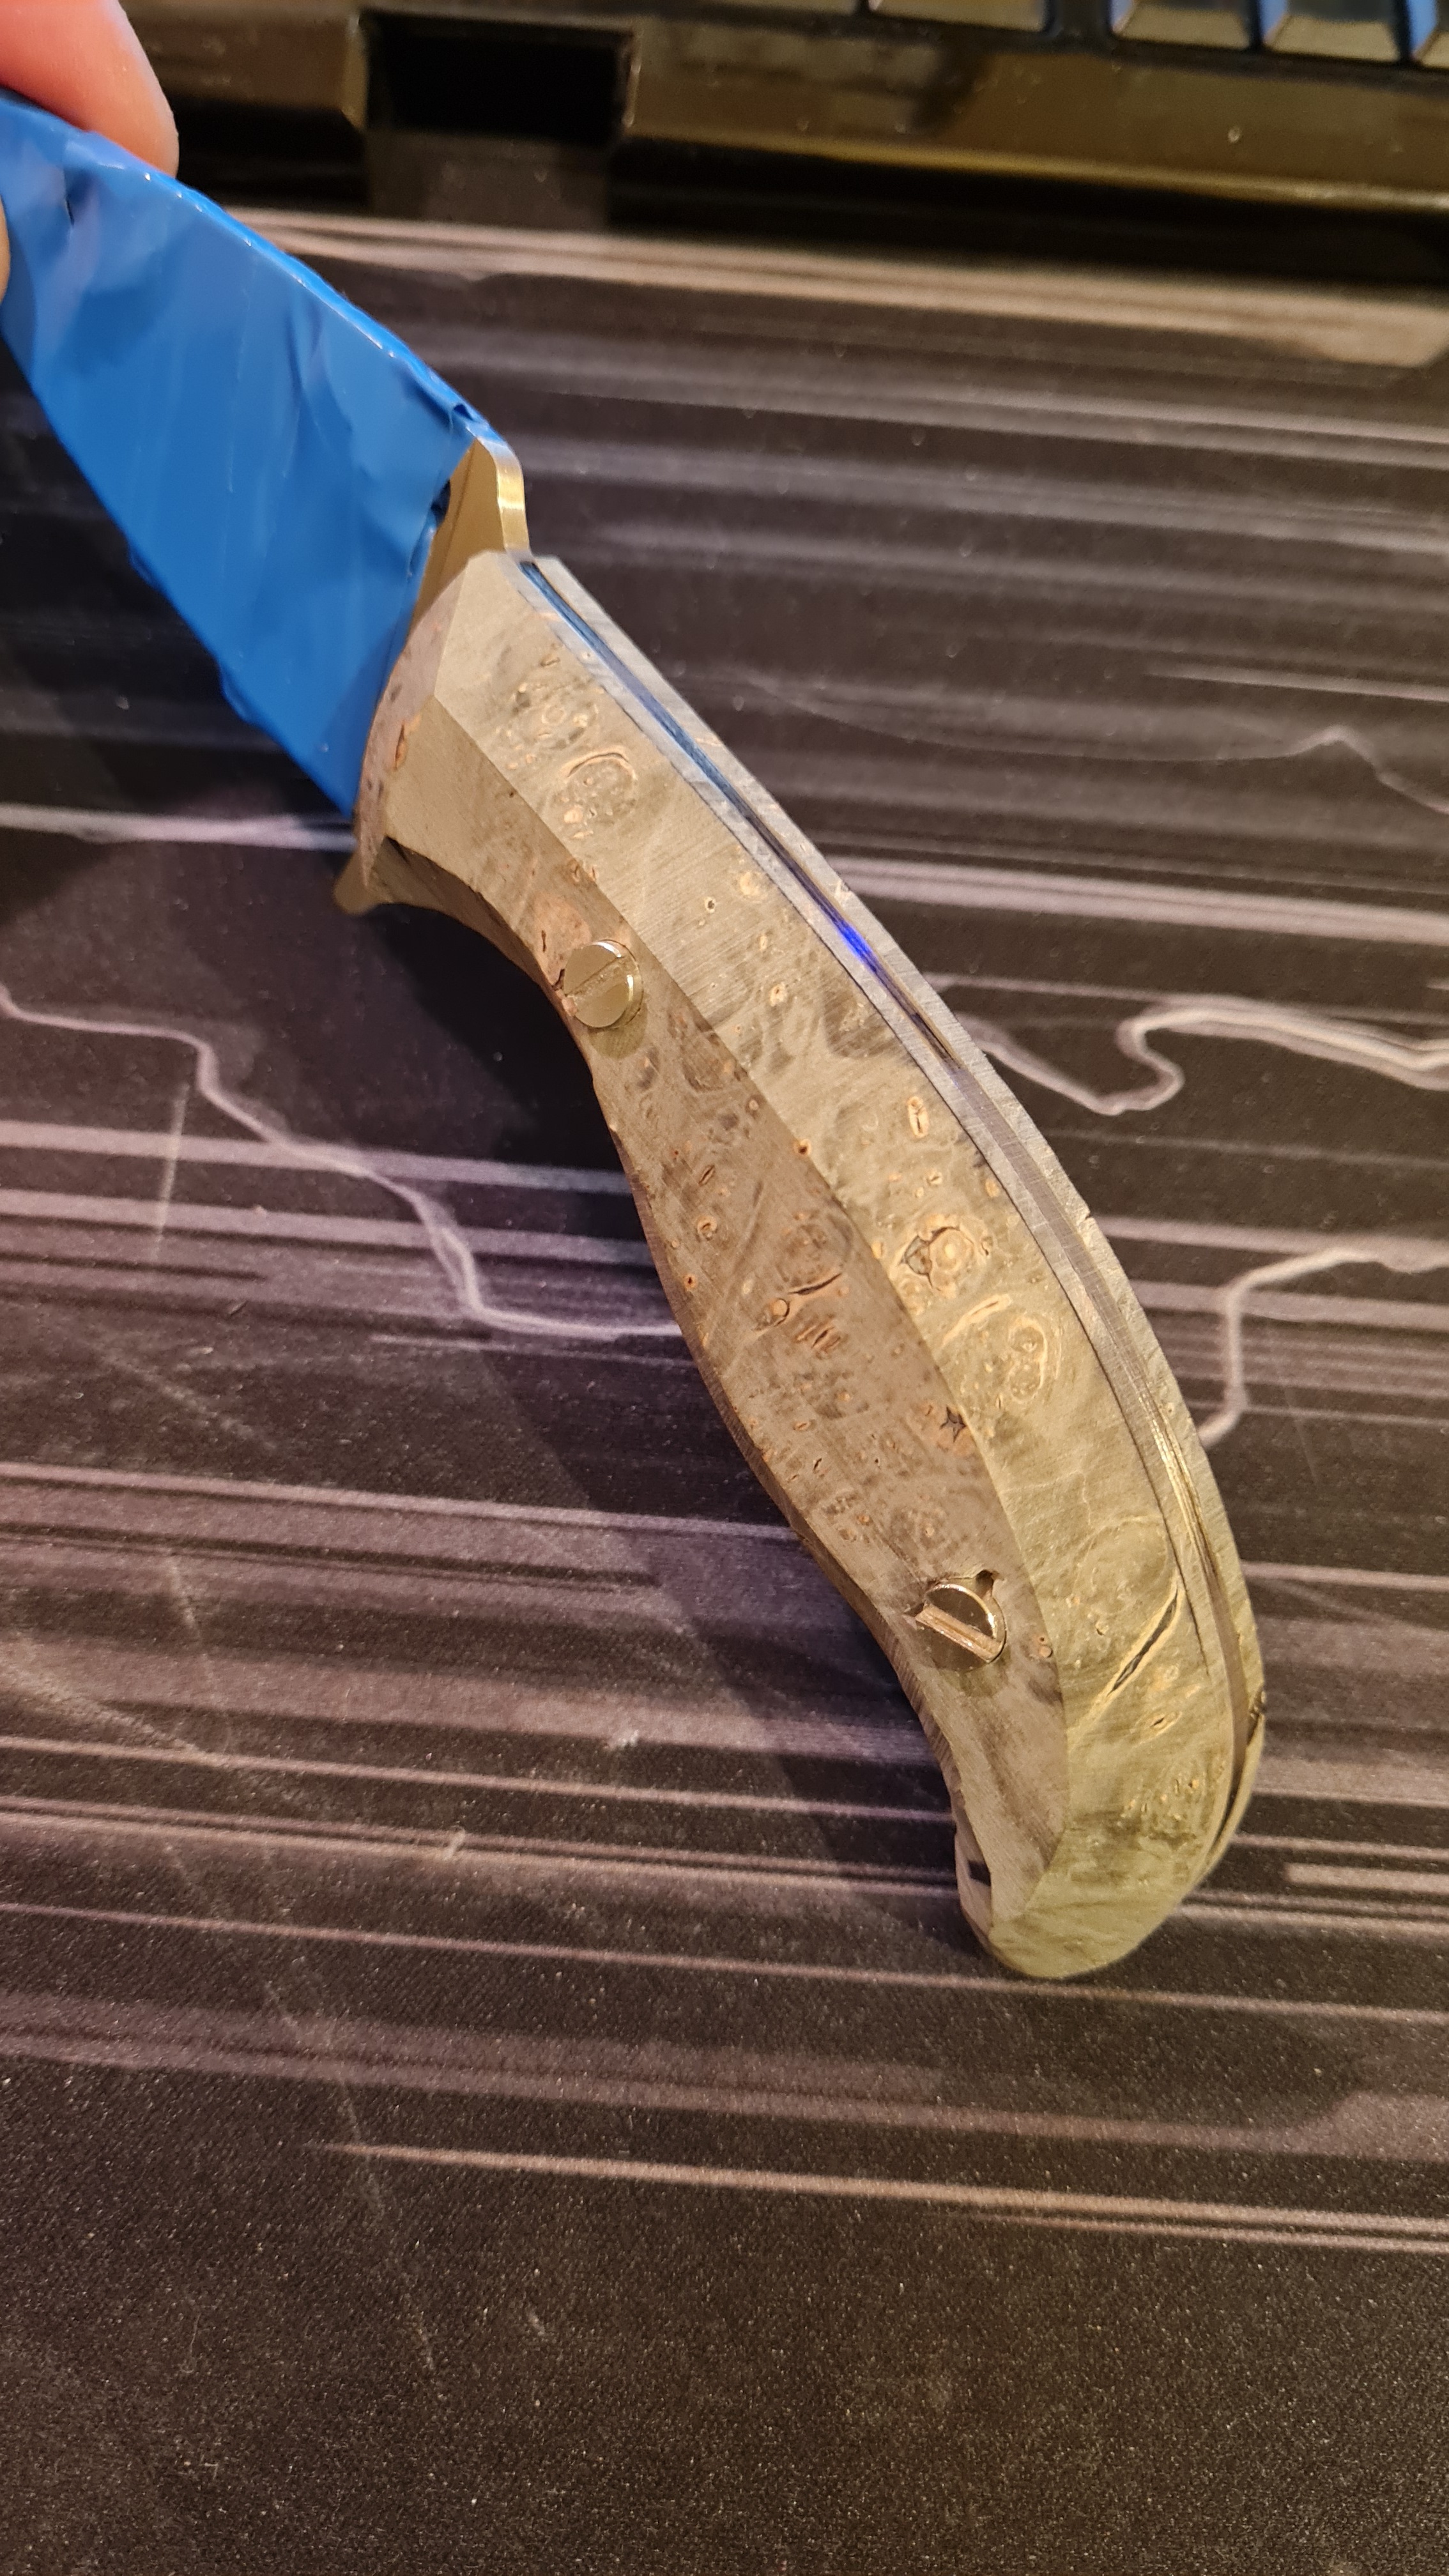
I've found the 'best' way for me is to sand the scales down as much as possible before putting them onto the mule. I like to get all the low grit 'shaping' sanding out of the way then. I end up doing a lot of back and forth (putting them on the, screwing the corbies down, marking them, removing them, sanding, and then repeating) that way, but I like the results better.

Sanding them 'in place' with low grit has given me 'proud' (sticking out past the scales) steel several times, because the scale material sands so much faster/easier than the metal tang. It's much easier, and you can get through the project a lot faster, but I think most of us here are doing these projects for personal satisfaction, rather than speed.
User avatar
Xplorer
Member
Posts: 1344
Joined: Sat Apr 18, 2015 11:41 pm

Re: Making a Mule Handle (step-by-step)

#56

Post by Xplorer »

Ramonade wrote:
Fri Apr 15, 2022 7:36 am
I did everything without the tutorial like an idiot ^^.
:grin-smiling-eyes I'm the same kind of idiot. I like to do most things myself without any instructions first. It might be wasting time sometimes, but I think I learn more and develop a deeper understanding of what I'm doing when I make myself figure it out on my own first. I also find that after trying to figure it out "blind" I get a lot more out of instructions because I better understand why they're being given and what the value of the instruction is.
Ramonade wrote:
Fri Apr 15, 2022 7:36 am
I planned to do a 45° chamfer like I did on the set of test scales (see below). And then use sandpaper in a "shoeshine" manner, to bring some curve and keep a big round palm, etc.

Image

However, as I see your method, it might be best for me to get everything as close to the blade tang as possible, and then trace stuff to remove on the belt grinder before all that. I'm a bit perplexed and do not know what to do next !
From where you are in the pics, I would finish profiling the scales up to the tang first.
Then, do any tapering you plan to do and get both scales tapered equally.
Then, shift focus to the front edge and completely finish it...bevel it, round it, sand and polish..whatever you plan to do...but get it up to finished results so you don't have to mess with it once you glue the scales i place.
Then, cover your nice front edges with tape and epoxy the scales on place.
Finish the shaping and polishing after the epoxy cures.

Also, I noticed that it looks like the edge of your grinding belt bit into your inside radius bevel a few times. I would suggest the inside radius bevels will be easier to keep clean with a sanding drum or use the top wheel on your grinder rather than the straight section of the belt. If you use the wheel on your grinder, be careful to use very light pressure because the speed is very high. A sanding drum on a drill press will be more forgiving because it can run a lot slower. The flat section of the belt will be your bevels on flat surfaces and outside radius curves no problem, but the tighter the inside radius the more important it will be to use a rounded sanding/grinding surface.
:spyder: Spyderco fan and collector since 1991. :spyder:
Father of 2, nature explorer, custom knife maker.
@ckc_knifemaker on Instagram.
User avatar
Ramonade
Member
Posts: 3037
Joined: Sun Aug 15, 2021 3:45 pm
Location: NE France

Re: Making a Mule Handle (step-by-step)

#57

Post by Ramonade »

TomAiello wrote:
Fri Apr 15, 2022 11:57 am
I've found the 'best' way for me is to sand the scales down as much as possible before putting them onto the mule. I like to get all the low grit 'shaping' sanding out of the way then. I end up doing a lot of back and forth (putting them on the, screwing the corbies down, marking them, removing them, sanding, and then repeating) that way, but I like the results better.

Sanding them 'in place' with low grit has given me 'proud' (sticking out past the scales) steel several times, because the scale material sands so much faster/easier than the metal tang. It's much easier, and you can get through the project a lot faster, but I think most of us here are doing these projects for personal satisfaction, rather than speed.
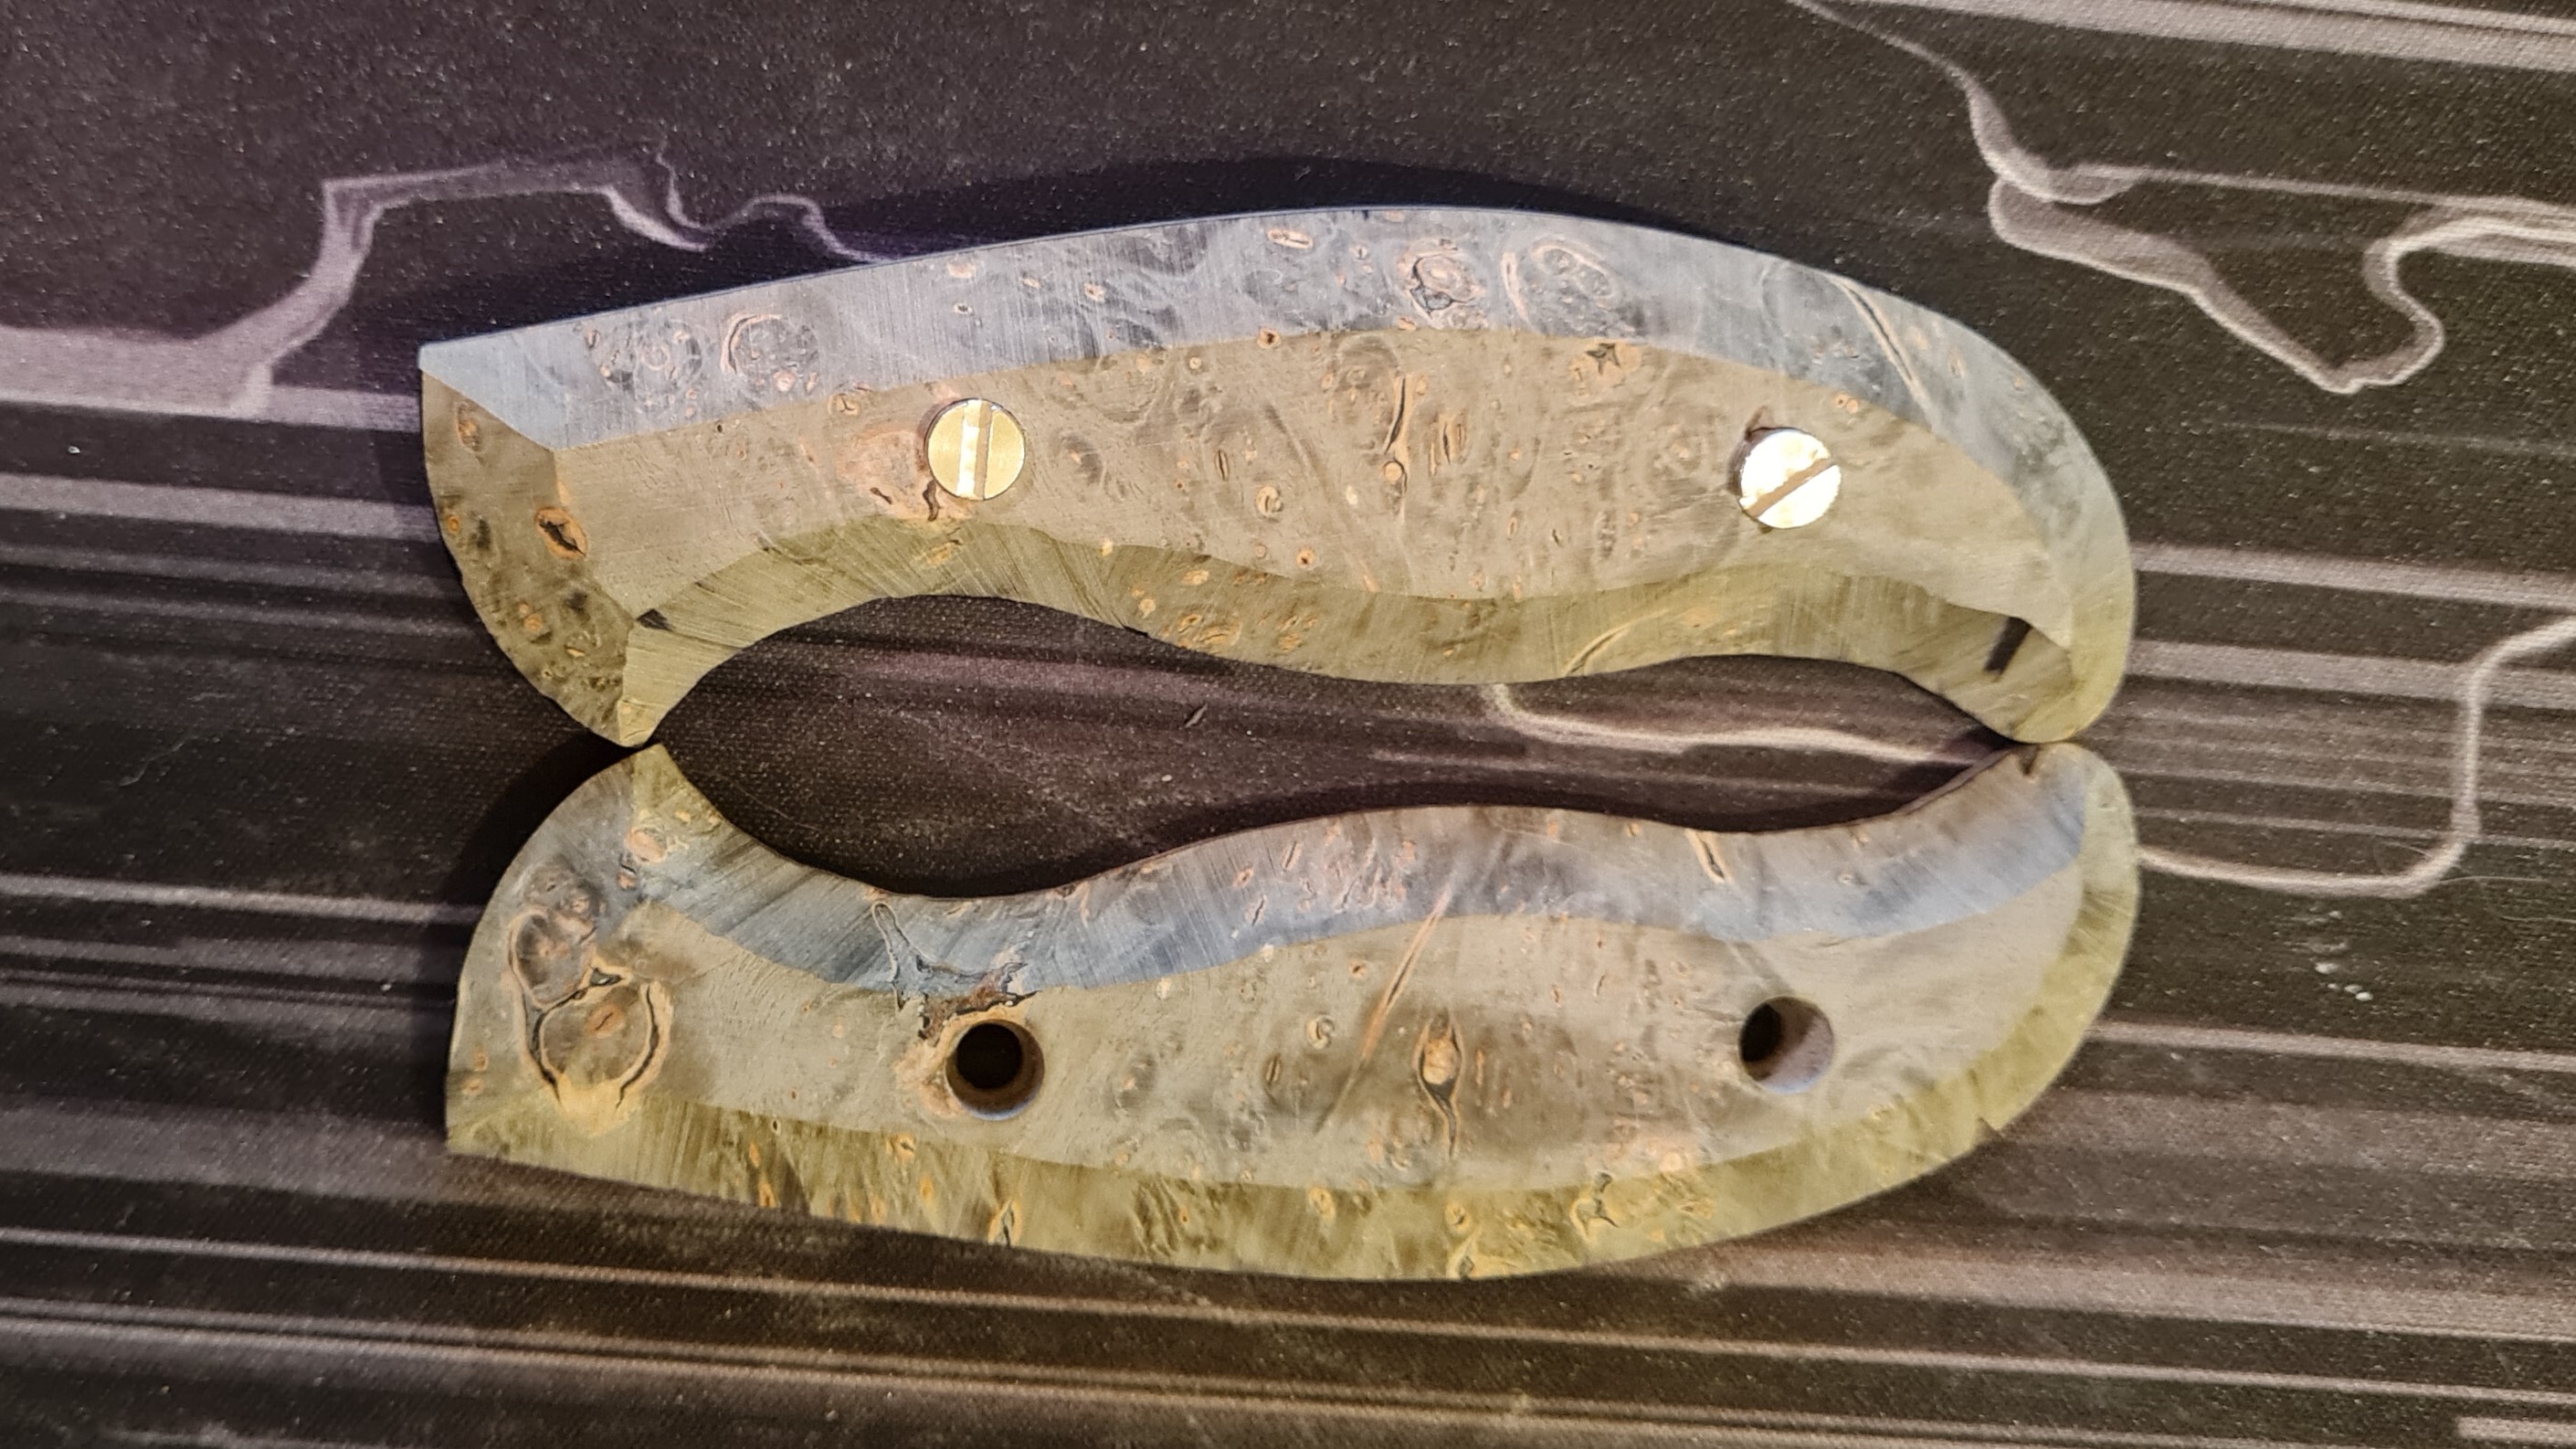
Thanks for the feedback, that's what I ended up doing for now ! Especially since my belt grinder is not big, so I can't do too much shaping vertically.
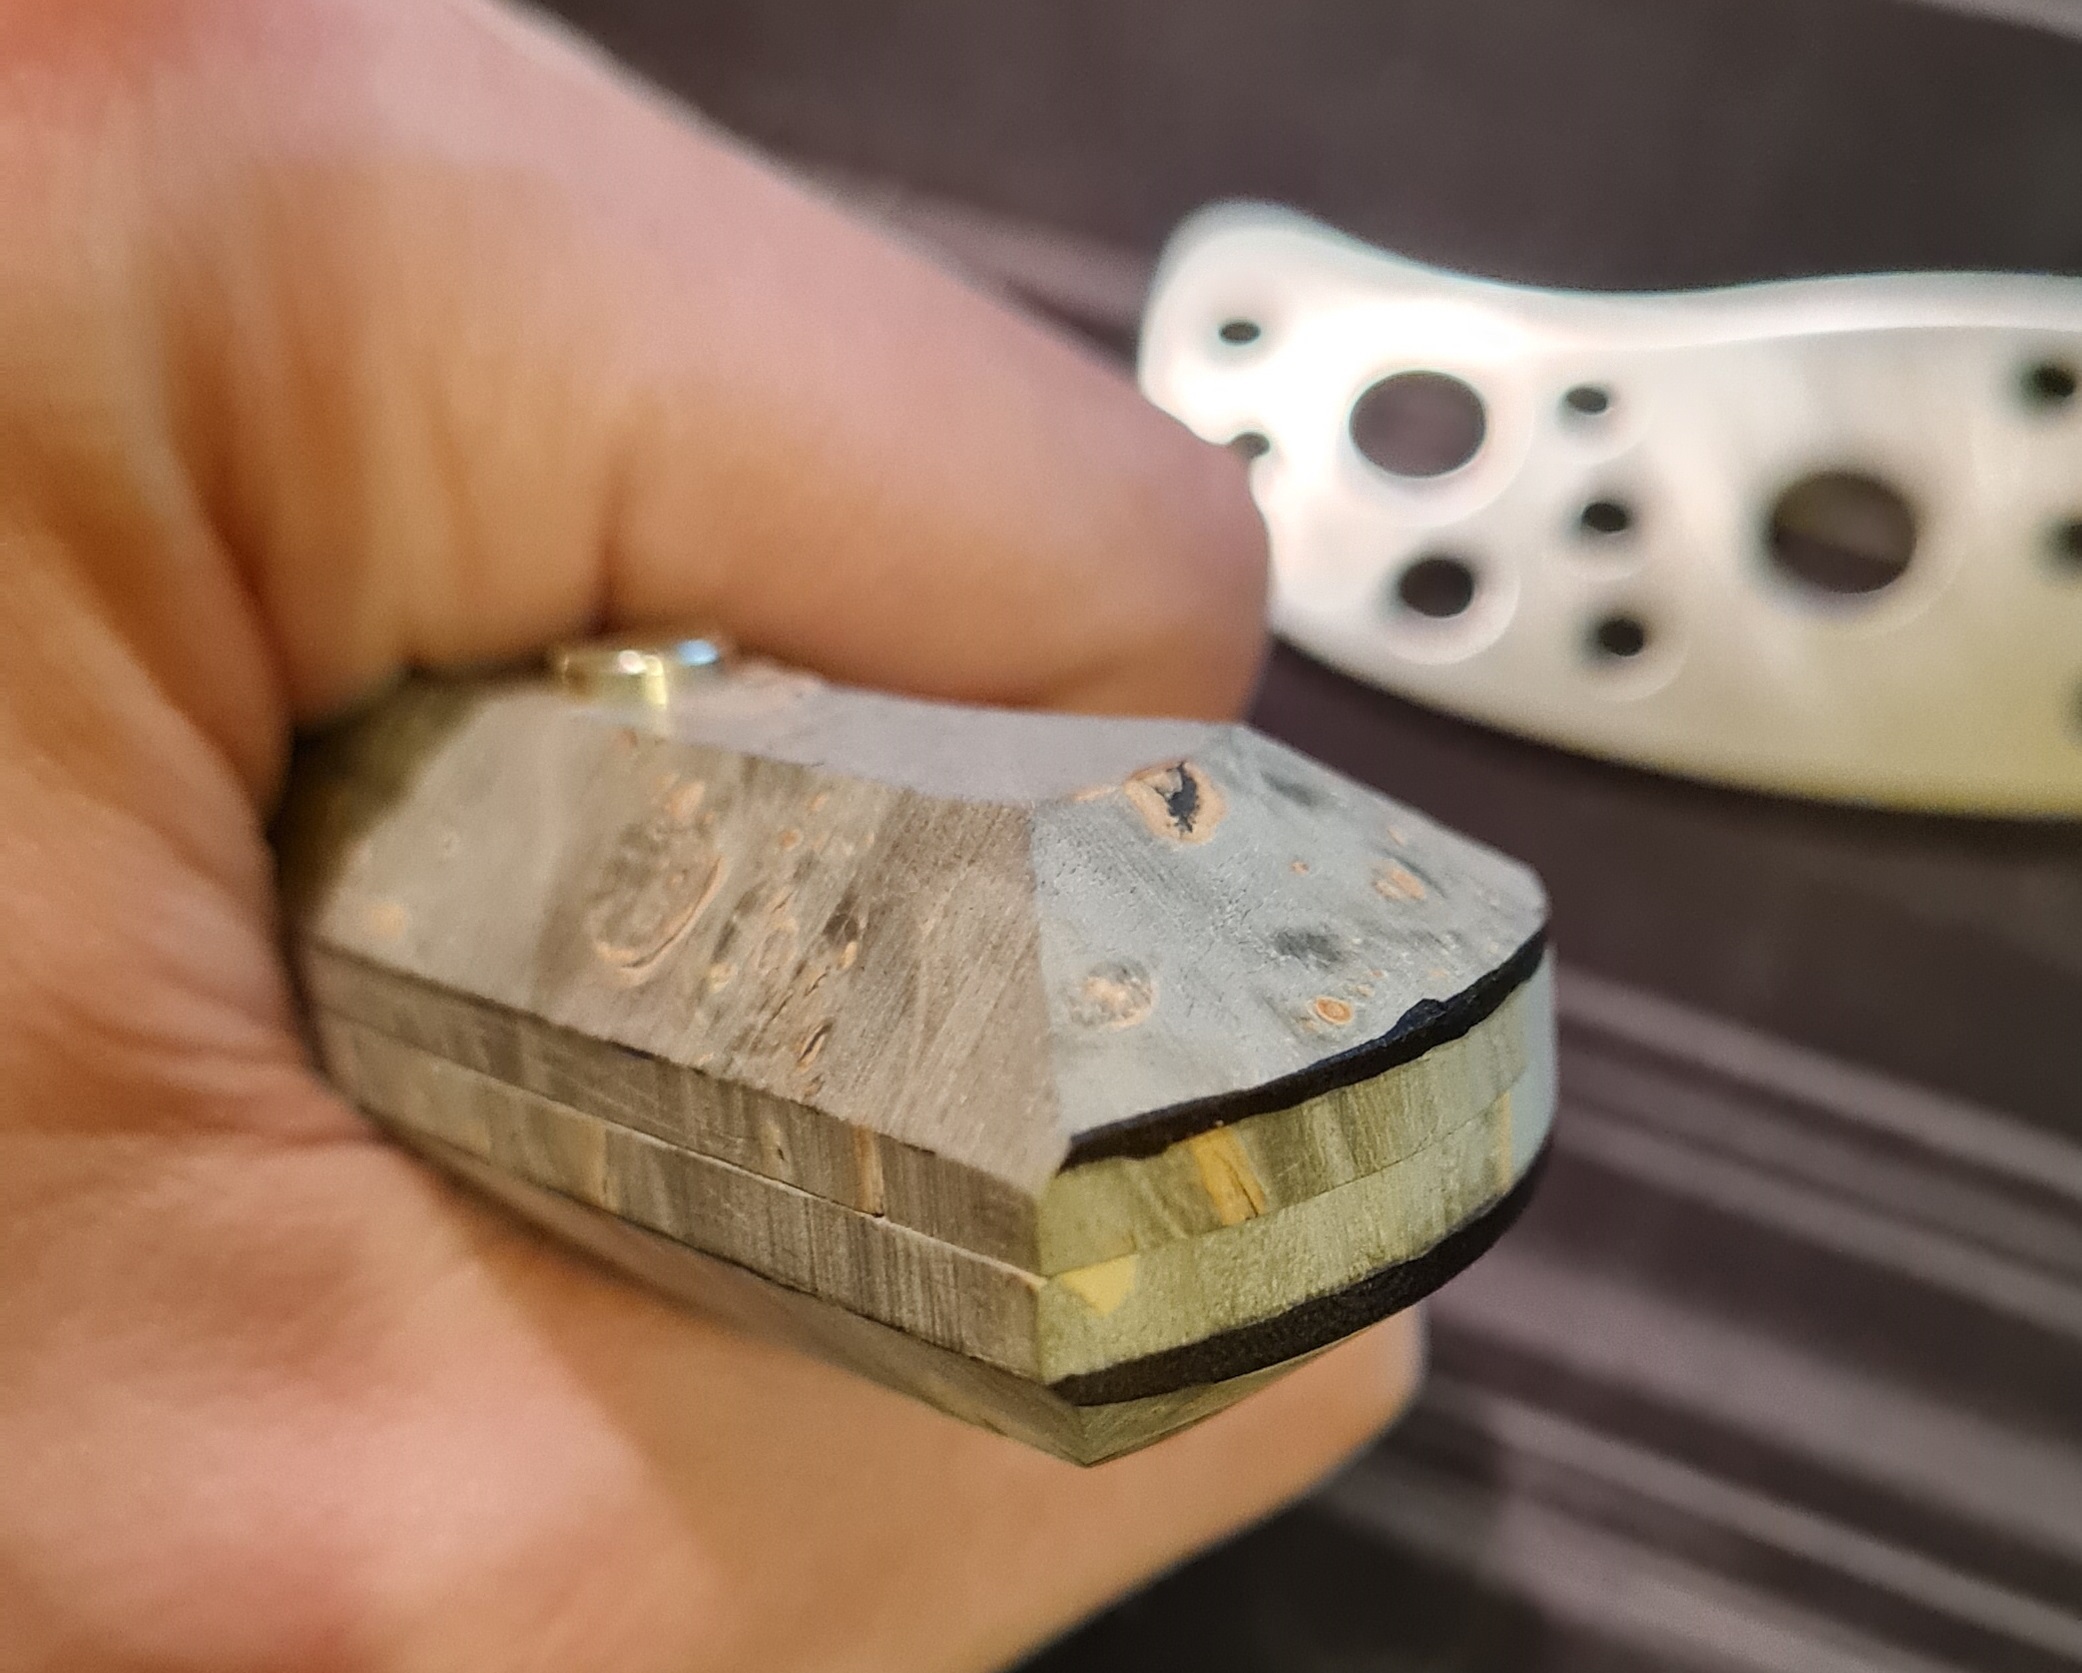
I did put a 45° chamfer all around the scales, pretty deep. I'm gonna round things up and lower the thickness around the index and pinky.
It's hard to get some spots on my belt grinder, so I'll clean up the 45°angle I did put on the scales before doing all that.

Couple of pics to see what changed :

Image

Image
:respect In the collection :respect : Lots of different steels, in lots of different (and same) Spydercos.

Robin. Finally made an IG : ramo_knives

MNOSD member 004* aka Mr. N5s :face-clouds
User avatar
Ramonade
Member
Posts: 3037
Joined: Sun Aug 15, 2021 3:45 pm
Location: NE France

Re: Making a Mule Handle (step-by-step)

#58

Post by Ramonade »

Xplorer wrote:
Fri Apr 15, 2022 1:27 pm

Also, I noticed that it looks like the edge of your grinding belt bit into your inside radius bevel a few times. I would suggest the inside radius bevels will be easier to keep clean with a sanding drum or use the top wheel on your grinder rather than the straight section of the belt. If you use the wheel on your grinder, be careful to use very light pressure because the speed is very high. A sanding drum on a drill press will be more forgiving because it can run a lot slower. The flat section of the belt will be your bevels on flat surfaces and outside radius curves no problem, but the tighter the inside radius the more important it will be to use a rounded sanding/grinding surface.
Thanks for the advice ! It's really cool to have help from more than experimented people.
Yeah I must have spent only 5h on a belt grinder in my life, and it was on the test scales and the first set I'm trying to complete :squinting-tongue . I don't know why I tried to do everything on the steel backed flat. I have a curve on the top, and right up the flat is a non-steel backed spot I could use.

I think that I'm somewhat limited by the tools I own, but I might still be able to produce something i'd be proud of. I've stopped everything for today (it's 10pm already). Tomorrow, I'll try to use the wheel (wich is very small) of the grinder to taper around the index and the pinky. I planned to do it by hand, but it might be better to start it on the wheel. Then I'll bring the 60° angle I chose for the front part down at the same point than the rest of the scales (I use a very flawed vocabulary, sorry !). :

Image
:respect In the collection :respect : Lots of different steels, in lots of different (and same) Spydercos.

Robin. Finally made an IG : ramo_knives

MNOSD member 004* aka Mr. N5s :face-clouds
User avatar
Xplorer
Member
Posts: 1344
Joined: Sat Apr 18, 2015 11:41 pm

Re: Making a Mule Handle (step-by-step)

#59

Post by Xplorer »

TomAiello wrote:
Fri Apr 15, 2022 11:57 am
...
Sanding them 'in place' with low grit has given me 'proud' (sticking out past the scales) steel several times, because the scale material sands so much faster/easier than the metal tang....
Depending on the mix of materials this can be a serious issue for sure.

Wood scales with stainless hardware are the worst in this regard because the wood is so soft and the hardware is so hard. G10 scales with nickel hardware is a combination that's not as bad because the 2 materials aren't nearly as far apart in wear resistance.

Either way, I've found the only way to keep hardware from being "proud" on the handle is to sand the hardware with a tool that provides a hard backing behind the sandpaper. So, "shoe-shining" the sides of the handle to make it rounded usually has to be alternated with some "hard sanding" of the hardware. For almost every grit I shoe-shine with, I follow with the same grit on a metal sanding tool just for the hardware. At the very end (1500, 2000, 2500, 5000) I don't worry about it anymore and just go back to nothing but shoe-shining because those grits don't remove enough material to create a problem.

I use some rounded ones, some flat ones, some with 80 duro silicone on one side, some with leather on them..I've made at least a dozen and use 4 or 5 of them regularly. I don't just use them for keeping the hardware flat, by the way. I use them for all of my hand sanding.
Image
Image
Hand rubbed blade finishes are also done with the same tools.
Image
Image
:spyder: Spyderco fan and collector since 1991. :spyder:
Father of 2, nature explorer, custom knife maker.
@ckc_knifemaker on Instagram.
User avatar
Xplorer
Member
Posts: 1344
Joined: Sat Apr 18, 2015 11:41 pm

Re: Making a Mule Handle (step-by-step)

#60

Post by Xplorer »

Ramonade wrote:
Fri Apr 15, 2022 1:48 pm

.. but I might still be able to produce something i'd be proud of. ..
Image
Looks to me like you're definitely going to have a beautiful handle you can be proud of.

Congrats on picking up the new grinder! I started out with a 1x30 (American measurements :winking-tongue ) grinder as well. I used my 1x30 grinders for years, and with practice and a few little modifications I was even able to produce some really good knives on those grinders. You can do a lot with that tool! Hopefully you have a supplier near you that offers a good selection of belts. There are an extremely wide variety of belts (alum. oxide, ceramic, even diamond) and grits available for your grinder.
:spyder: Spyderco fan and collector since 1991. :spyder:
Father of 2, nature explorer, custom knife maker.
@ckc_knifemaker on Instagram.
Post Reply