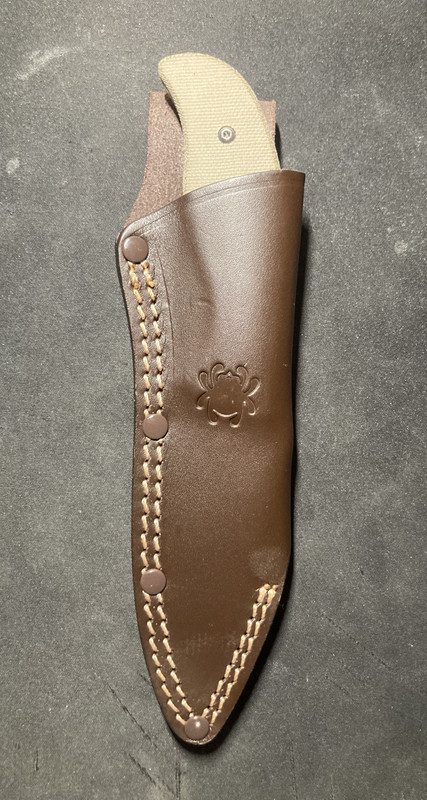
It is rare that I start a thread here and this will be a first of sorts for me. I purchased 4 (yes boys, four) AEB-L Mules to back up my sentiments in asking Spyderco to introduce finer grained and higher hardened "low-end" steels into their lineup. Well, Spyderco delivered, so I voted with my coins to hold up my end of the moaning.
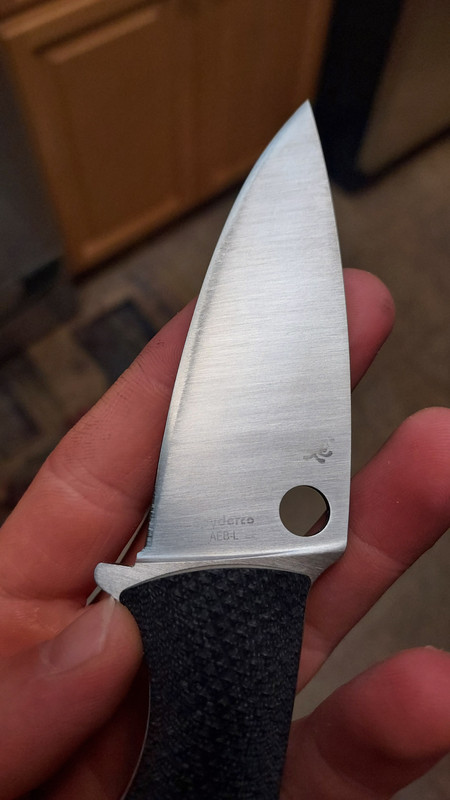
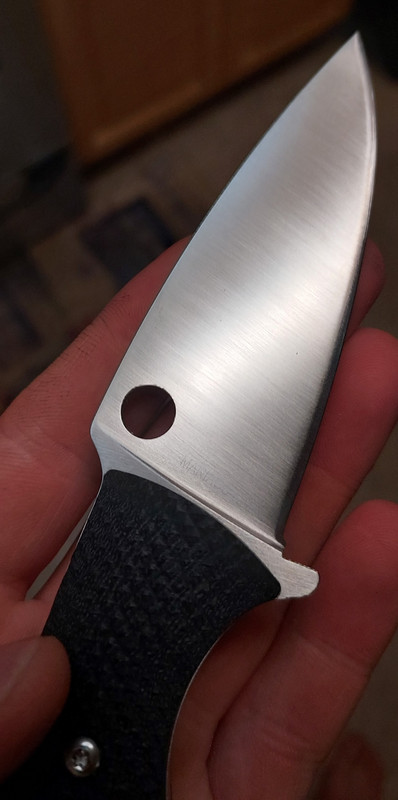
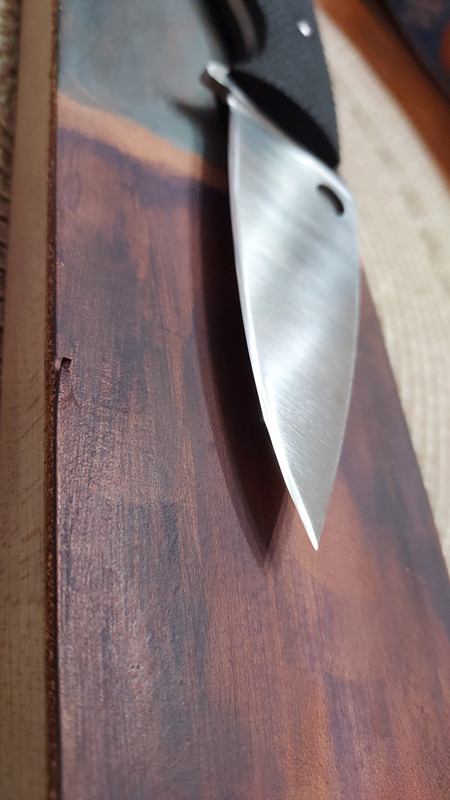
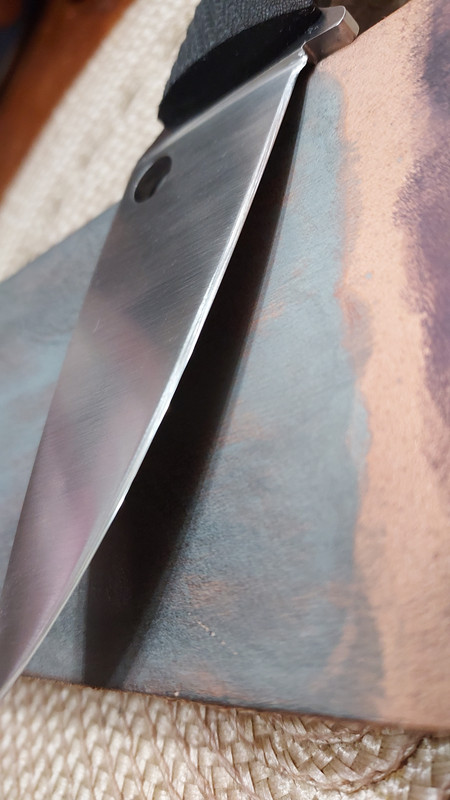
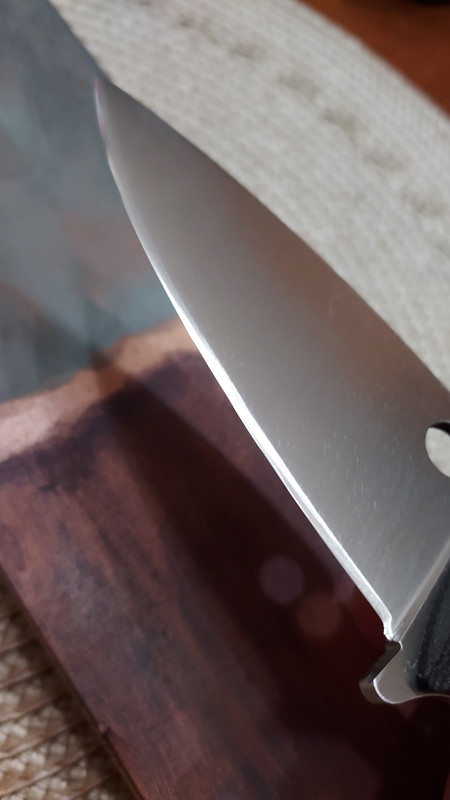
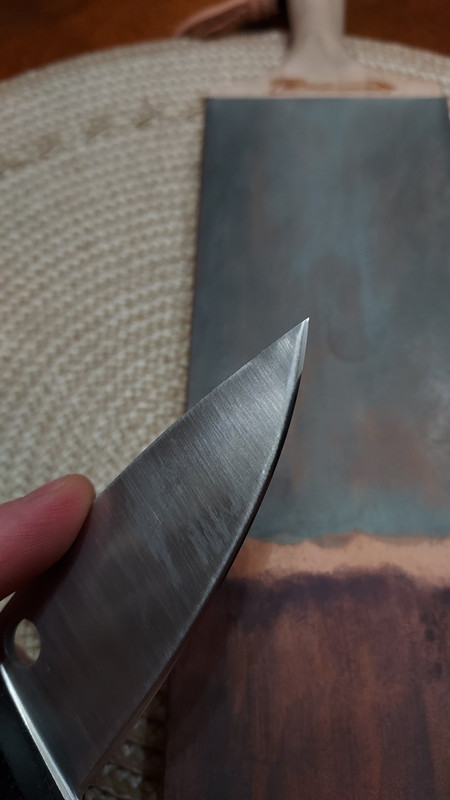
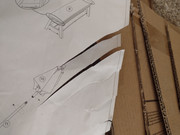
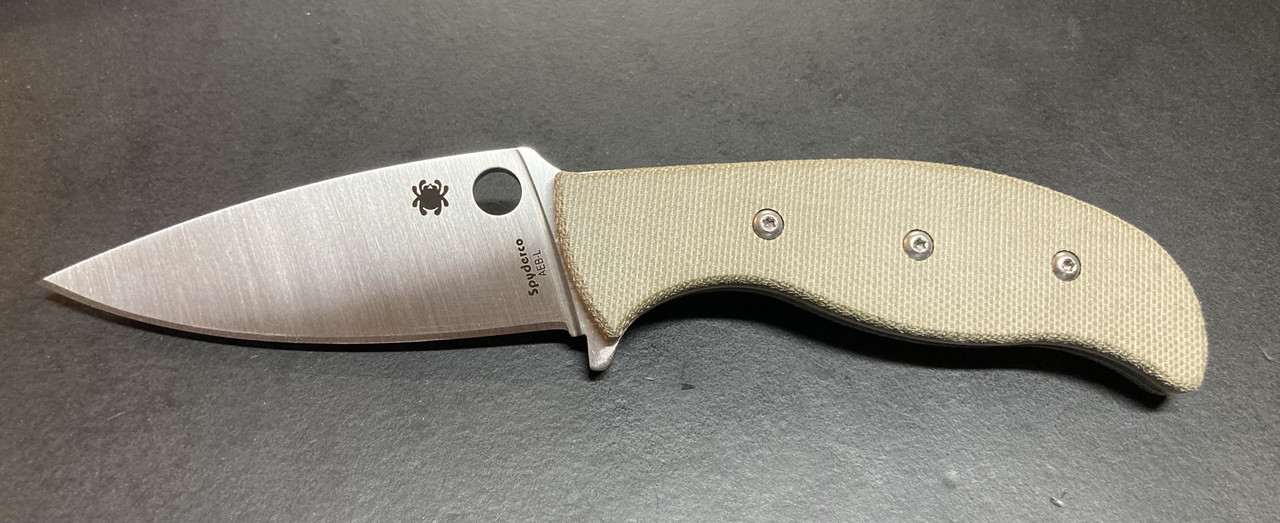
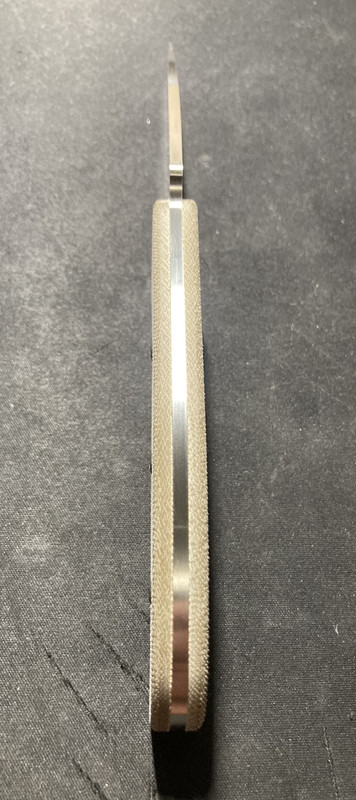
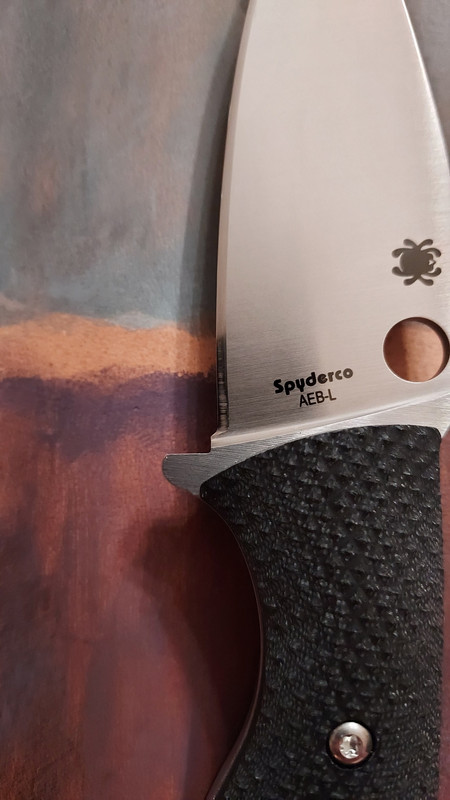
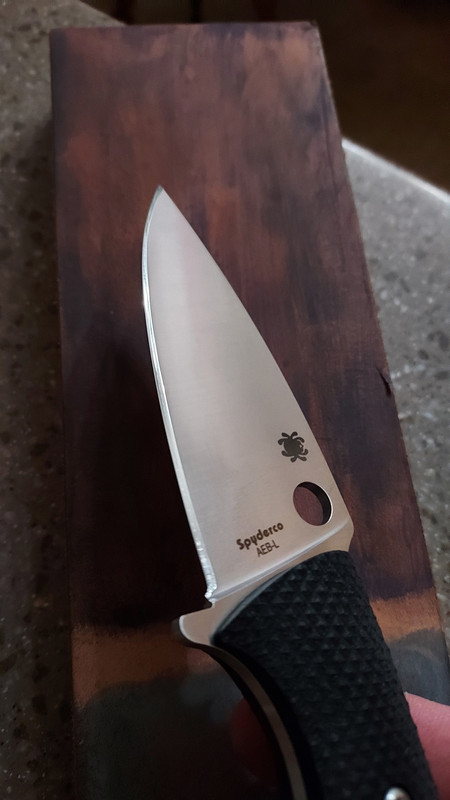
First off, this is (are) my first Mule(s). Some folks within the release thread have noted a higher grind at the ricasso, which all four of my examples feature. To be honest, I've found no real difference from more recent Spydies that I've purchased (which admittedly is quite sparse these days). The factory grinding seems par for the course, IME; though I will state my dislike in just how high the grinds seem to be, especially right off the bat (*speaking mostly with experience out of the Seki factory, FWIW).
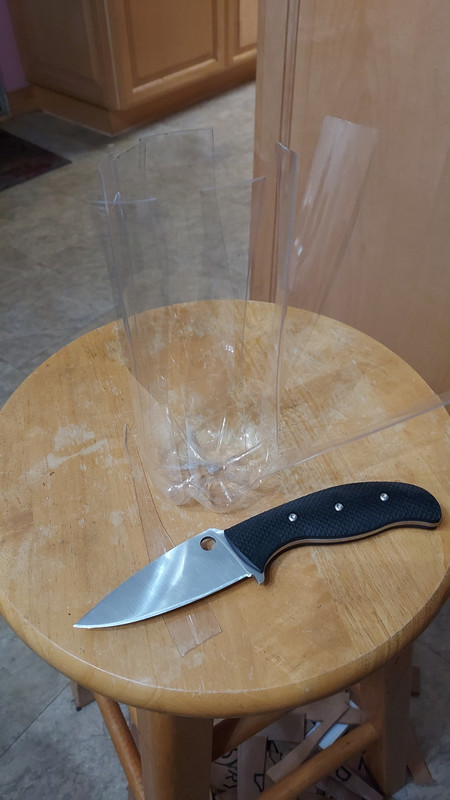
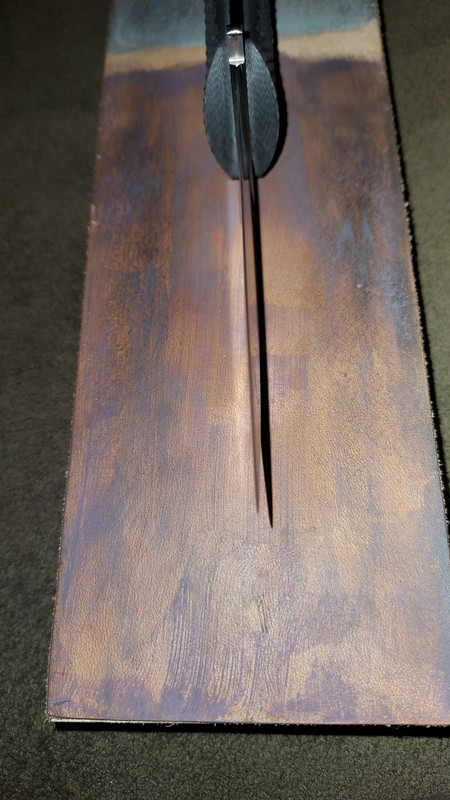
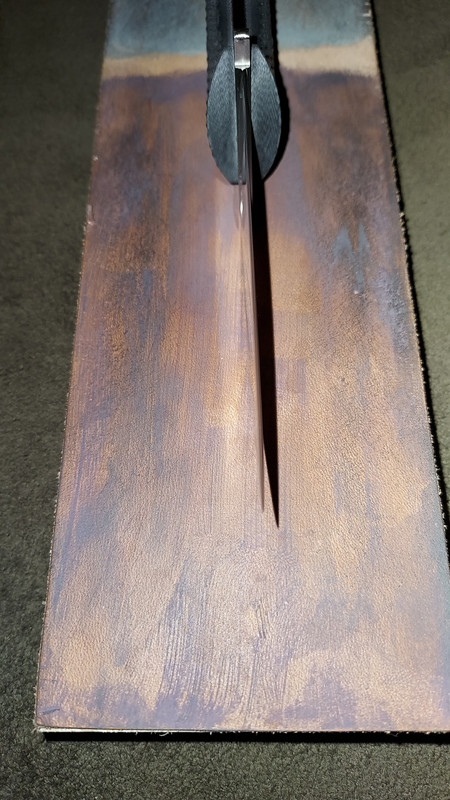
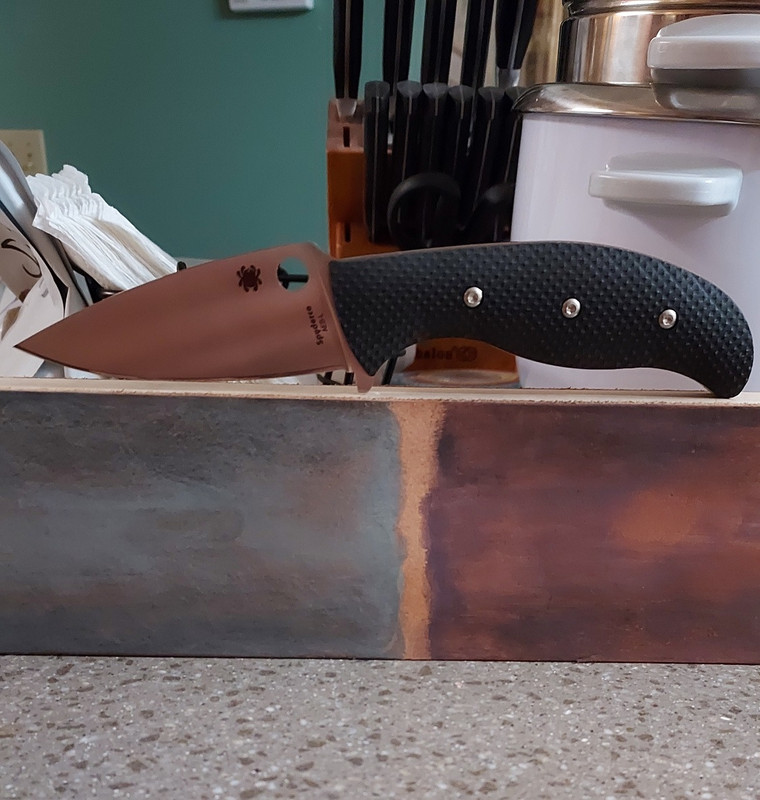
Picture to show reference; post first sharpening:
Shawn wanted feedback from those who have sharpened and I figure I'll be first up to bat. All but one Mule I received had edges that I'd consider "poor"; meaning the cutting ability would be forced and unsafe to actually cut materials. All factory edges were extremely coarse and unrefined. Initially I merely stropped the edge with 4 micron, followed by 1 micron Stroppy Stuff on leather, which resulted in an incredibly aggressive and toothy edge. I planned to maybe play with this edge before getting an initial sharpening out of the way, whilst letting the scales have time to settle after loctitening. To my dismay, no one has posted any real feedback on this Mule as of yet, so I decided what the heck; I'll do my due diligence and hopefully inspire more folks to share their experiences.
I took the Mule straight to the Spyderco Medium Bench Stone. The factory bevel is definitely sub 15 degrees, however I have no real equipment to relay an accurate measurement. Initial response is that this steel is hardened steel. It took some time and work to nearly remove all of the factory scratch pattern using just the Brown Stone. Diamonds or a coarser stone would have made the effort much quicker. Roughly 10 minutes of work and I had a burr that was ready to be reduced on the UF Bench Stone.
Upon starting burr reduction, I could hear and feel the burr fracture and crumble right off of the edge like the shook rodent that it was. I will be honest, that this is the first time I've ever experienced this sort of behavior to this magnitude. I took that as a sign of excellent matrix structure due to the heat treatment. Bravo to the Italian factory for their efforts and kudos to Shawn for the recipe in making this such a wonderful experience. After a few minutes of work, flipping and flopping back and forth like a fish on land, I finished with one-handed alternating passes. It was time to hit the strop.
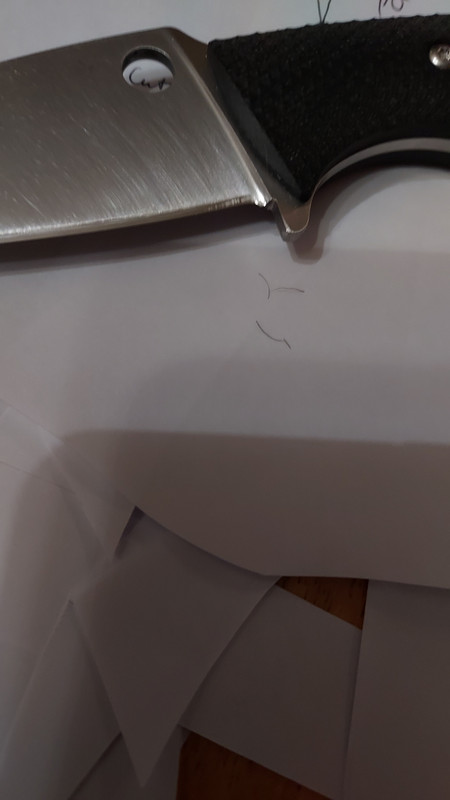
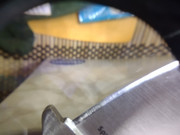
I used the same strop as detailed earlier: 4 micron followed by 1 micron Stroppy Stuff on leather. The resulting edge was nearly able to whittle and instead would cut free hanging hairs with the right angle. I suppose this is colloquially referred to as "tree-topping". The resulting edge was a very pleasing mixture of polished sharpness and biting aggression.
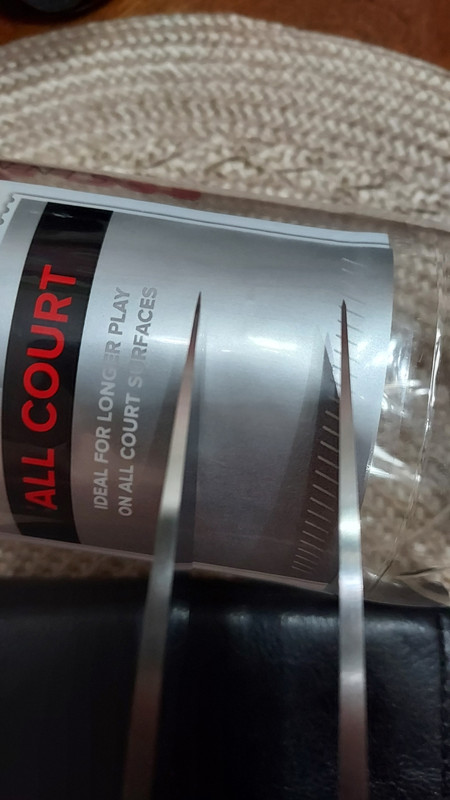
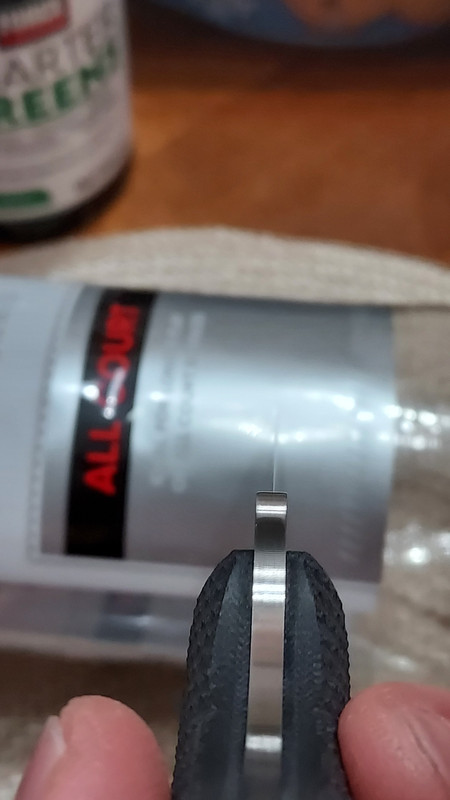
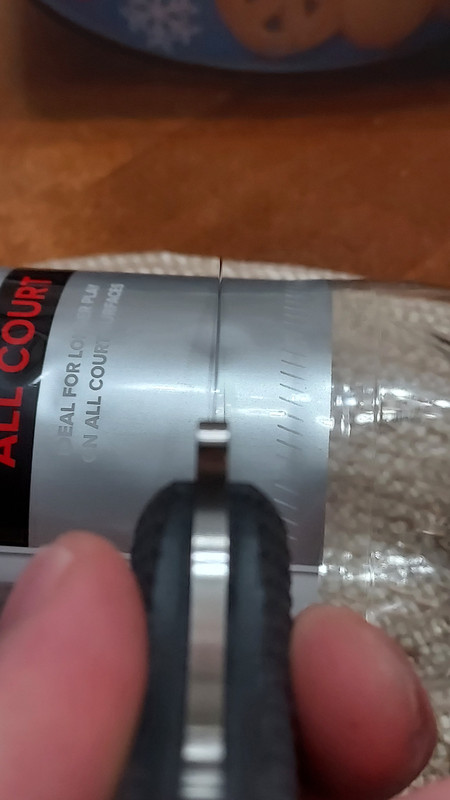
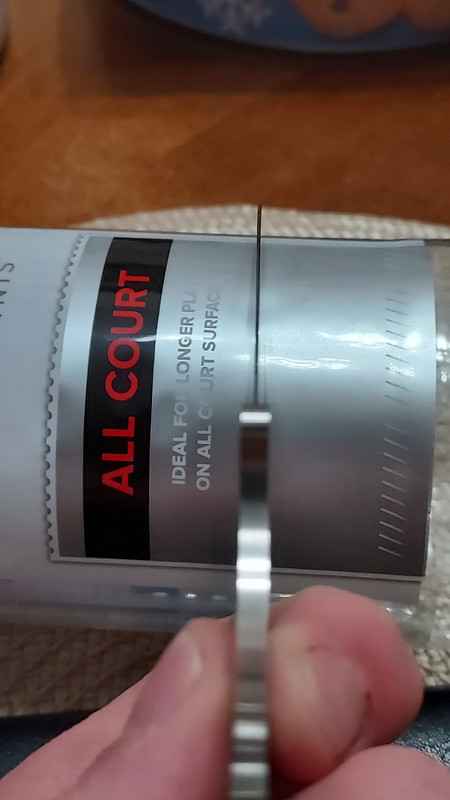
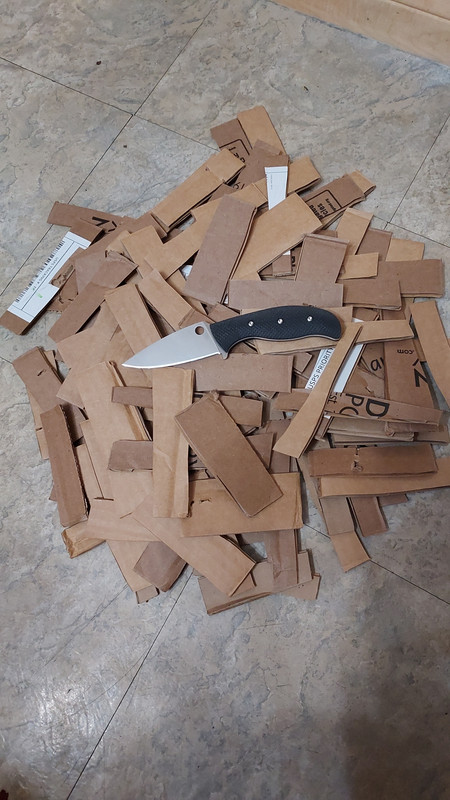
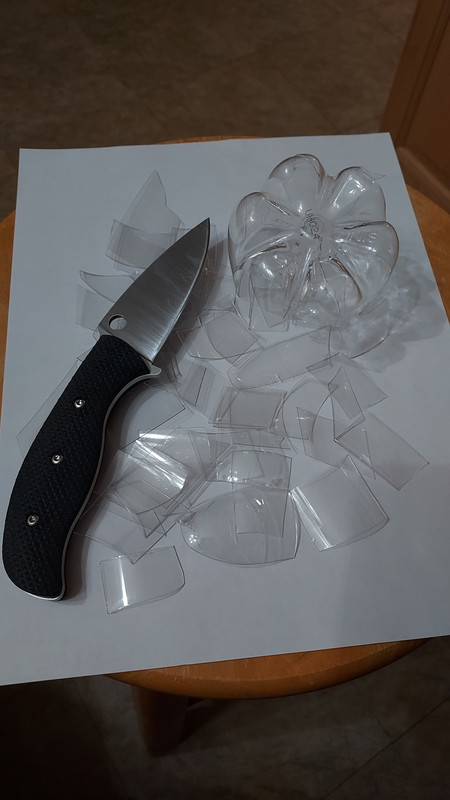
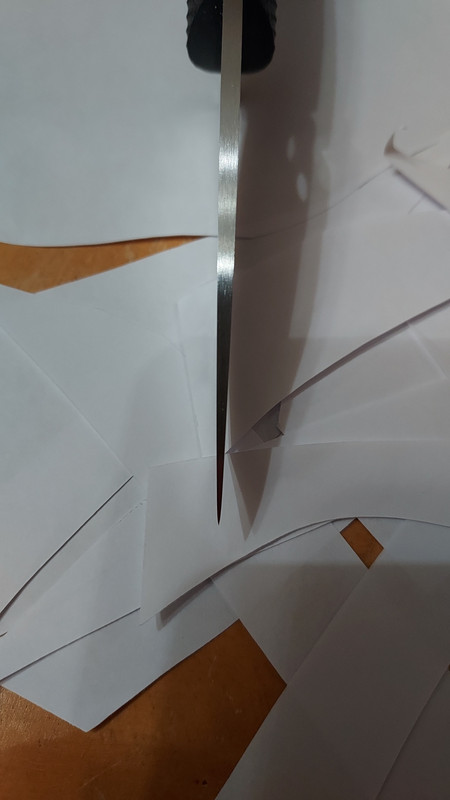
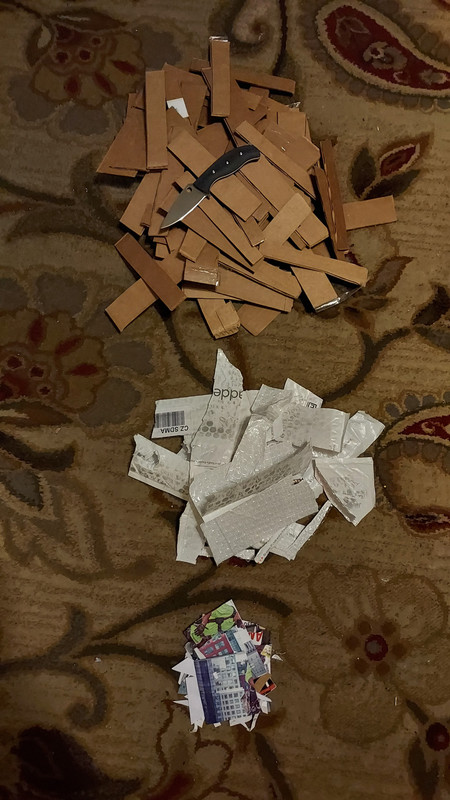
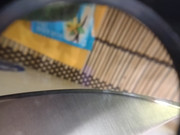
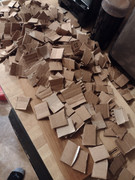
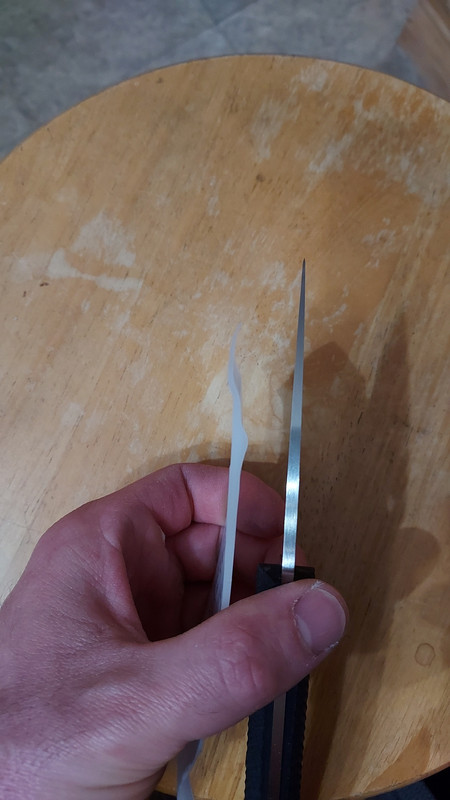
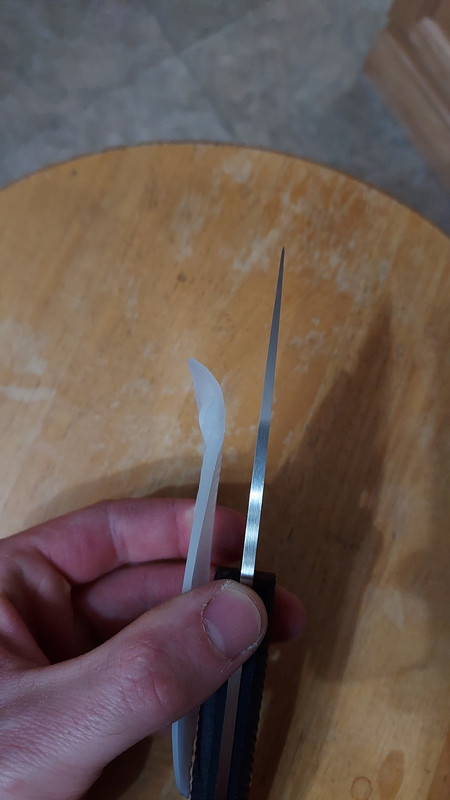
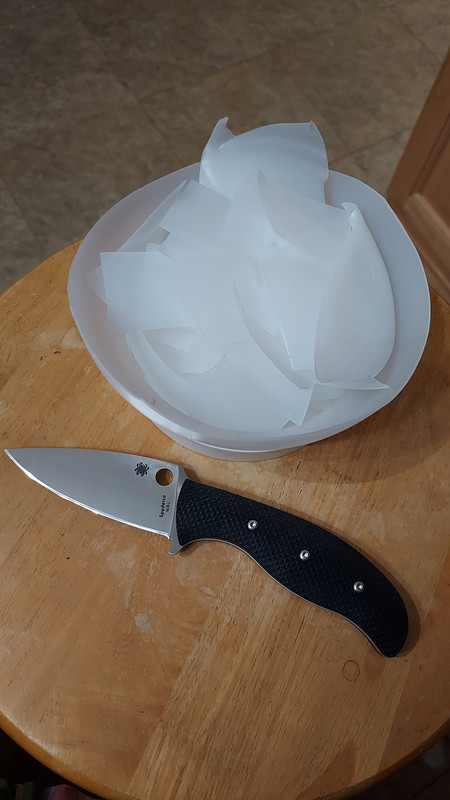
I didn't have any task at hand to facilitate usage, but you know what that means; find something to fill that demand. I went straight for an empty protein container that I had just binned and absolutely shredded it to pieces. Firstly, making a spiral cut from lid to base and then severing each fiber, piece, by piece. I'd say it was mostly medium-weight plastic, however I took a few shots of some thicker bits next to blade stock thickness that I had cleaved; just to show the beast that I had utterly defeated with complete ease.
The resulting carnage was absolute savagery.
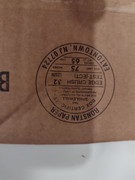
Upon slaying this demon, I decided to place four vertical cuts on all four sides of a gallon jug of water. The thin paper band was absolutely no match after all of this cutting and it too, was flayed and dismantled.
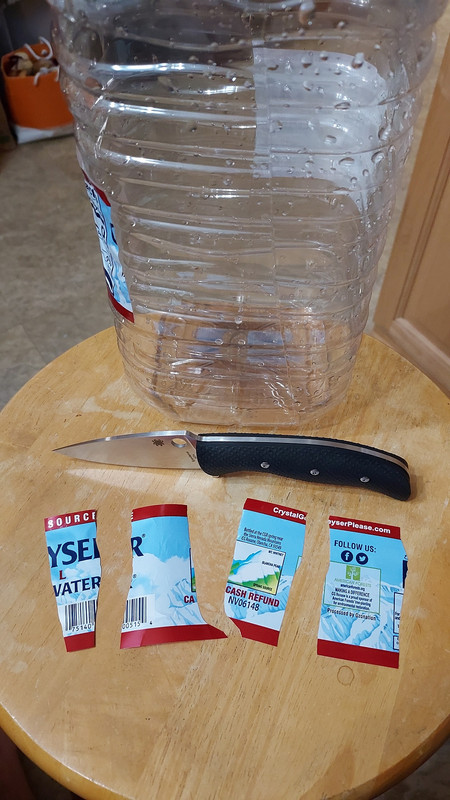
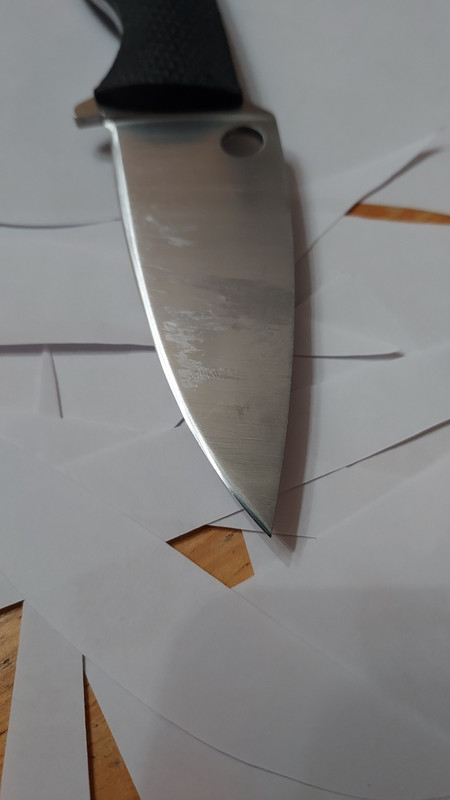
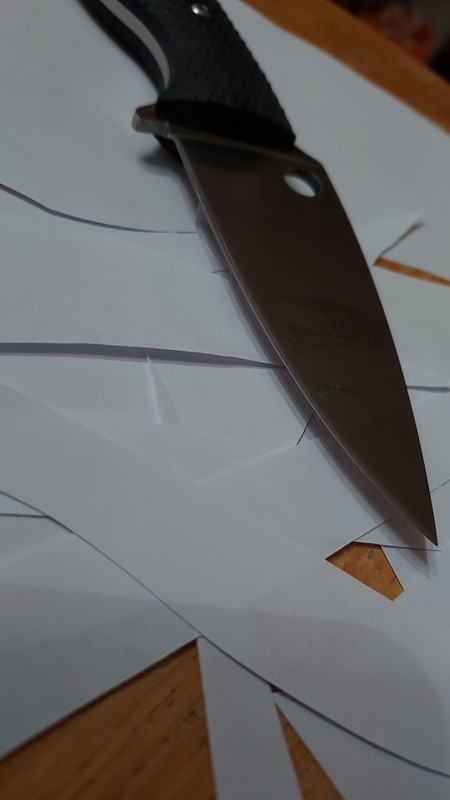
All-in-all, I believe I cut the protein bottle into about 30 pieces, plus the cuts into the gallon water jug, making at least a conservative guess at 34 total cuts. After all of this, the edge had a bit lower sharpness than when off the strop, however still retained a healthy amount of aggression and sharpness. Absolutely no edge damage to be seen, nor felt.
Hopefully this will spark those with more (and much better) skills than I to share their experiences on what I consider the most exciting Spydie release in recent memory.